Generate and upload your certificate - Android
In this guide, we'll show you how to get your FCM certificate and upload it to the Pushologies portal so you can push to Android devices. If you've already sending push notifications via FCM, you can either skip the first step, or create a new project anyway to keep things separate.
Step 1 - Creating a Firebase project
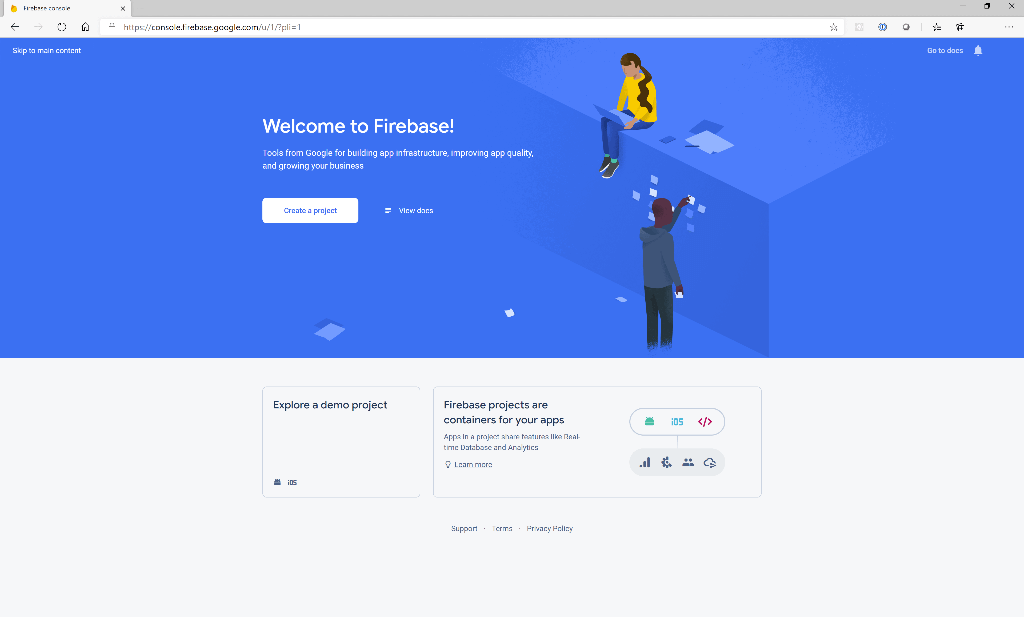
The first step is to log into your Firebase console and sign in with the same account you're using for your Google Developer console.
If you've got Firebase already integrated into your app, you can select it here. If you're new to Firebase, you can create a new app. It will ask if you want to enable Google Analytics - that's up to you. We don't need it "on" to do our analytics, but if you want use some of the more advanced features Firebase itself has to offer, you'll need to say yes. Also make sure you have enabled Firebase Cloud Messaging API for the project.

Once you've got into your project, you'll need to generate a private key to enable us to send on your behalf.
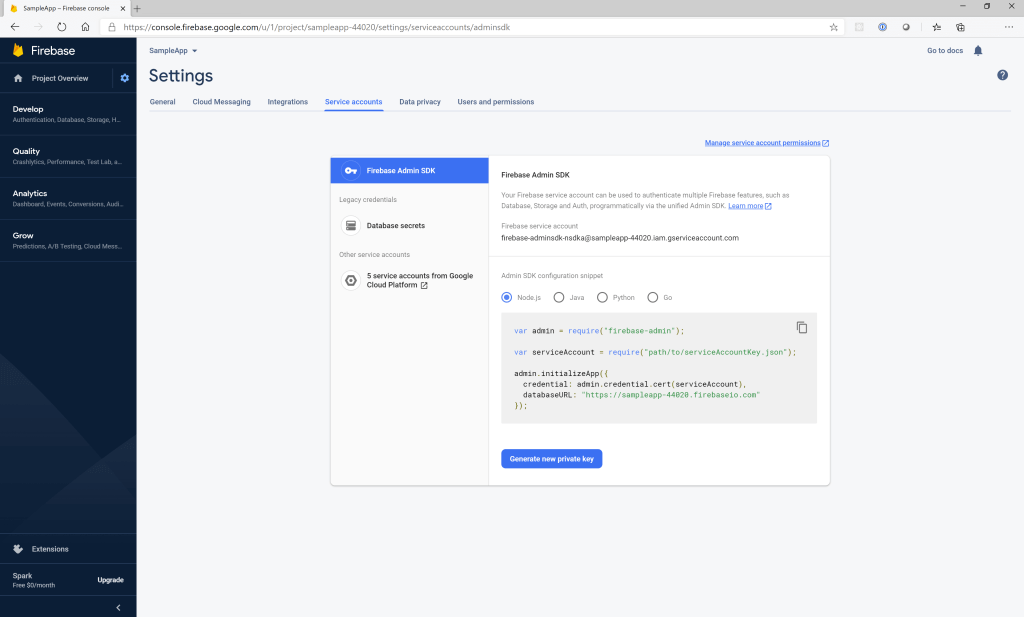
Keep this somewhere safe, as it potentially allows people to access your Firebase account.

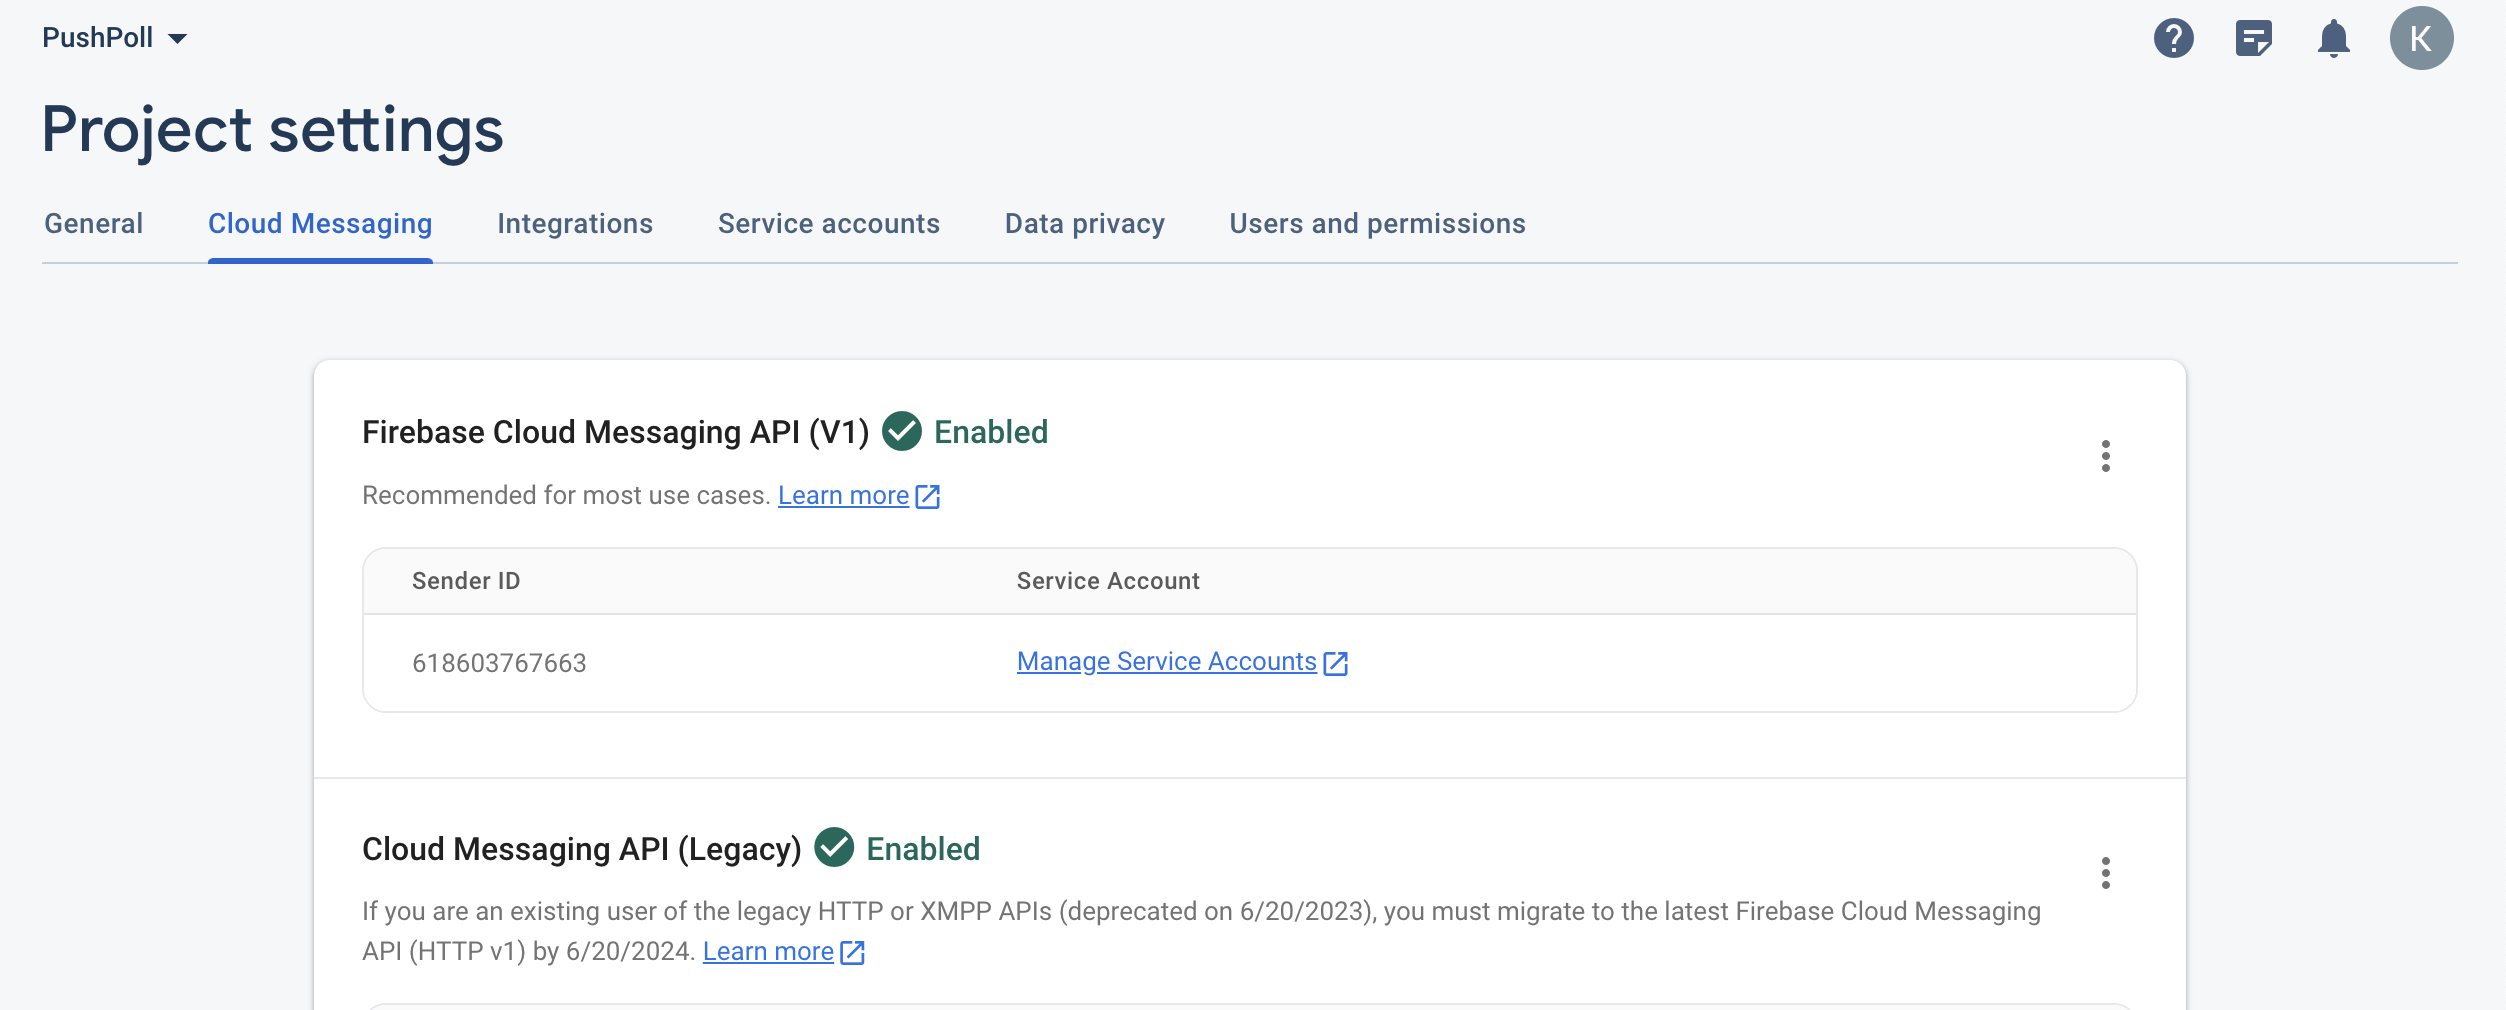
While you're here, you'll need to grab you sender ID. Click on the "Cloud Messaging" tab and note down the sender ID number:
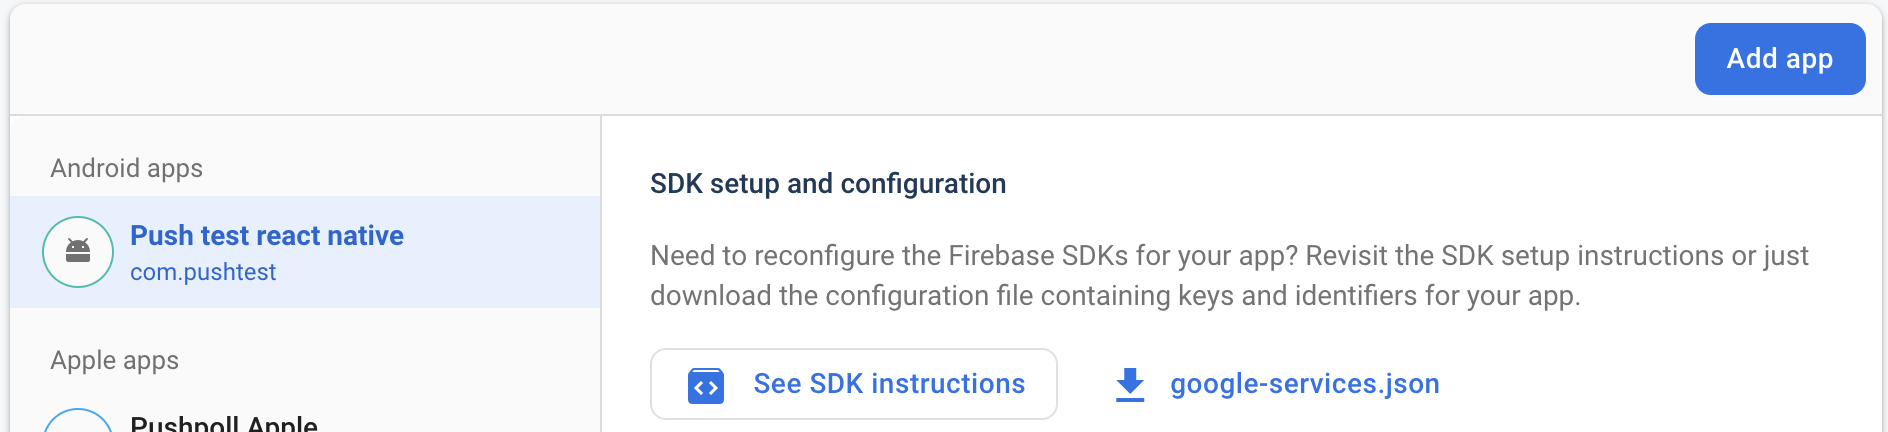
Step 2 - Download google-services.json from Firebase portal
Go to project settings -> General and download the google-services.json file and add it to your android project root folder. If you have more than one project in our firebase account, make sure you copy the json file associated with your project.
Step 3 - Upload the private key (service-token) to the Pushologies portal
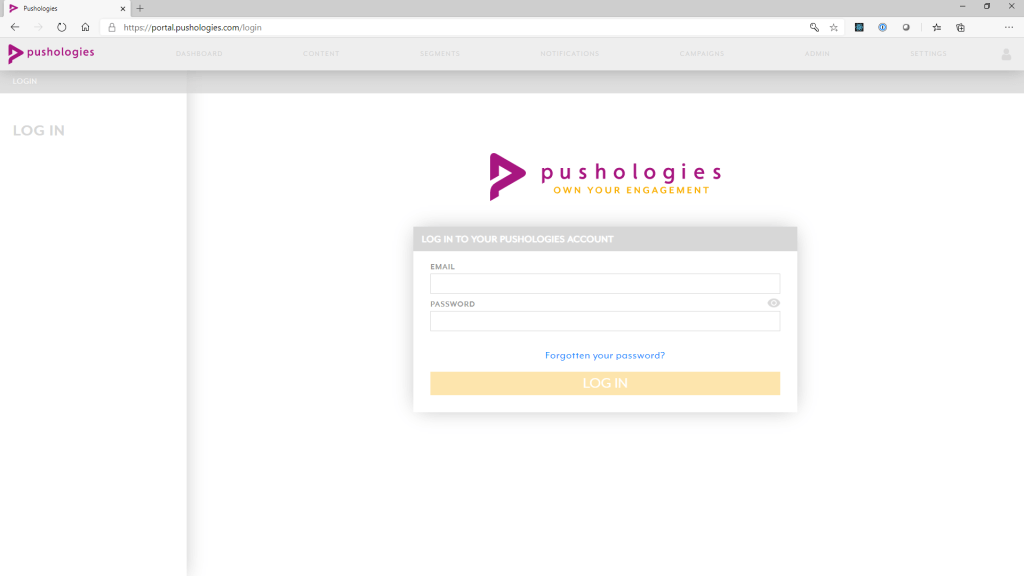
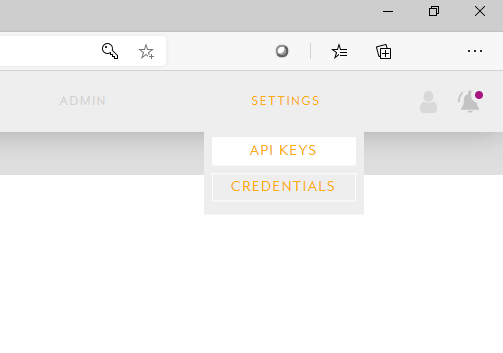
Next, log into the Pushologies portal
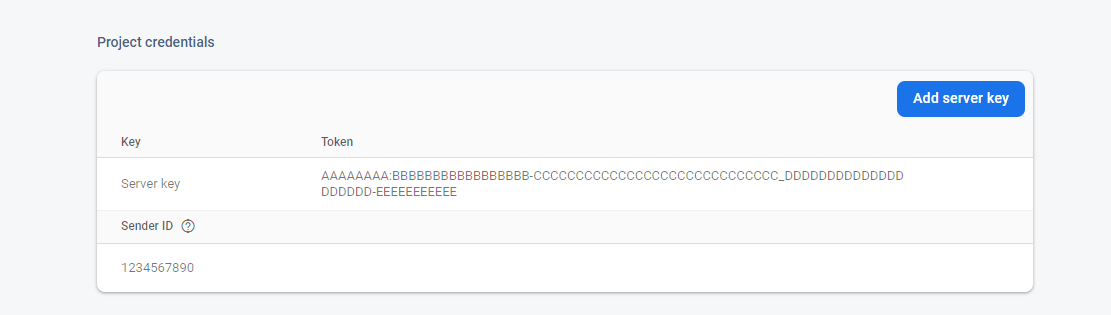
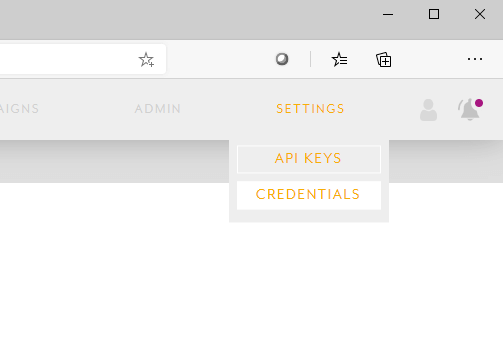
and go to the Settings -> Credentials menu.
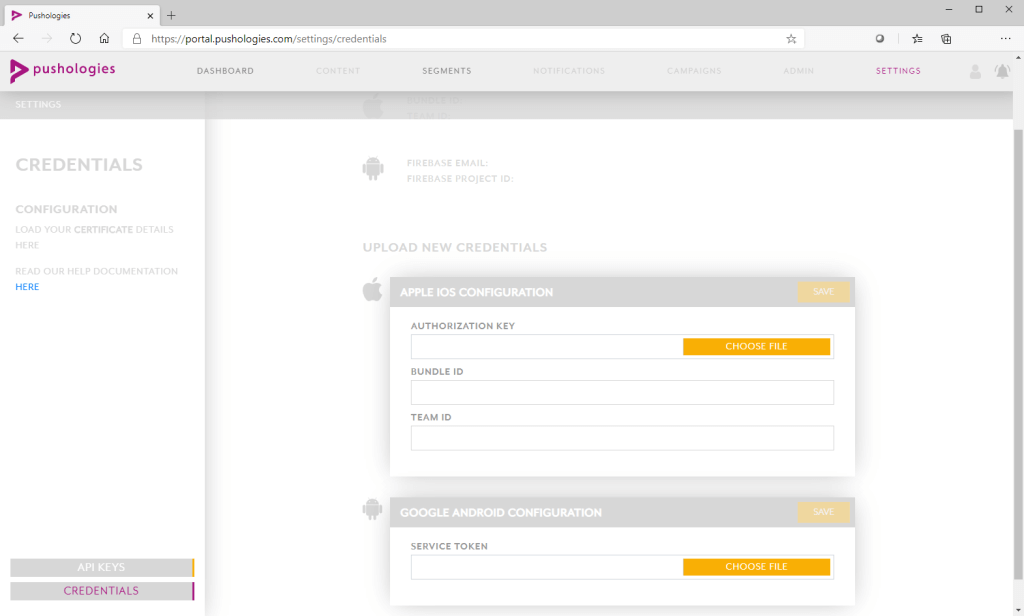
Under the Google Android configuration section, click "choose file" and select the file you just generated in the Firebase console. Save this, and the portal will validate the keys and you're ready to go!
Step 4 - Generate SDK API key
While still logged into the Pushologies portal, go to Settings->API Keys.
If you've already done an iOS integration, or already generated SDK keys, you should use the ones you've already generated.
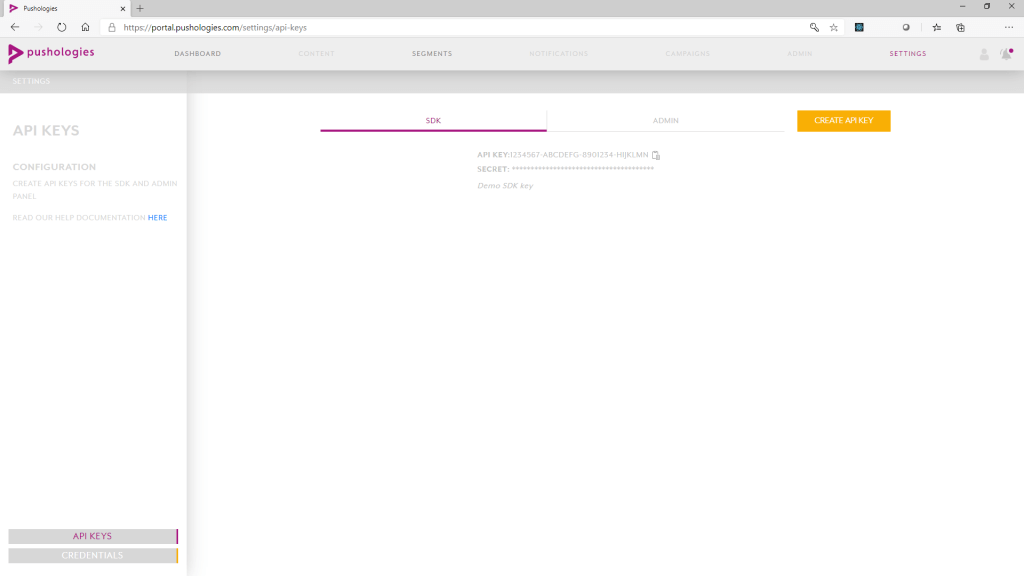
If not, click "Create API Key" and make sure "SDK" is selected from the dropdown. Add a description of you want (your app name works well here) and save the key somewhere safe - you'll need this to actually integrate our SDK into your app.