Step 1: Firebase Project Setup
If you're already using FCM for your project, you can skip this initial step and use the same project setup.
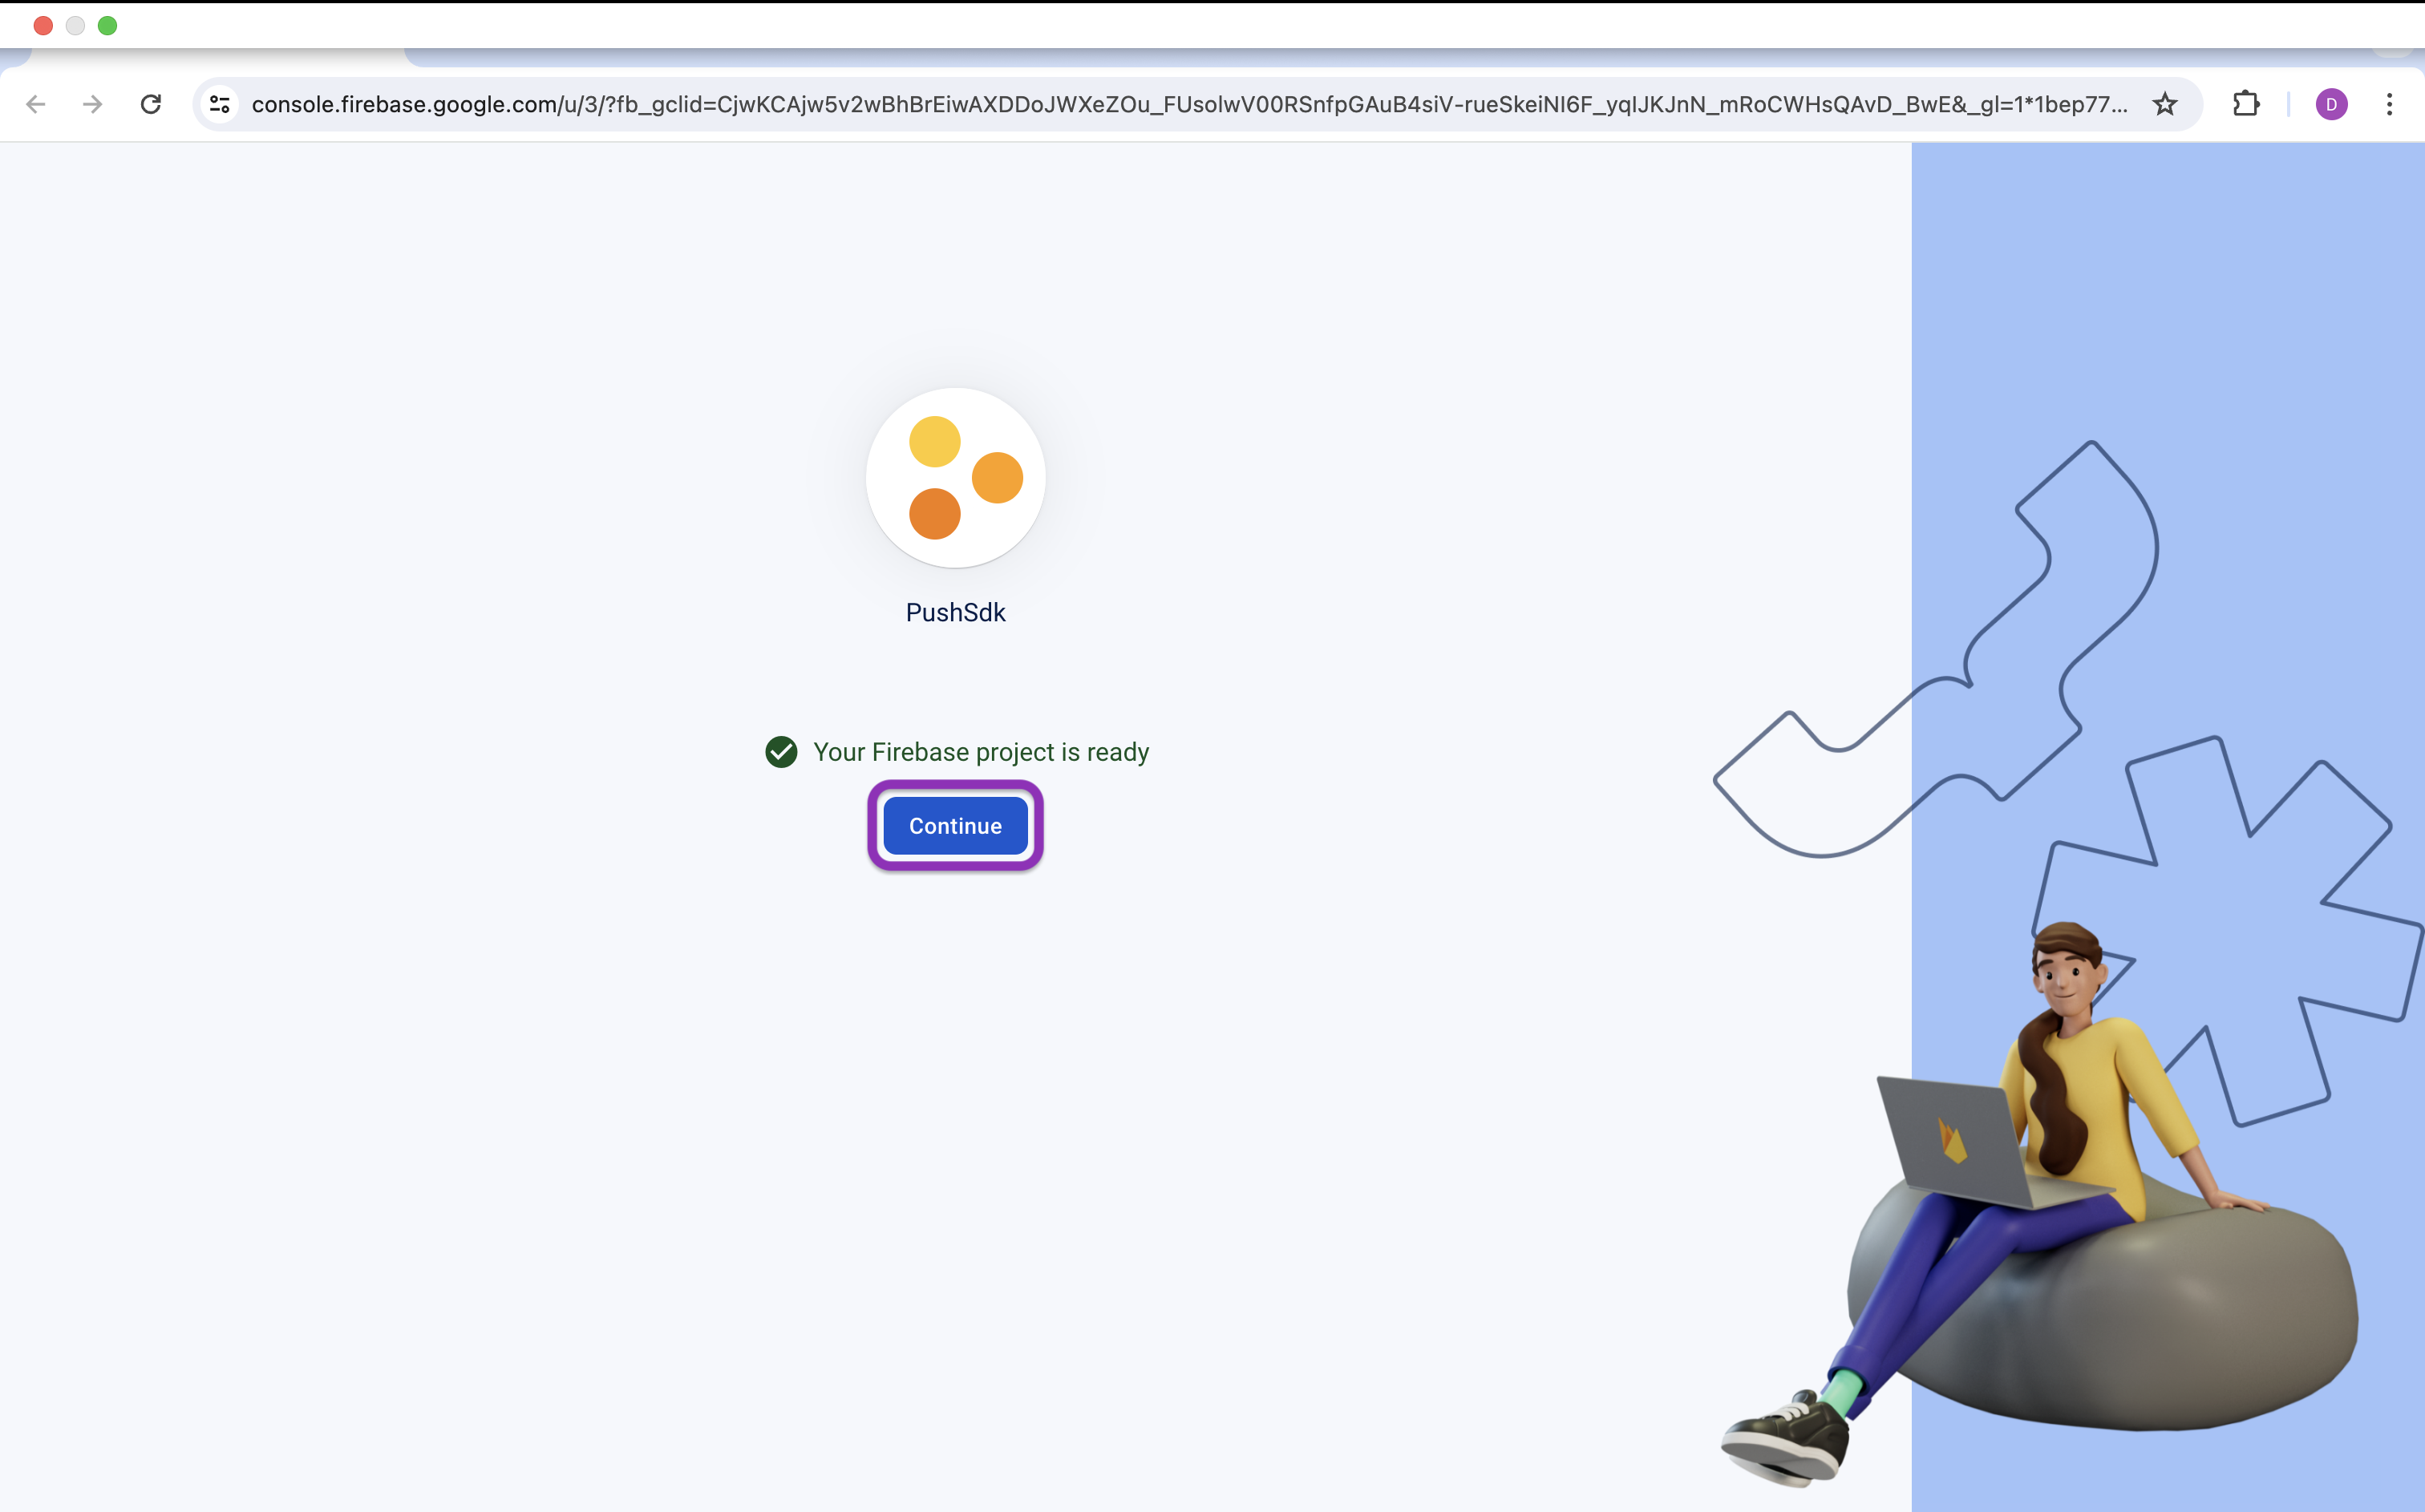
Step Creating a Firebase project
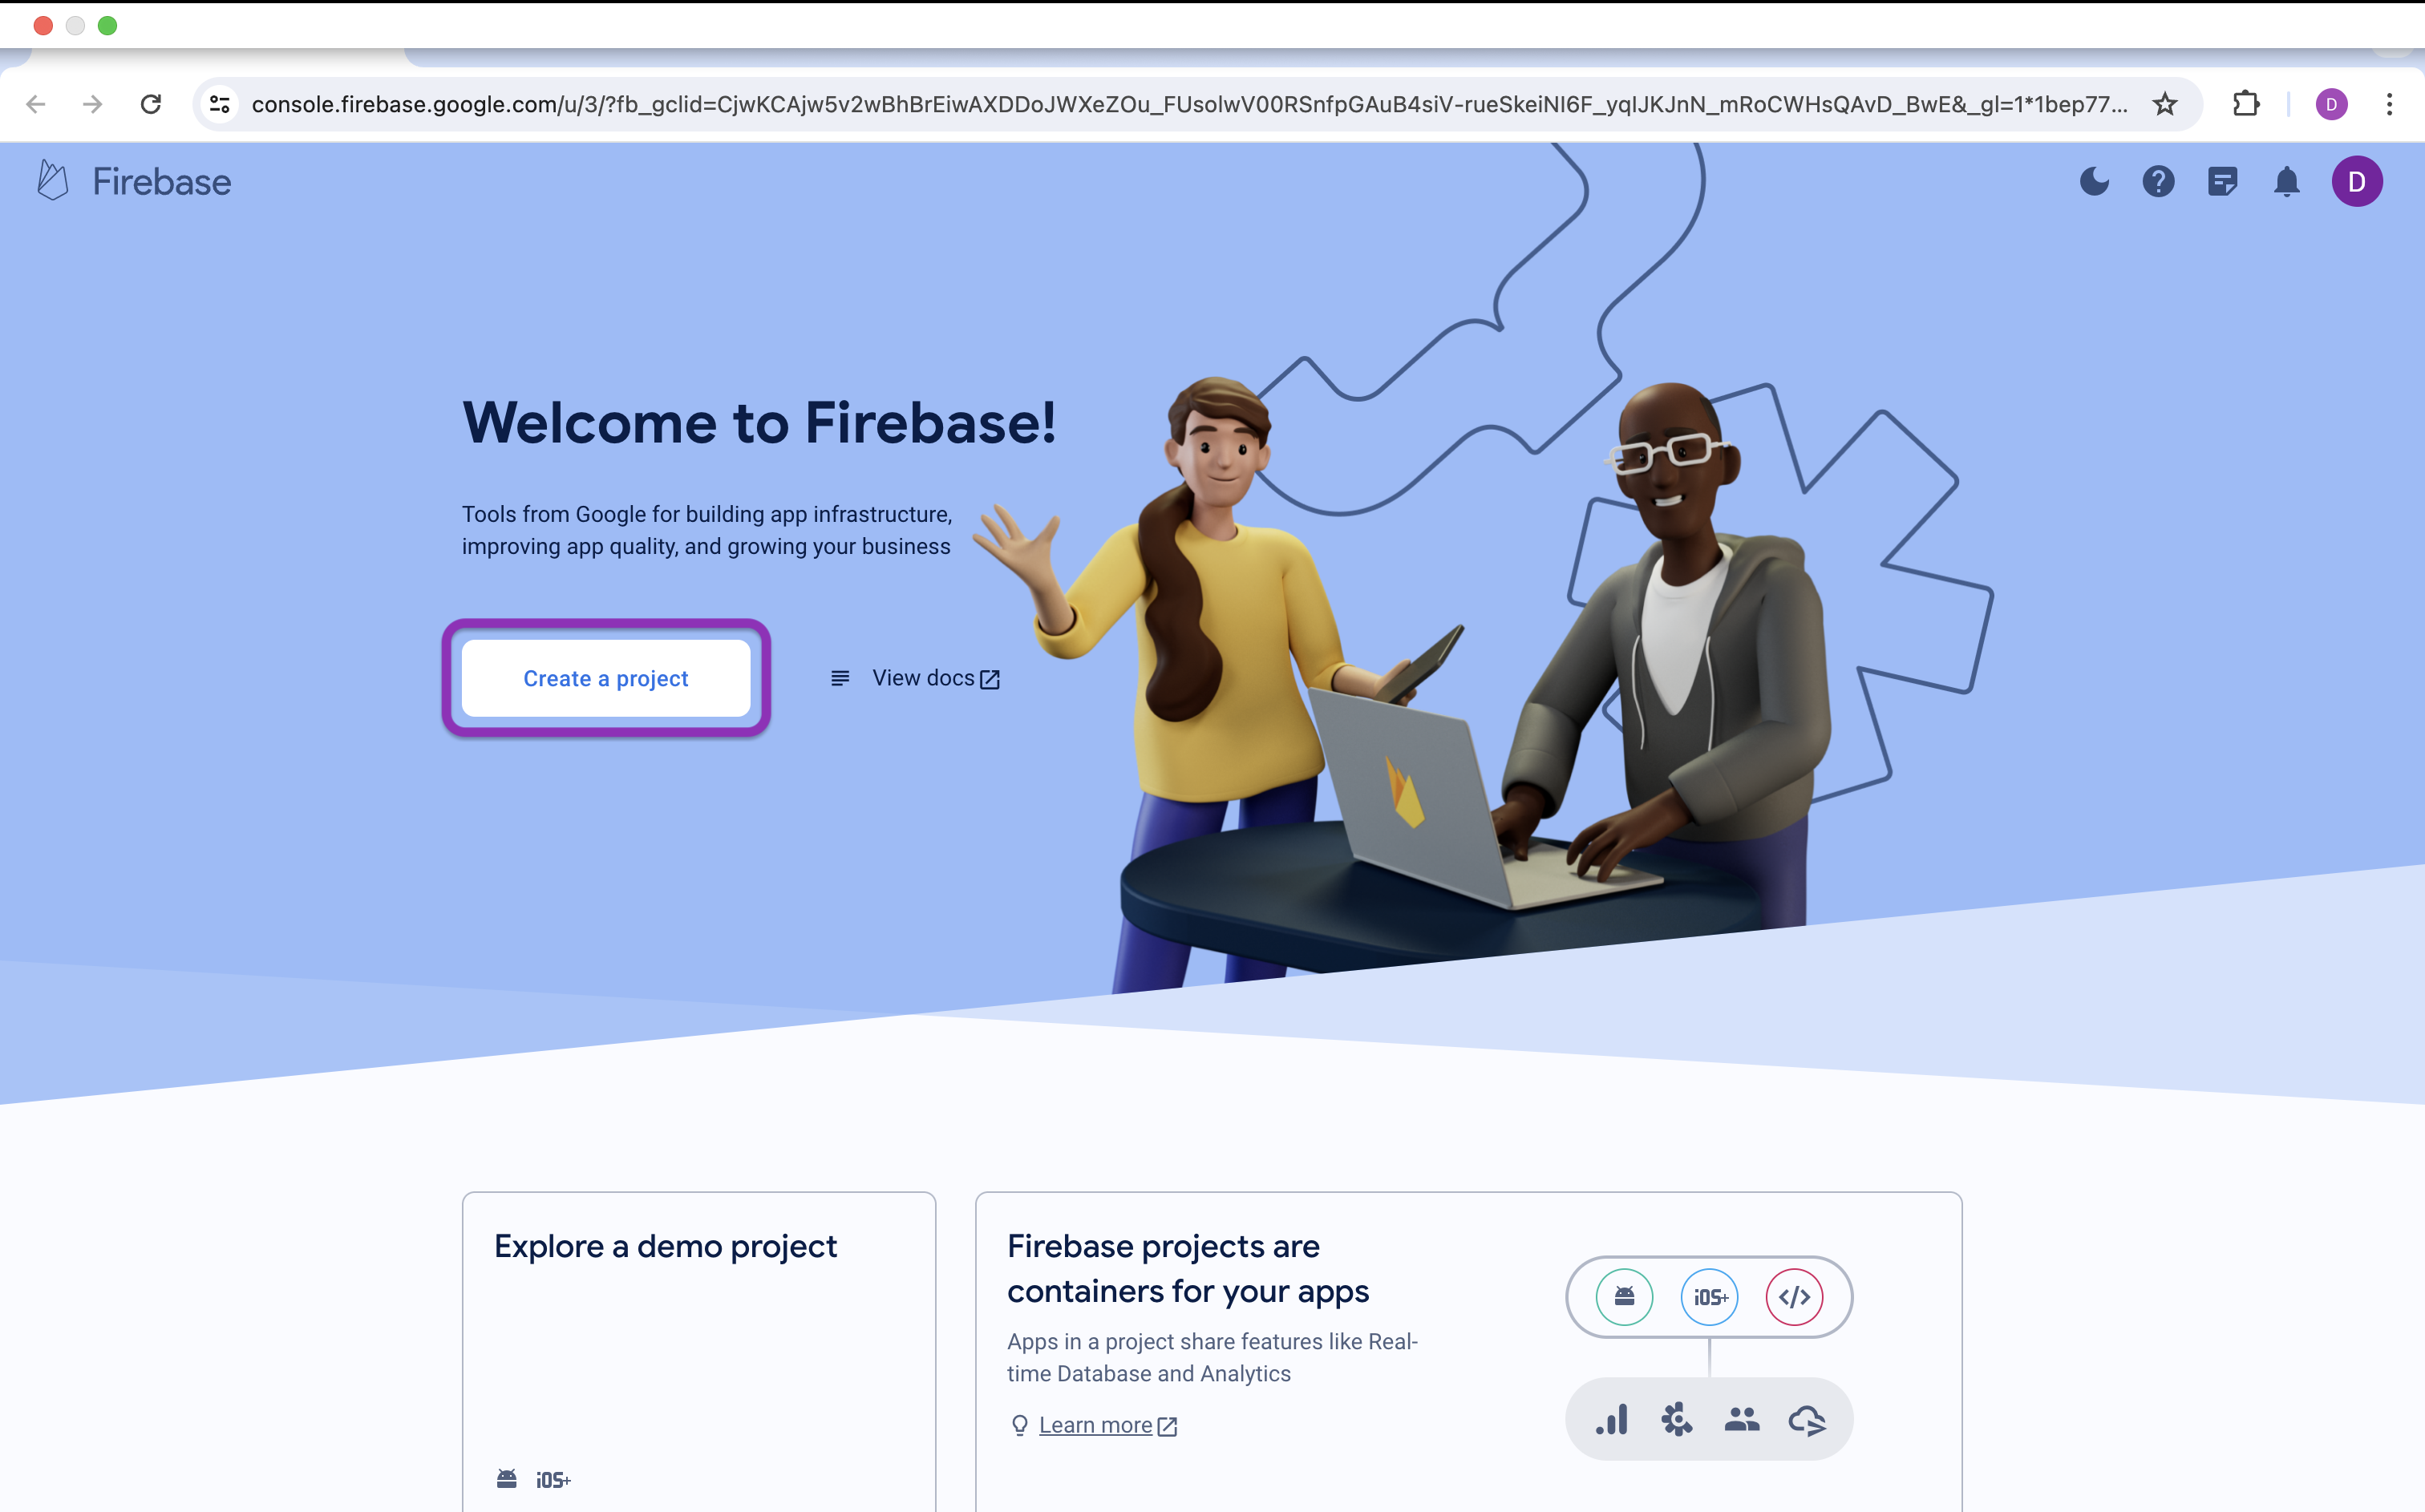
The first step is to log into your Firebase console and sign in and create a project.
Click create a project as shown below ⬇️
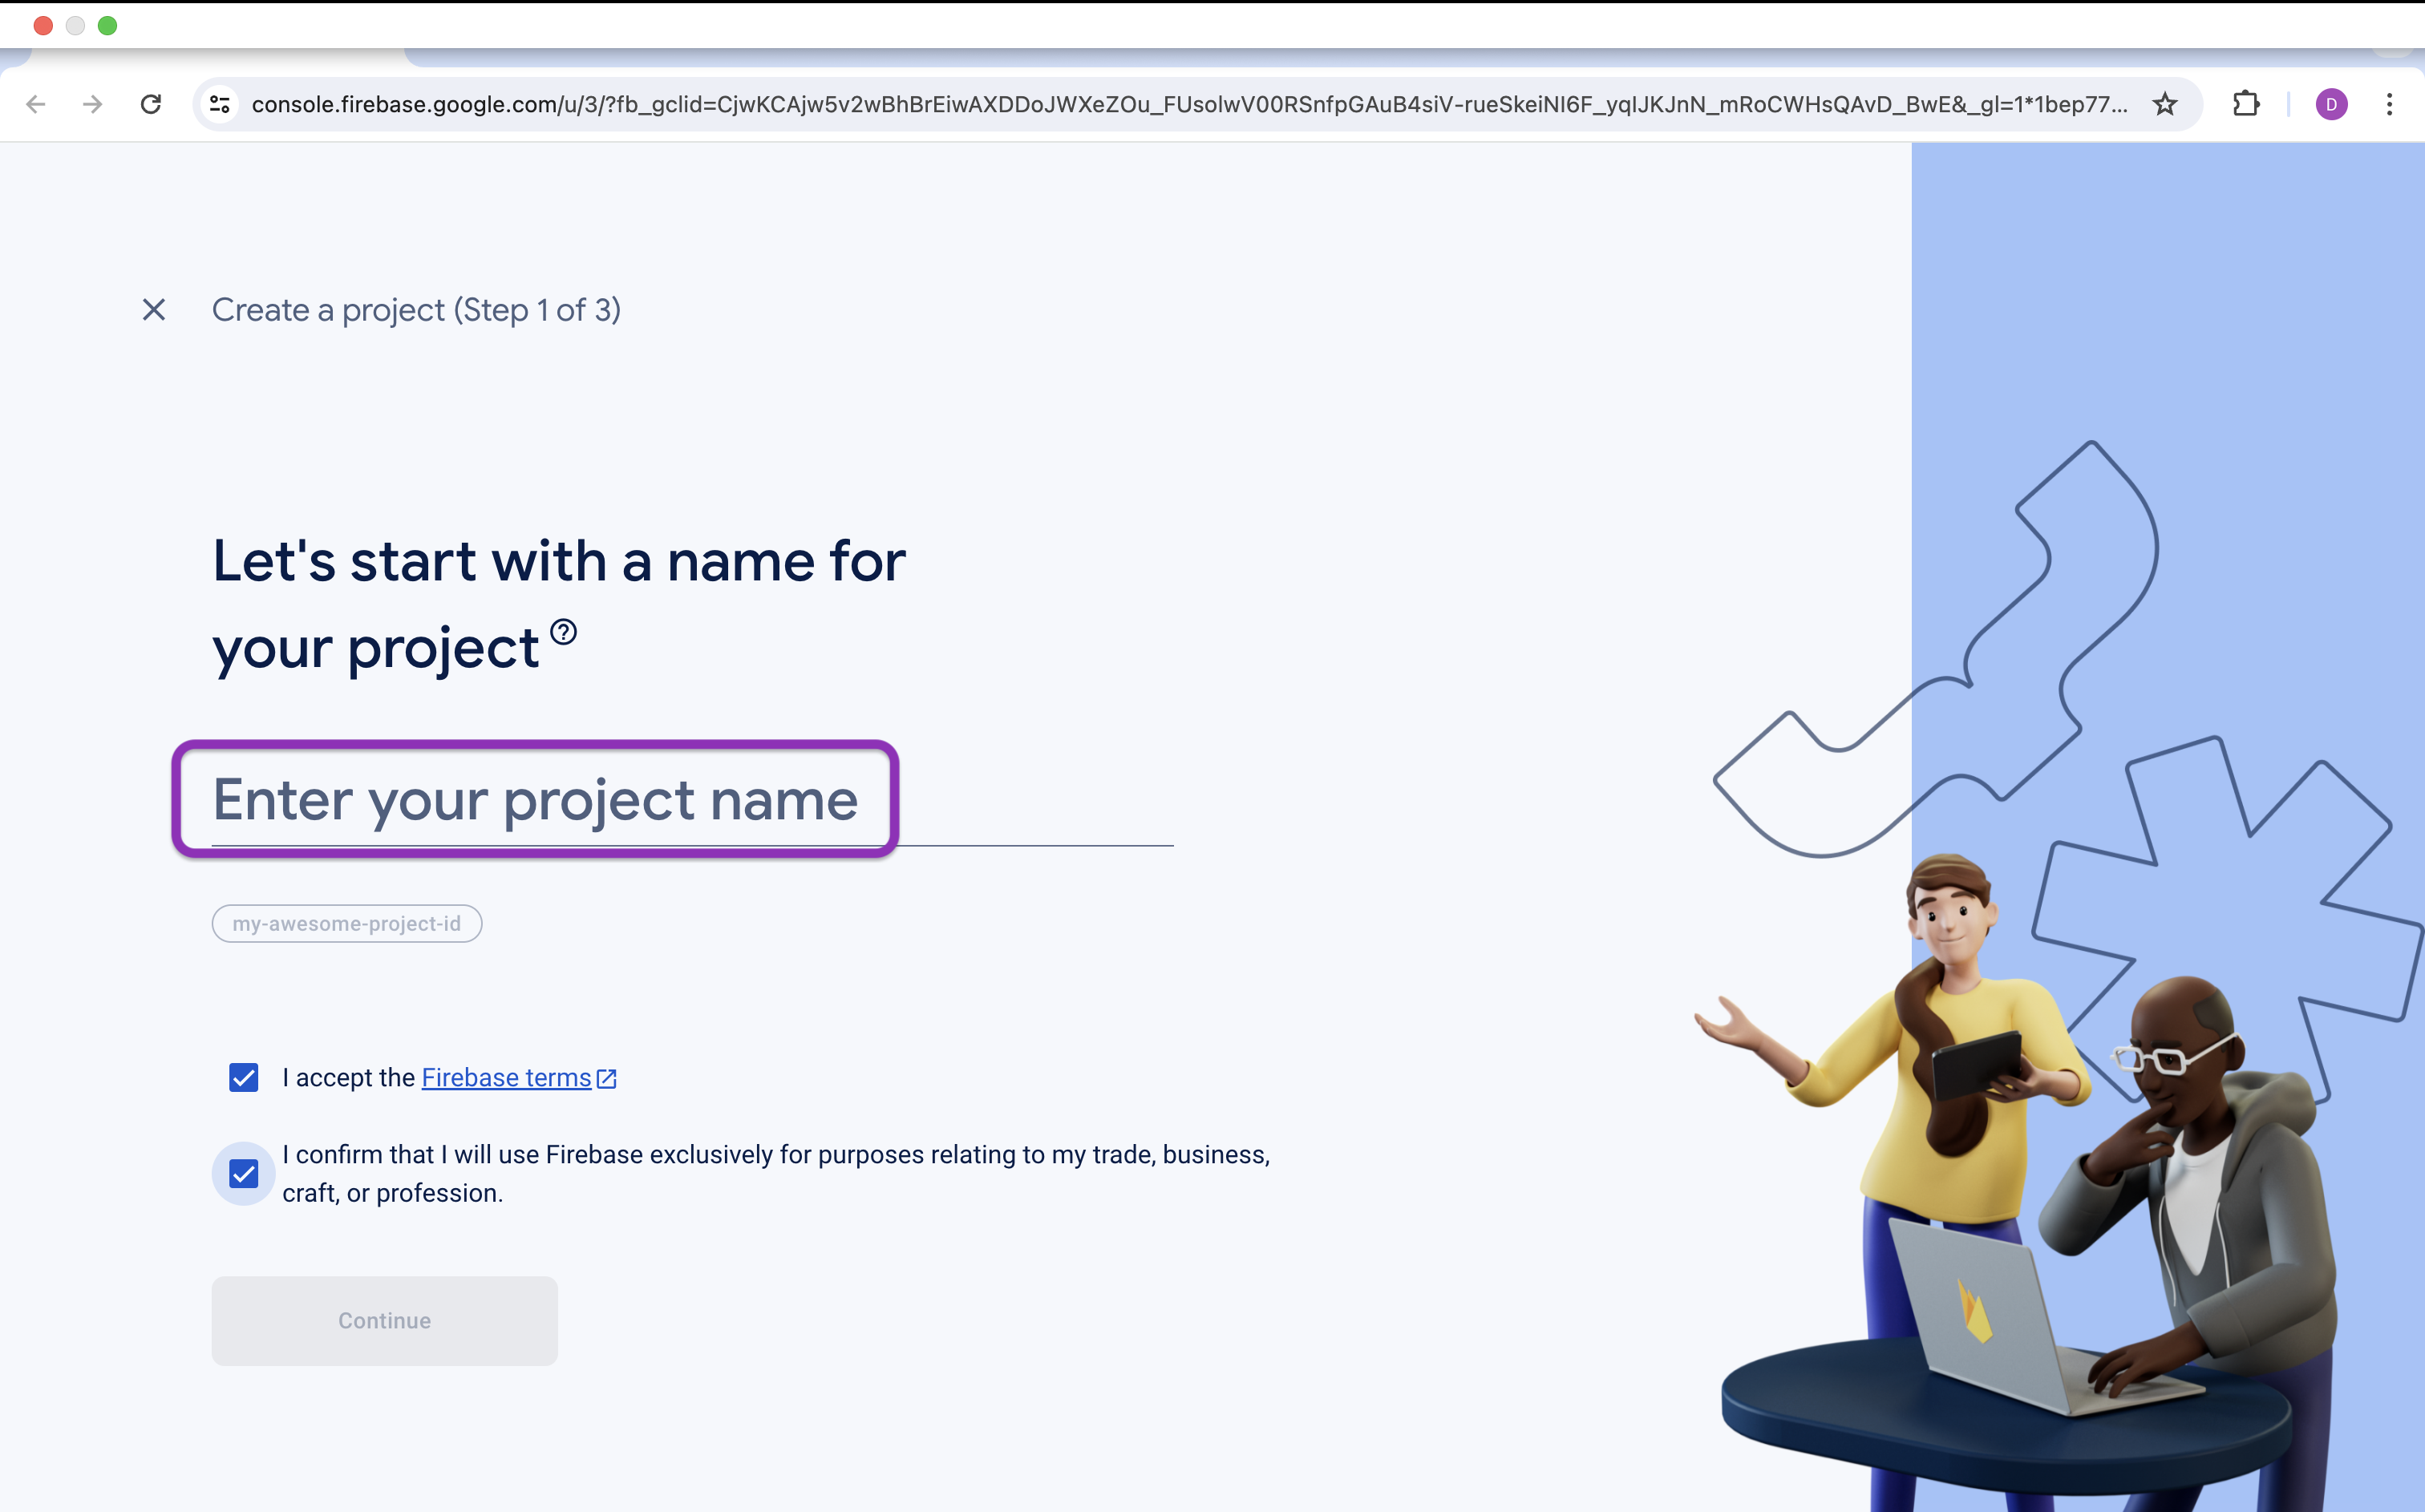
Enter project name as shown below ⬇️
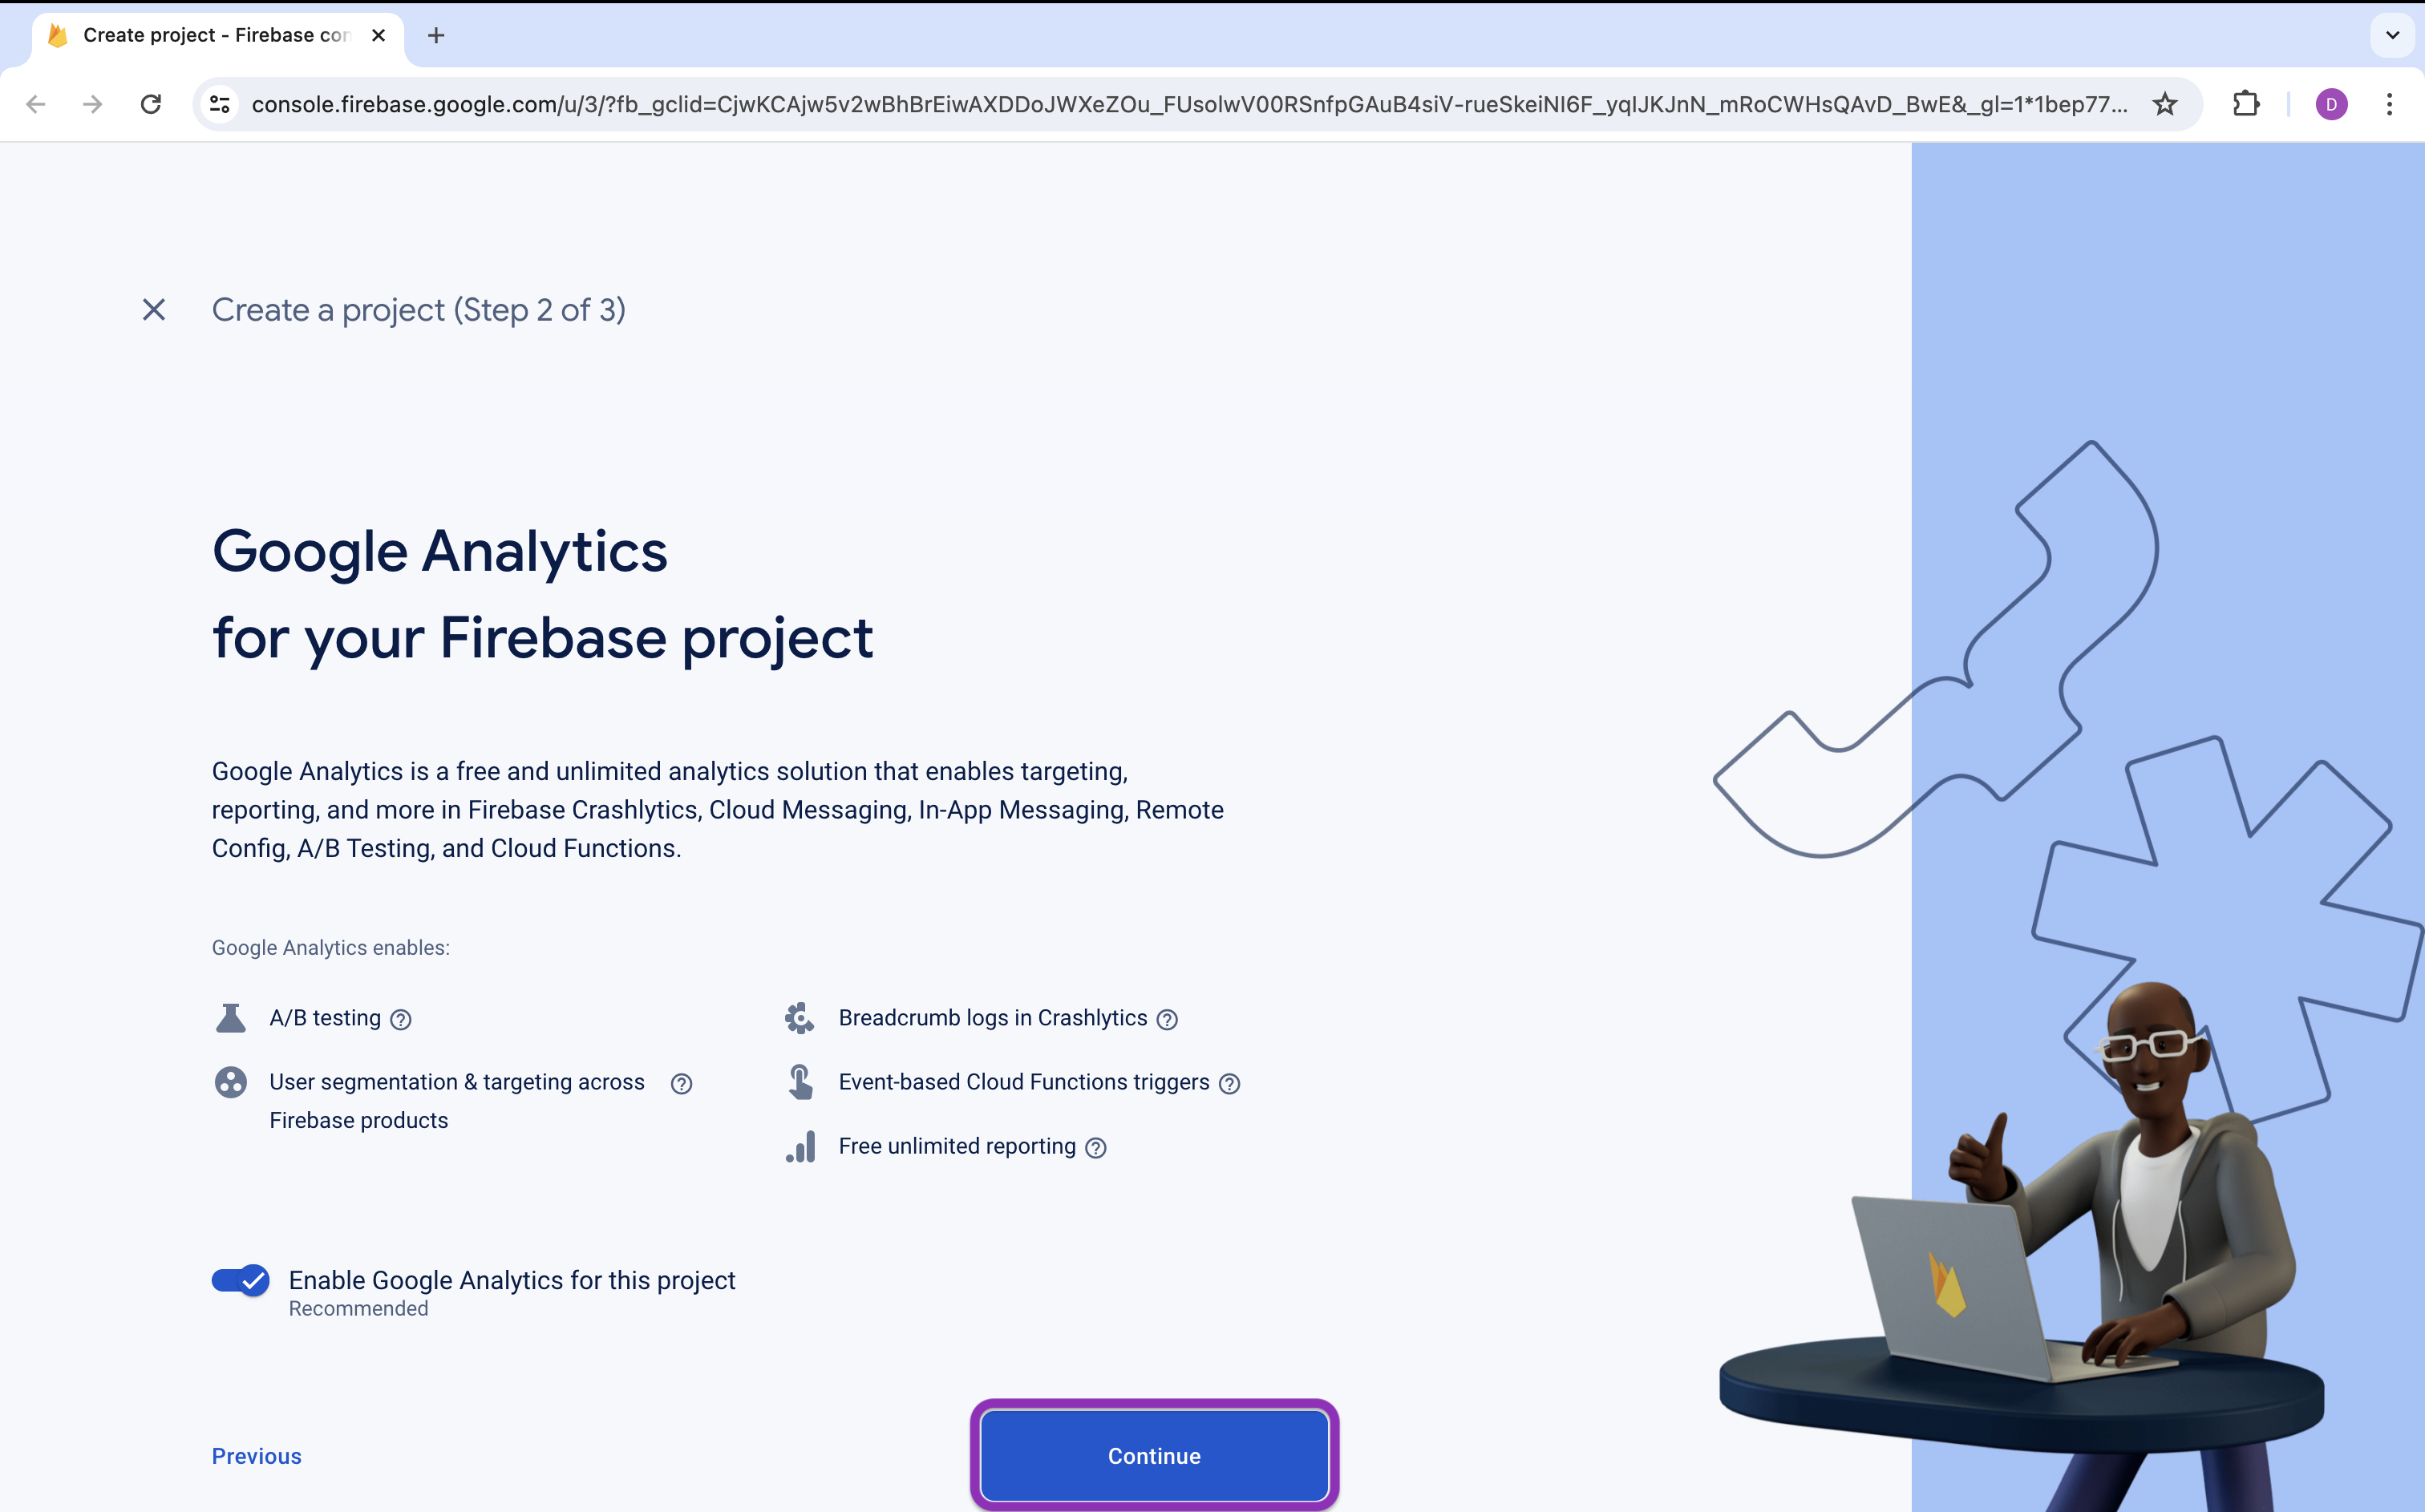
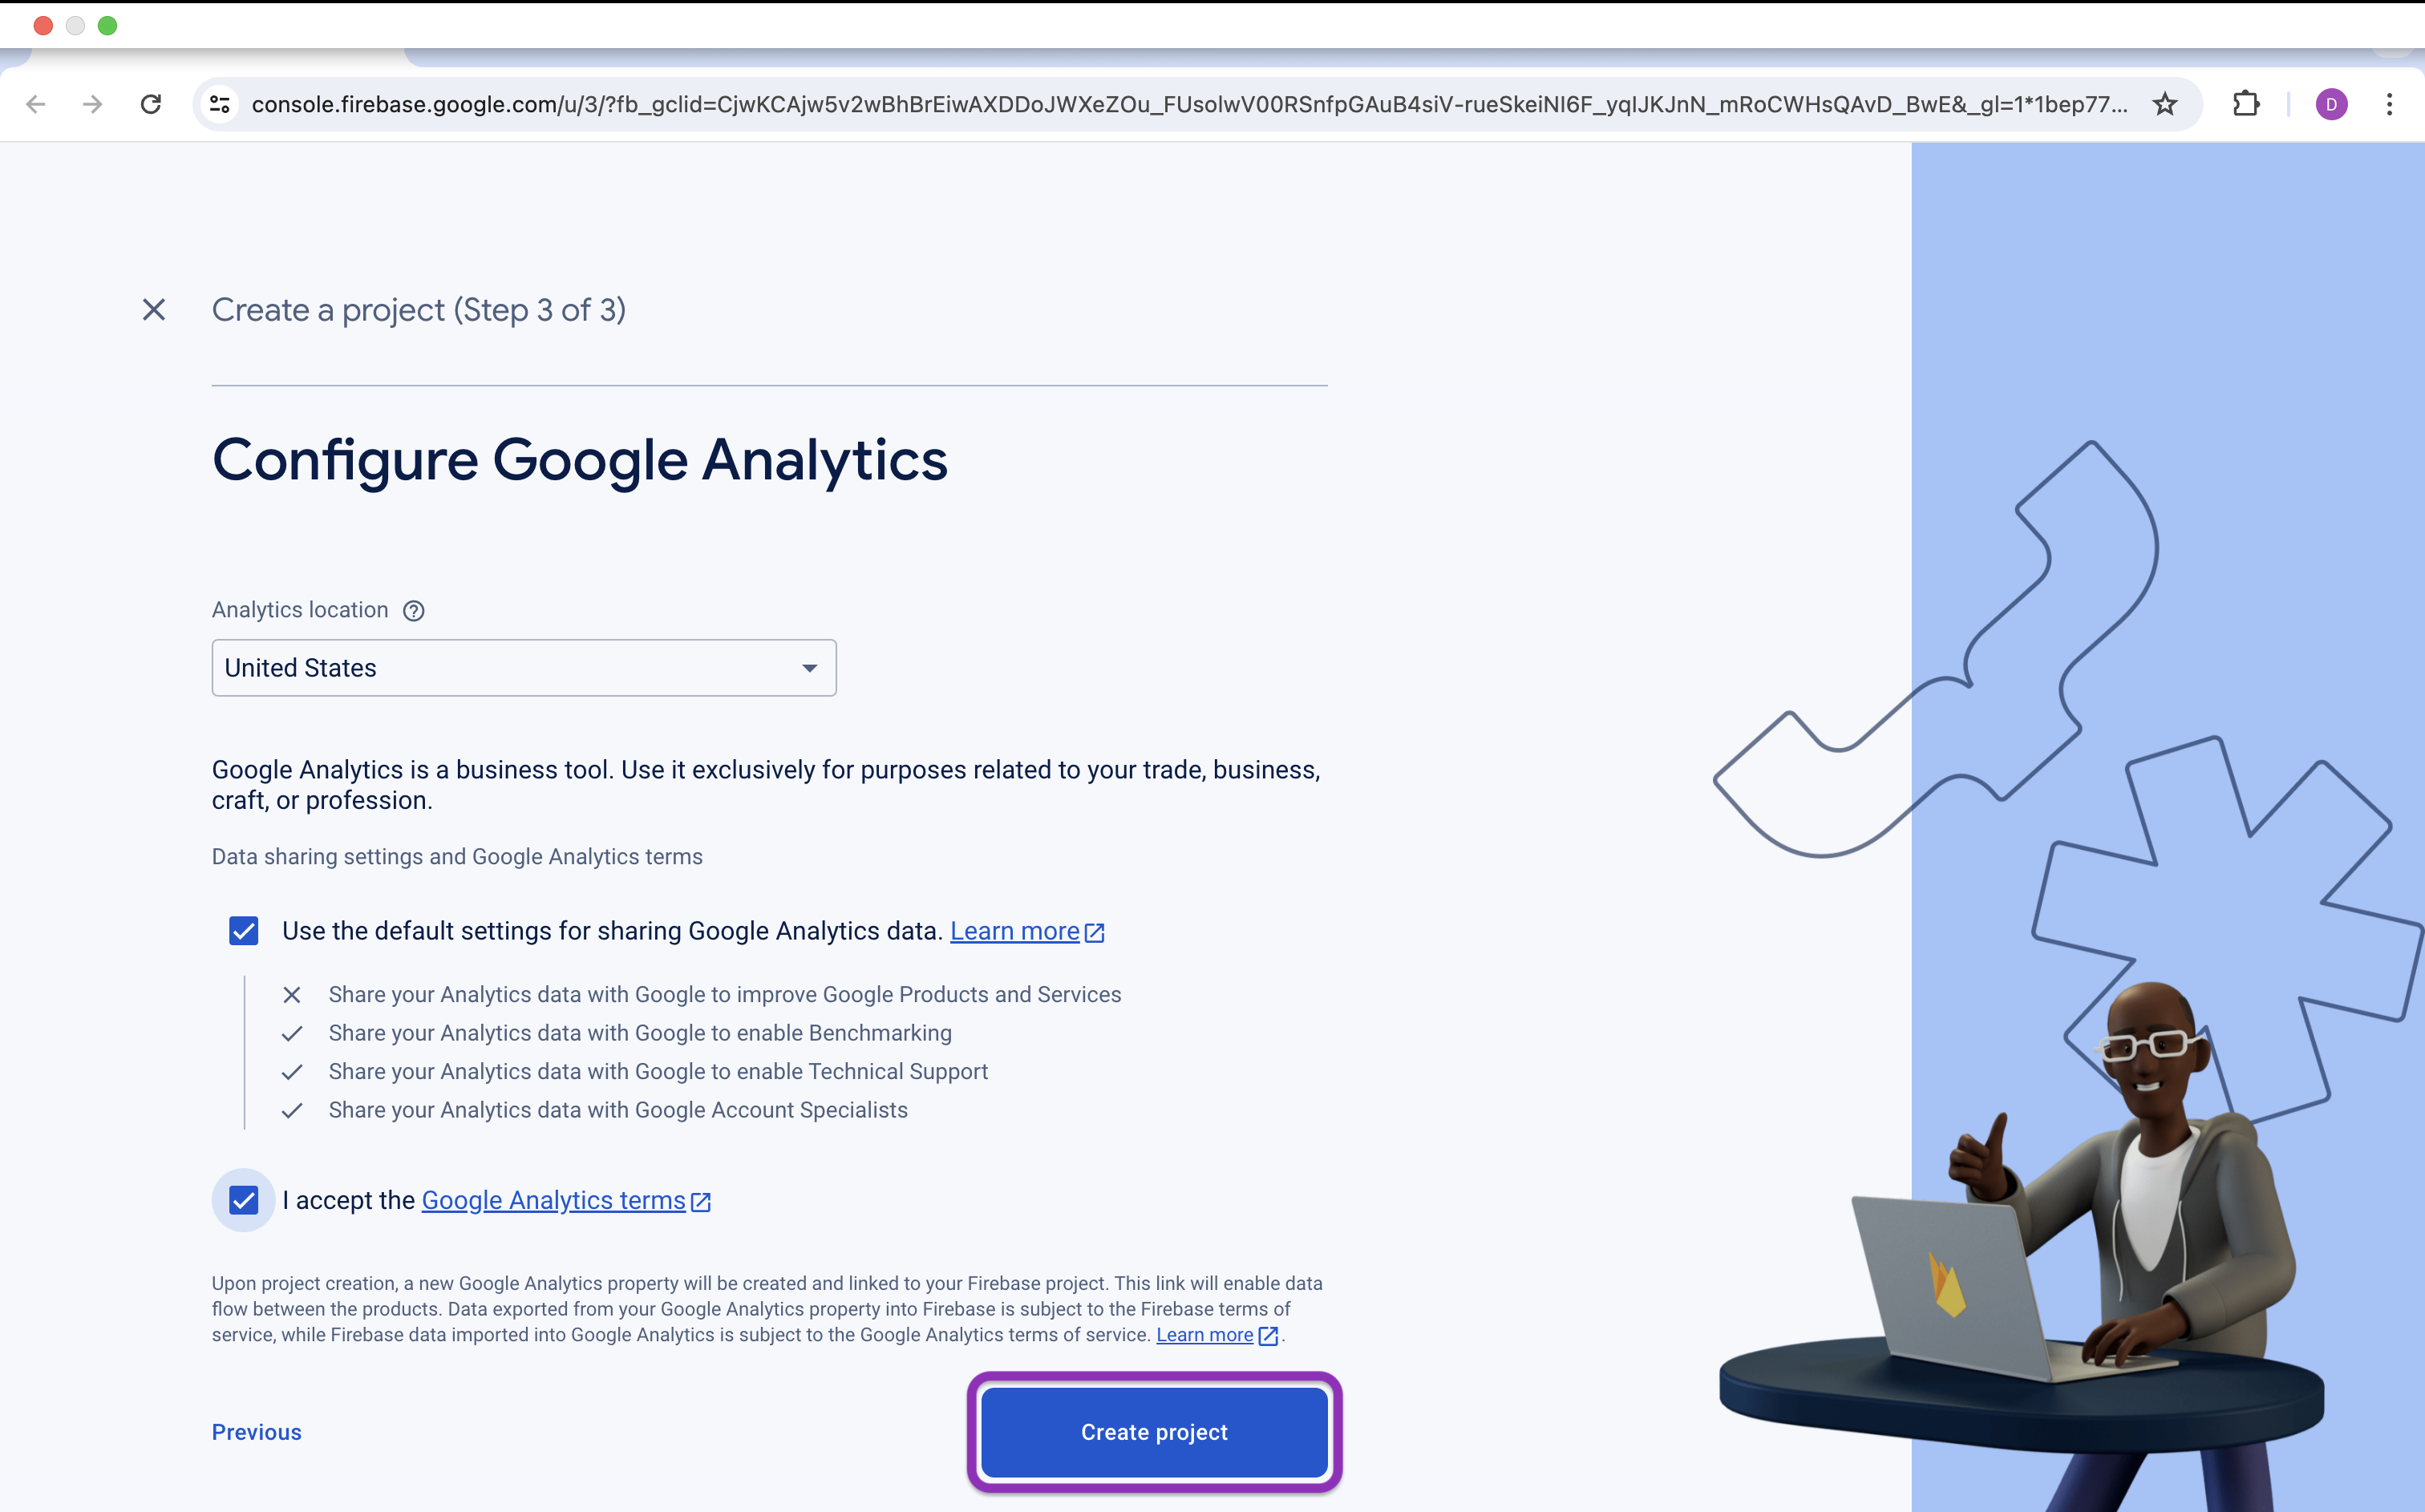
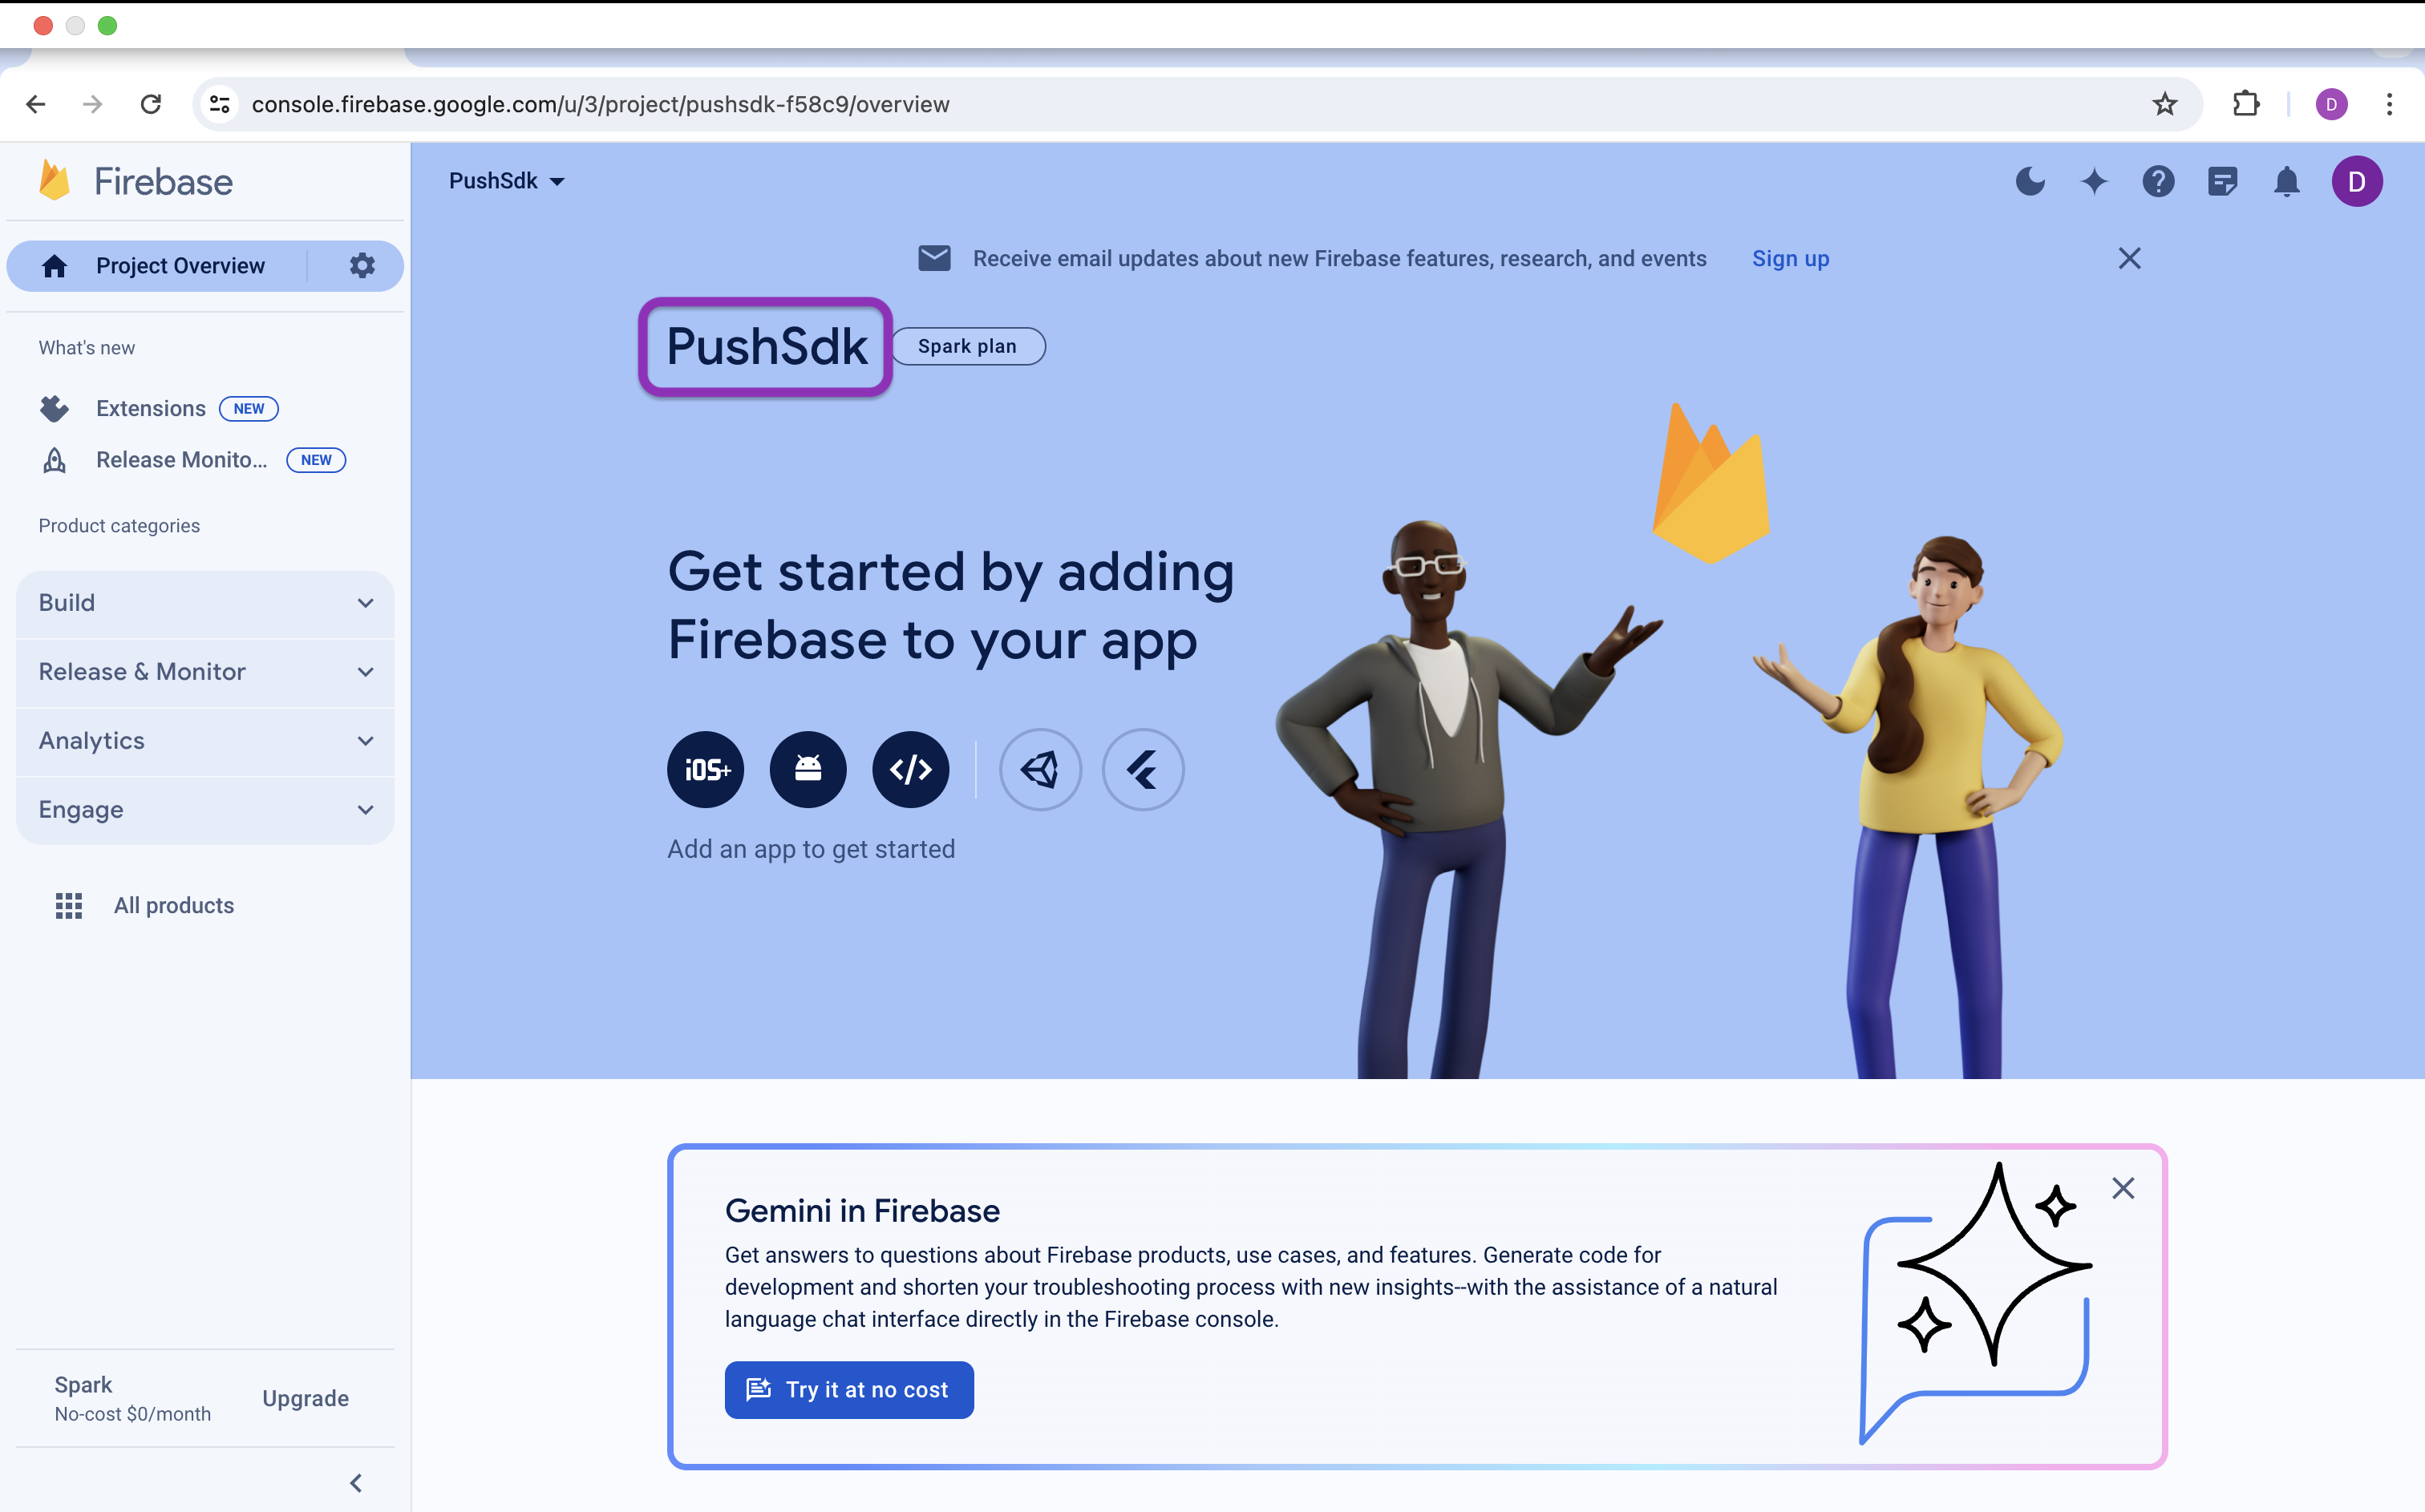
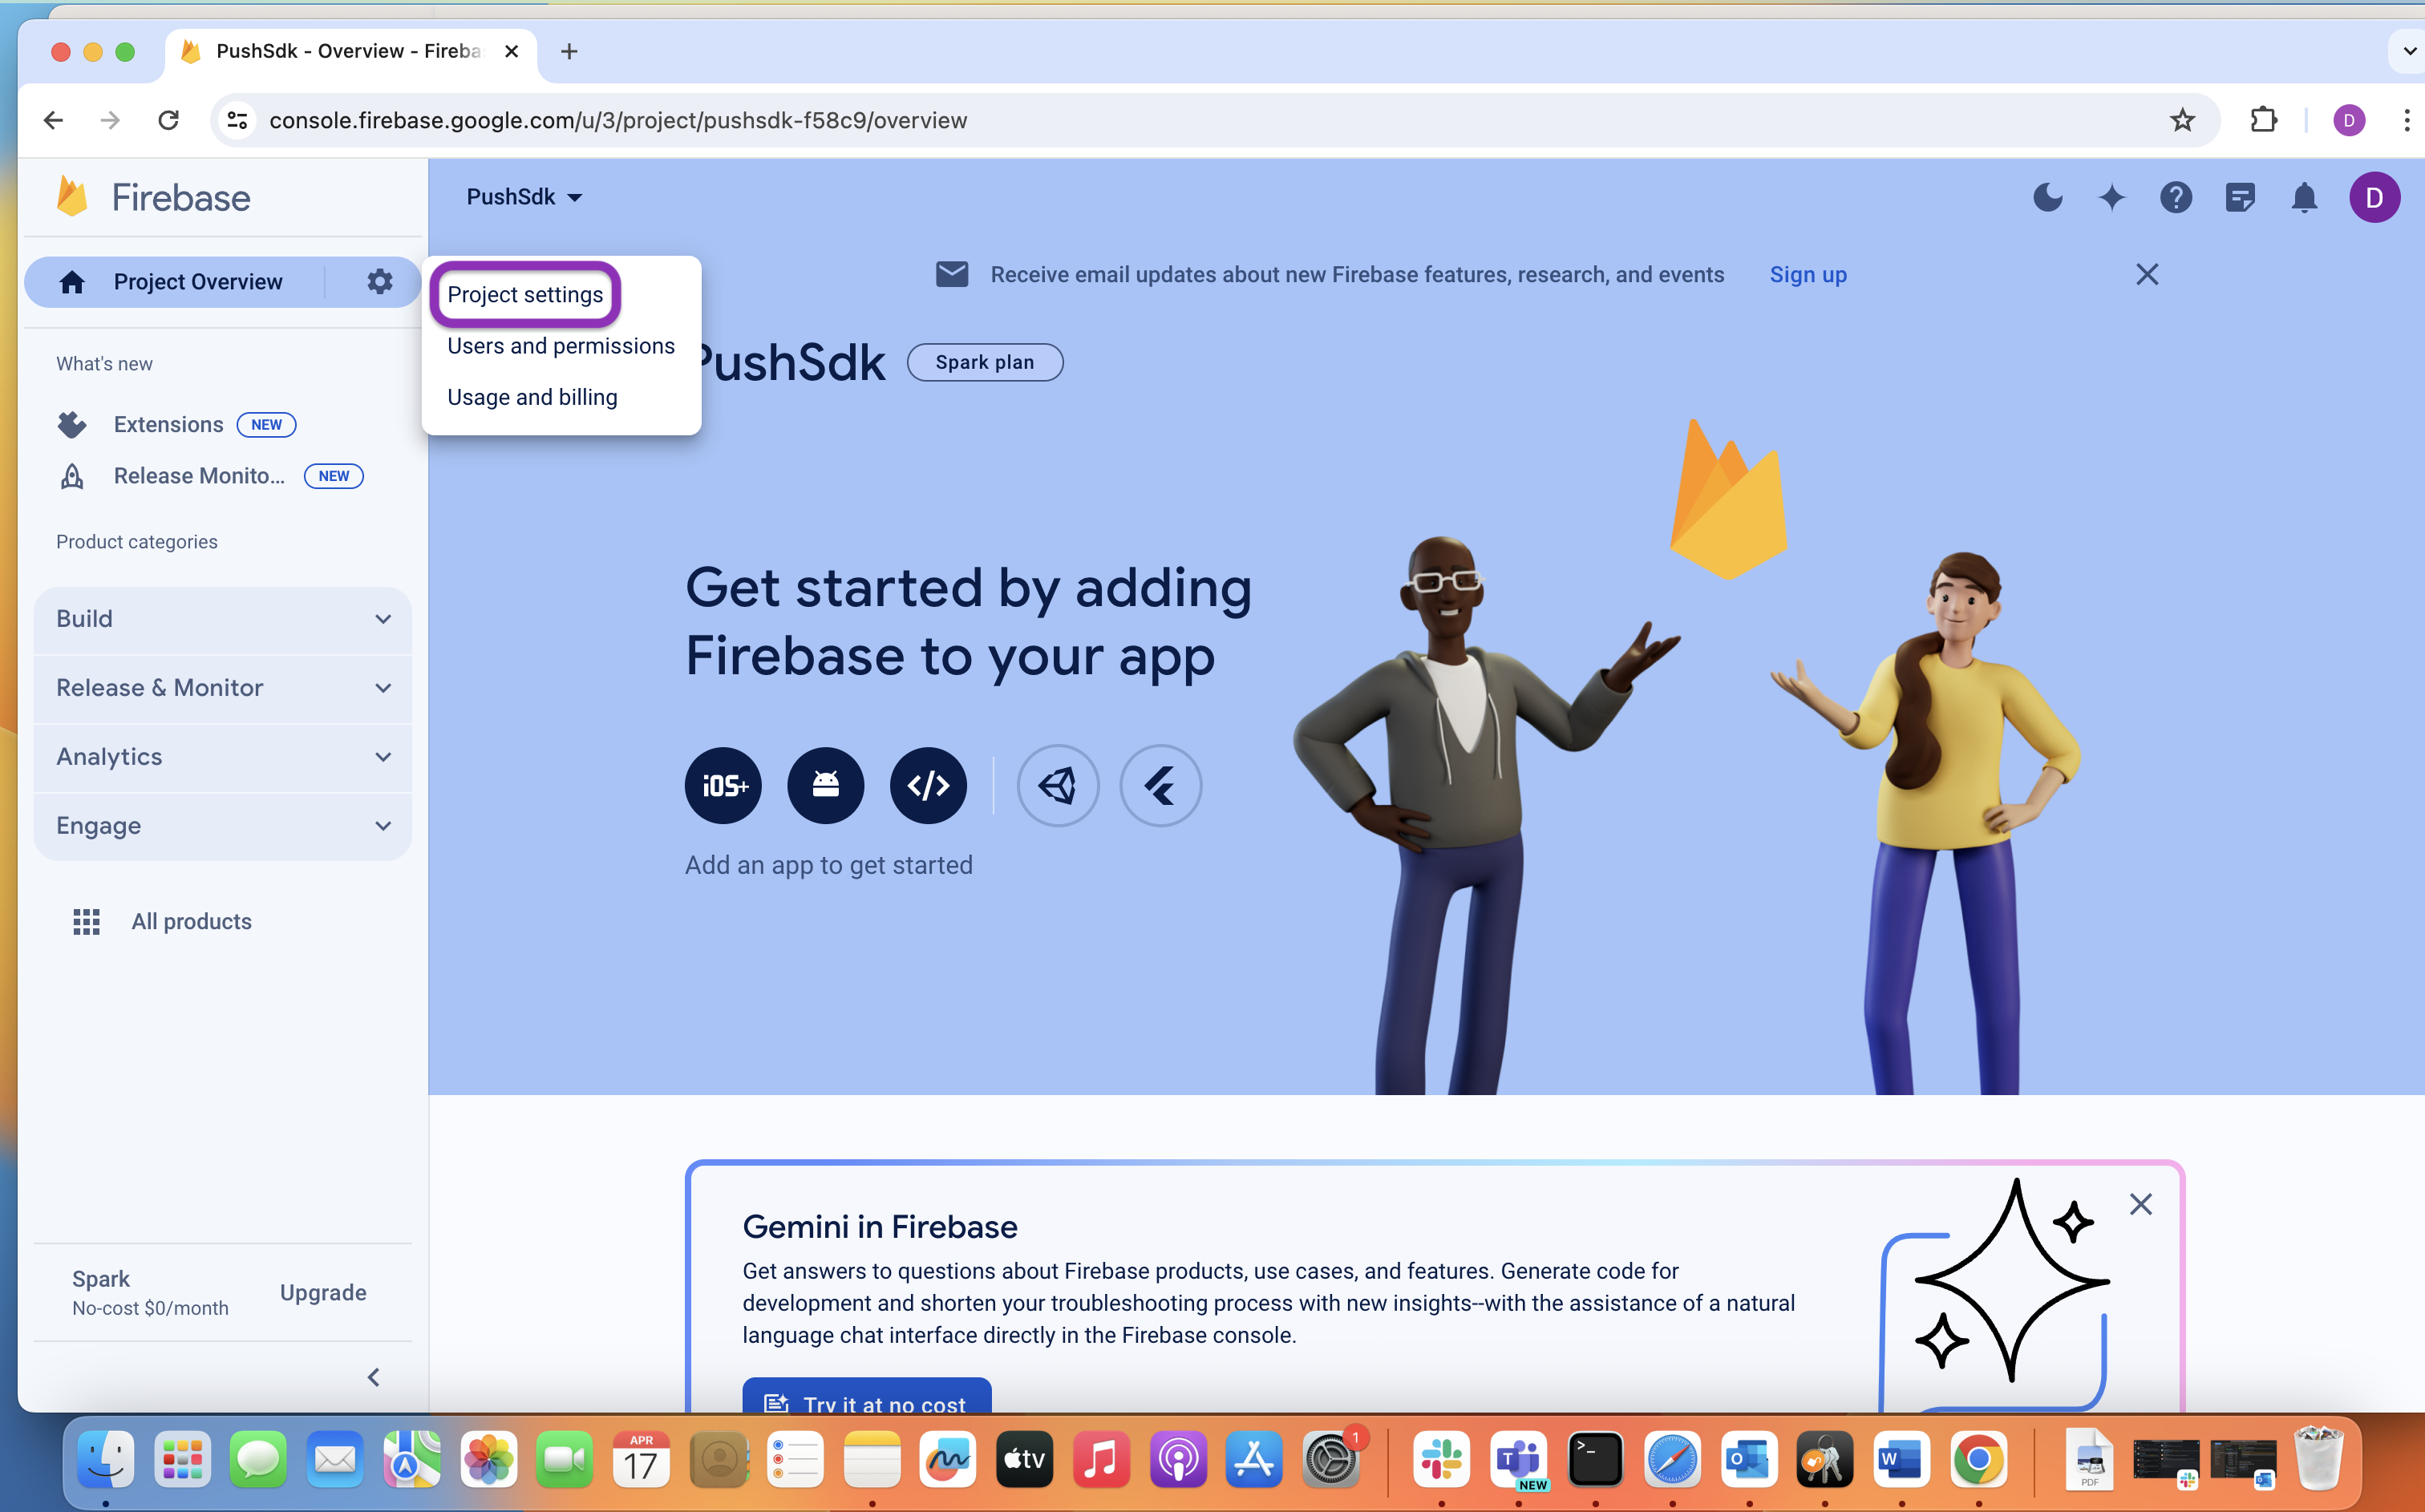
If you've got Firebase already integrated into your app, you can select it here. If you're new to Firebase, you can create a new app. It will ask if you want to enable Google Analytics - that's up to you. We don't need it "on" to do our analytics, but if you want use some of the more advanced features Firebase itself has to offer, you'll need to say yes. Also make sure you have enabled Firebase Cloud Messaging API for the project.
Generate private key

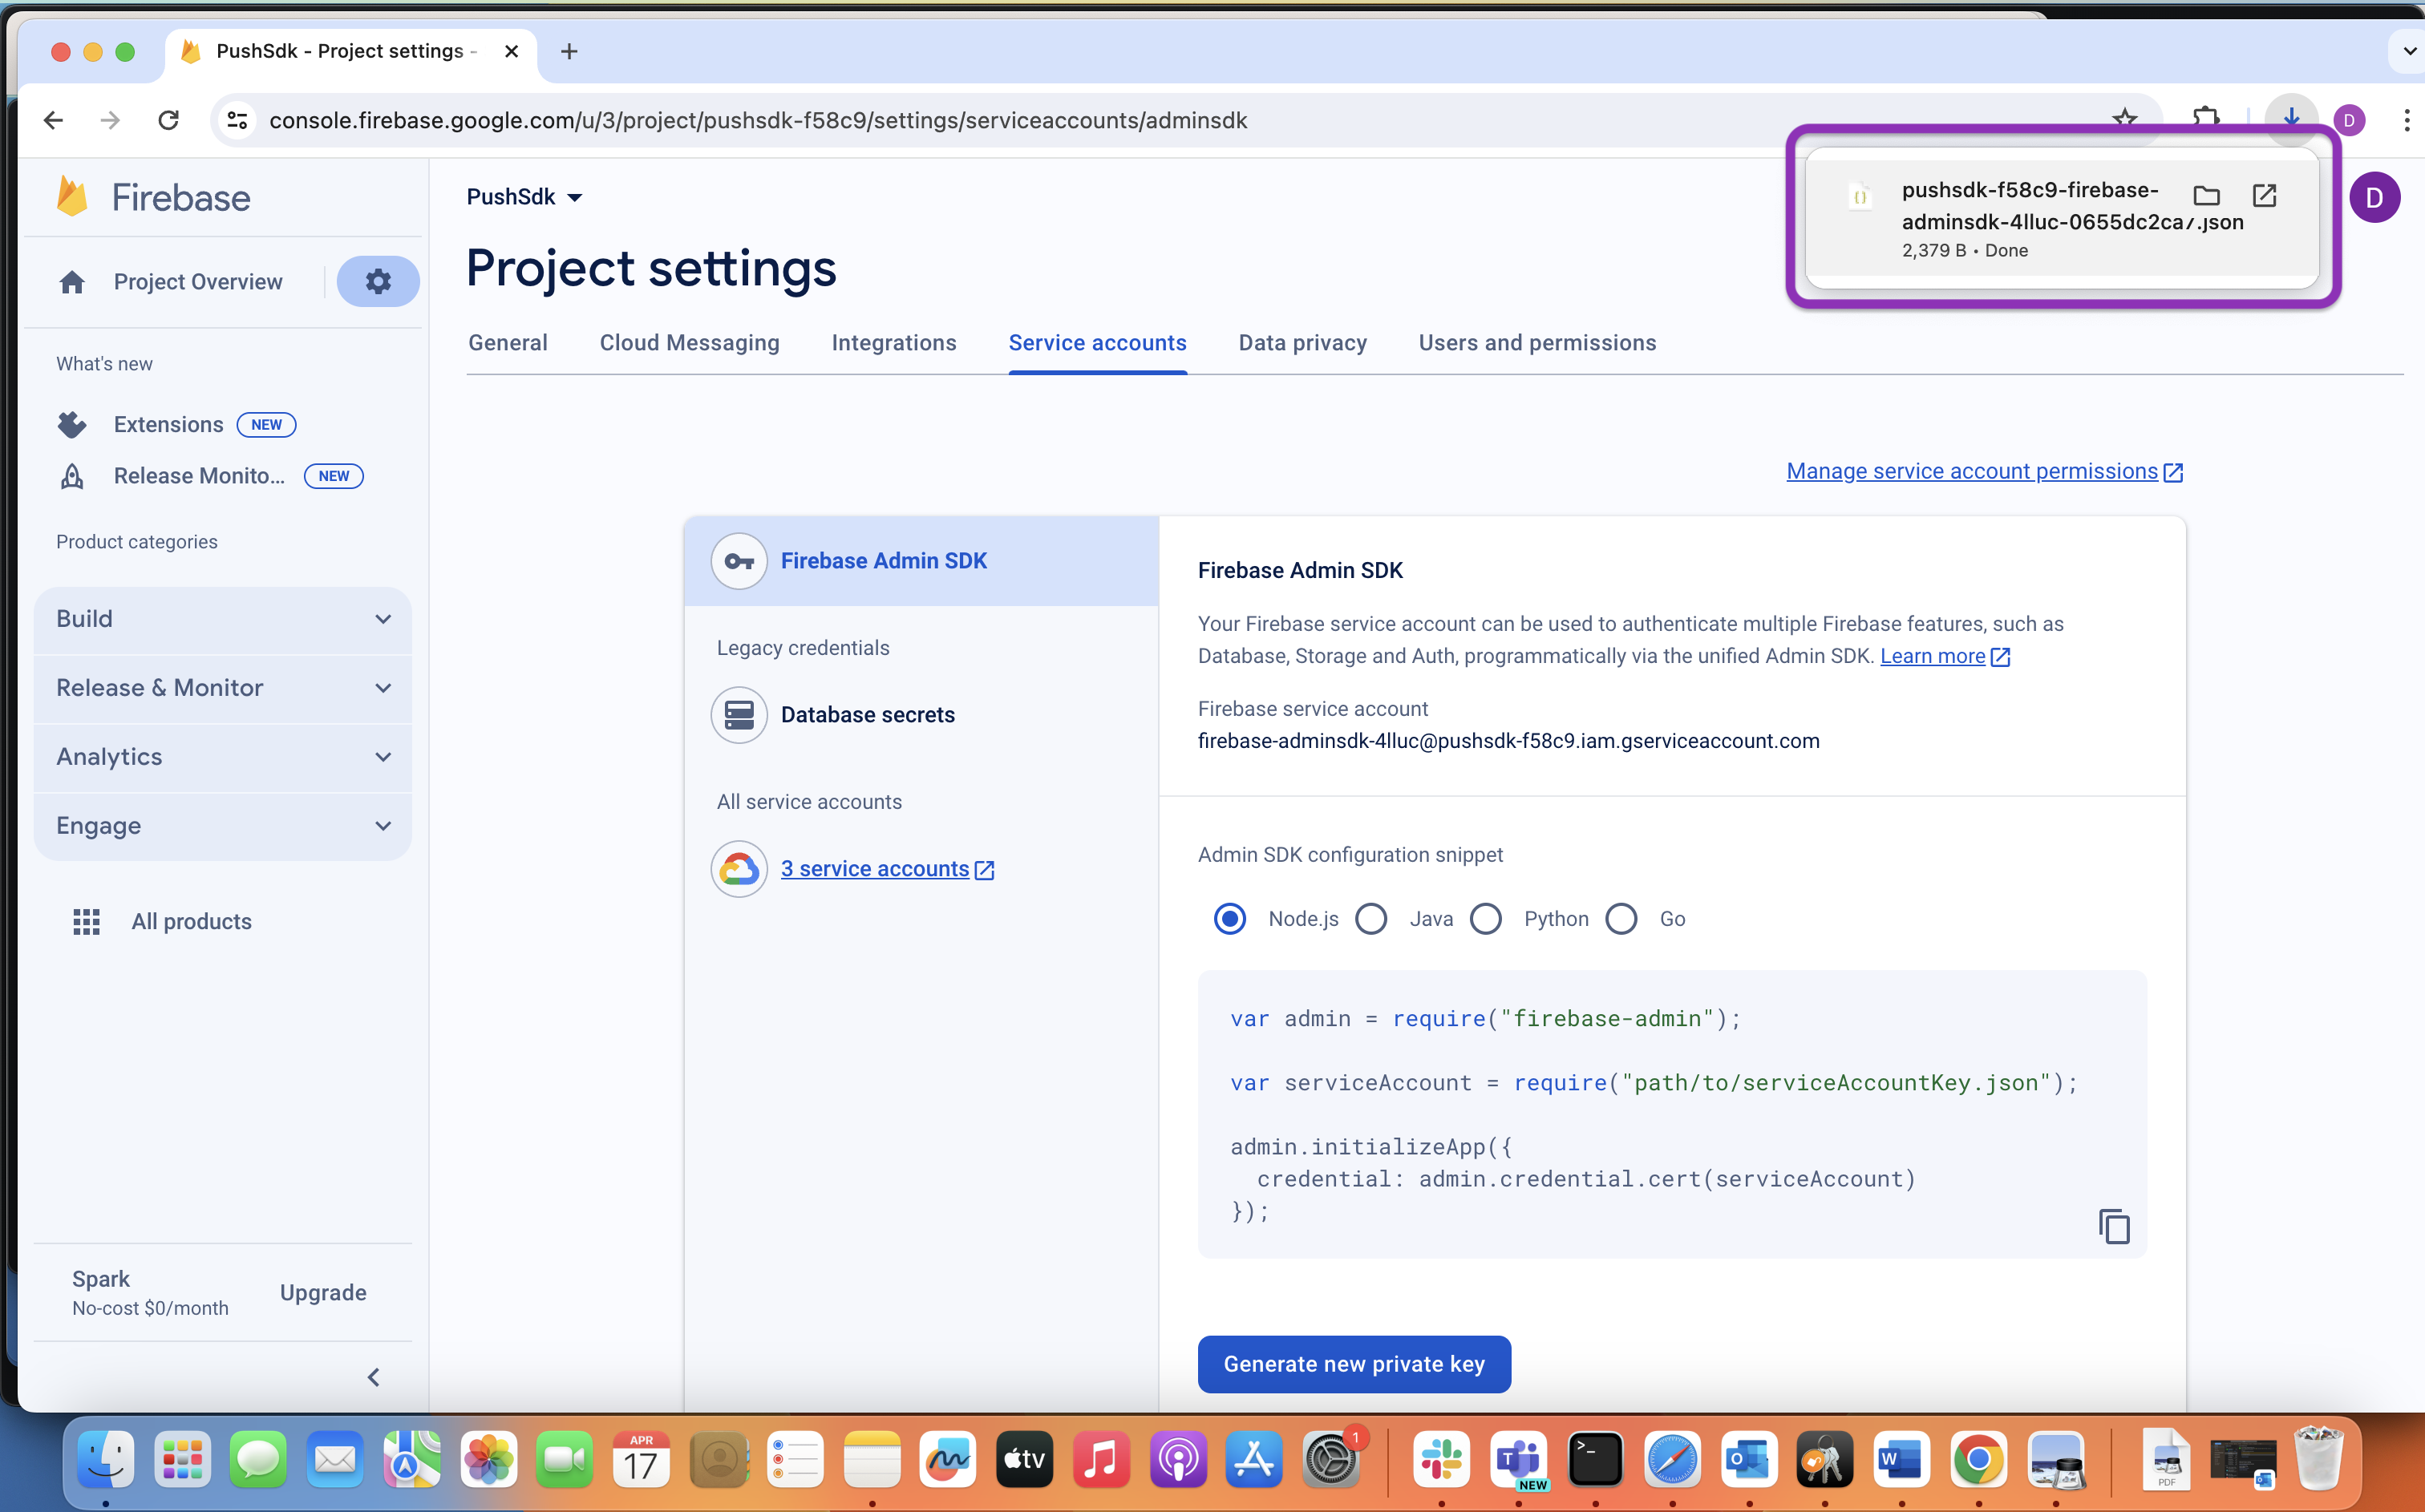
Keep this downloaded file somewhere safe, as it potentially allows people to access your Firebase account.
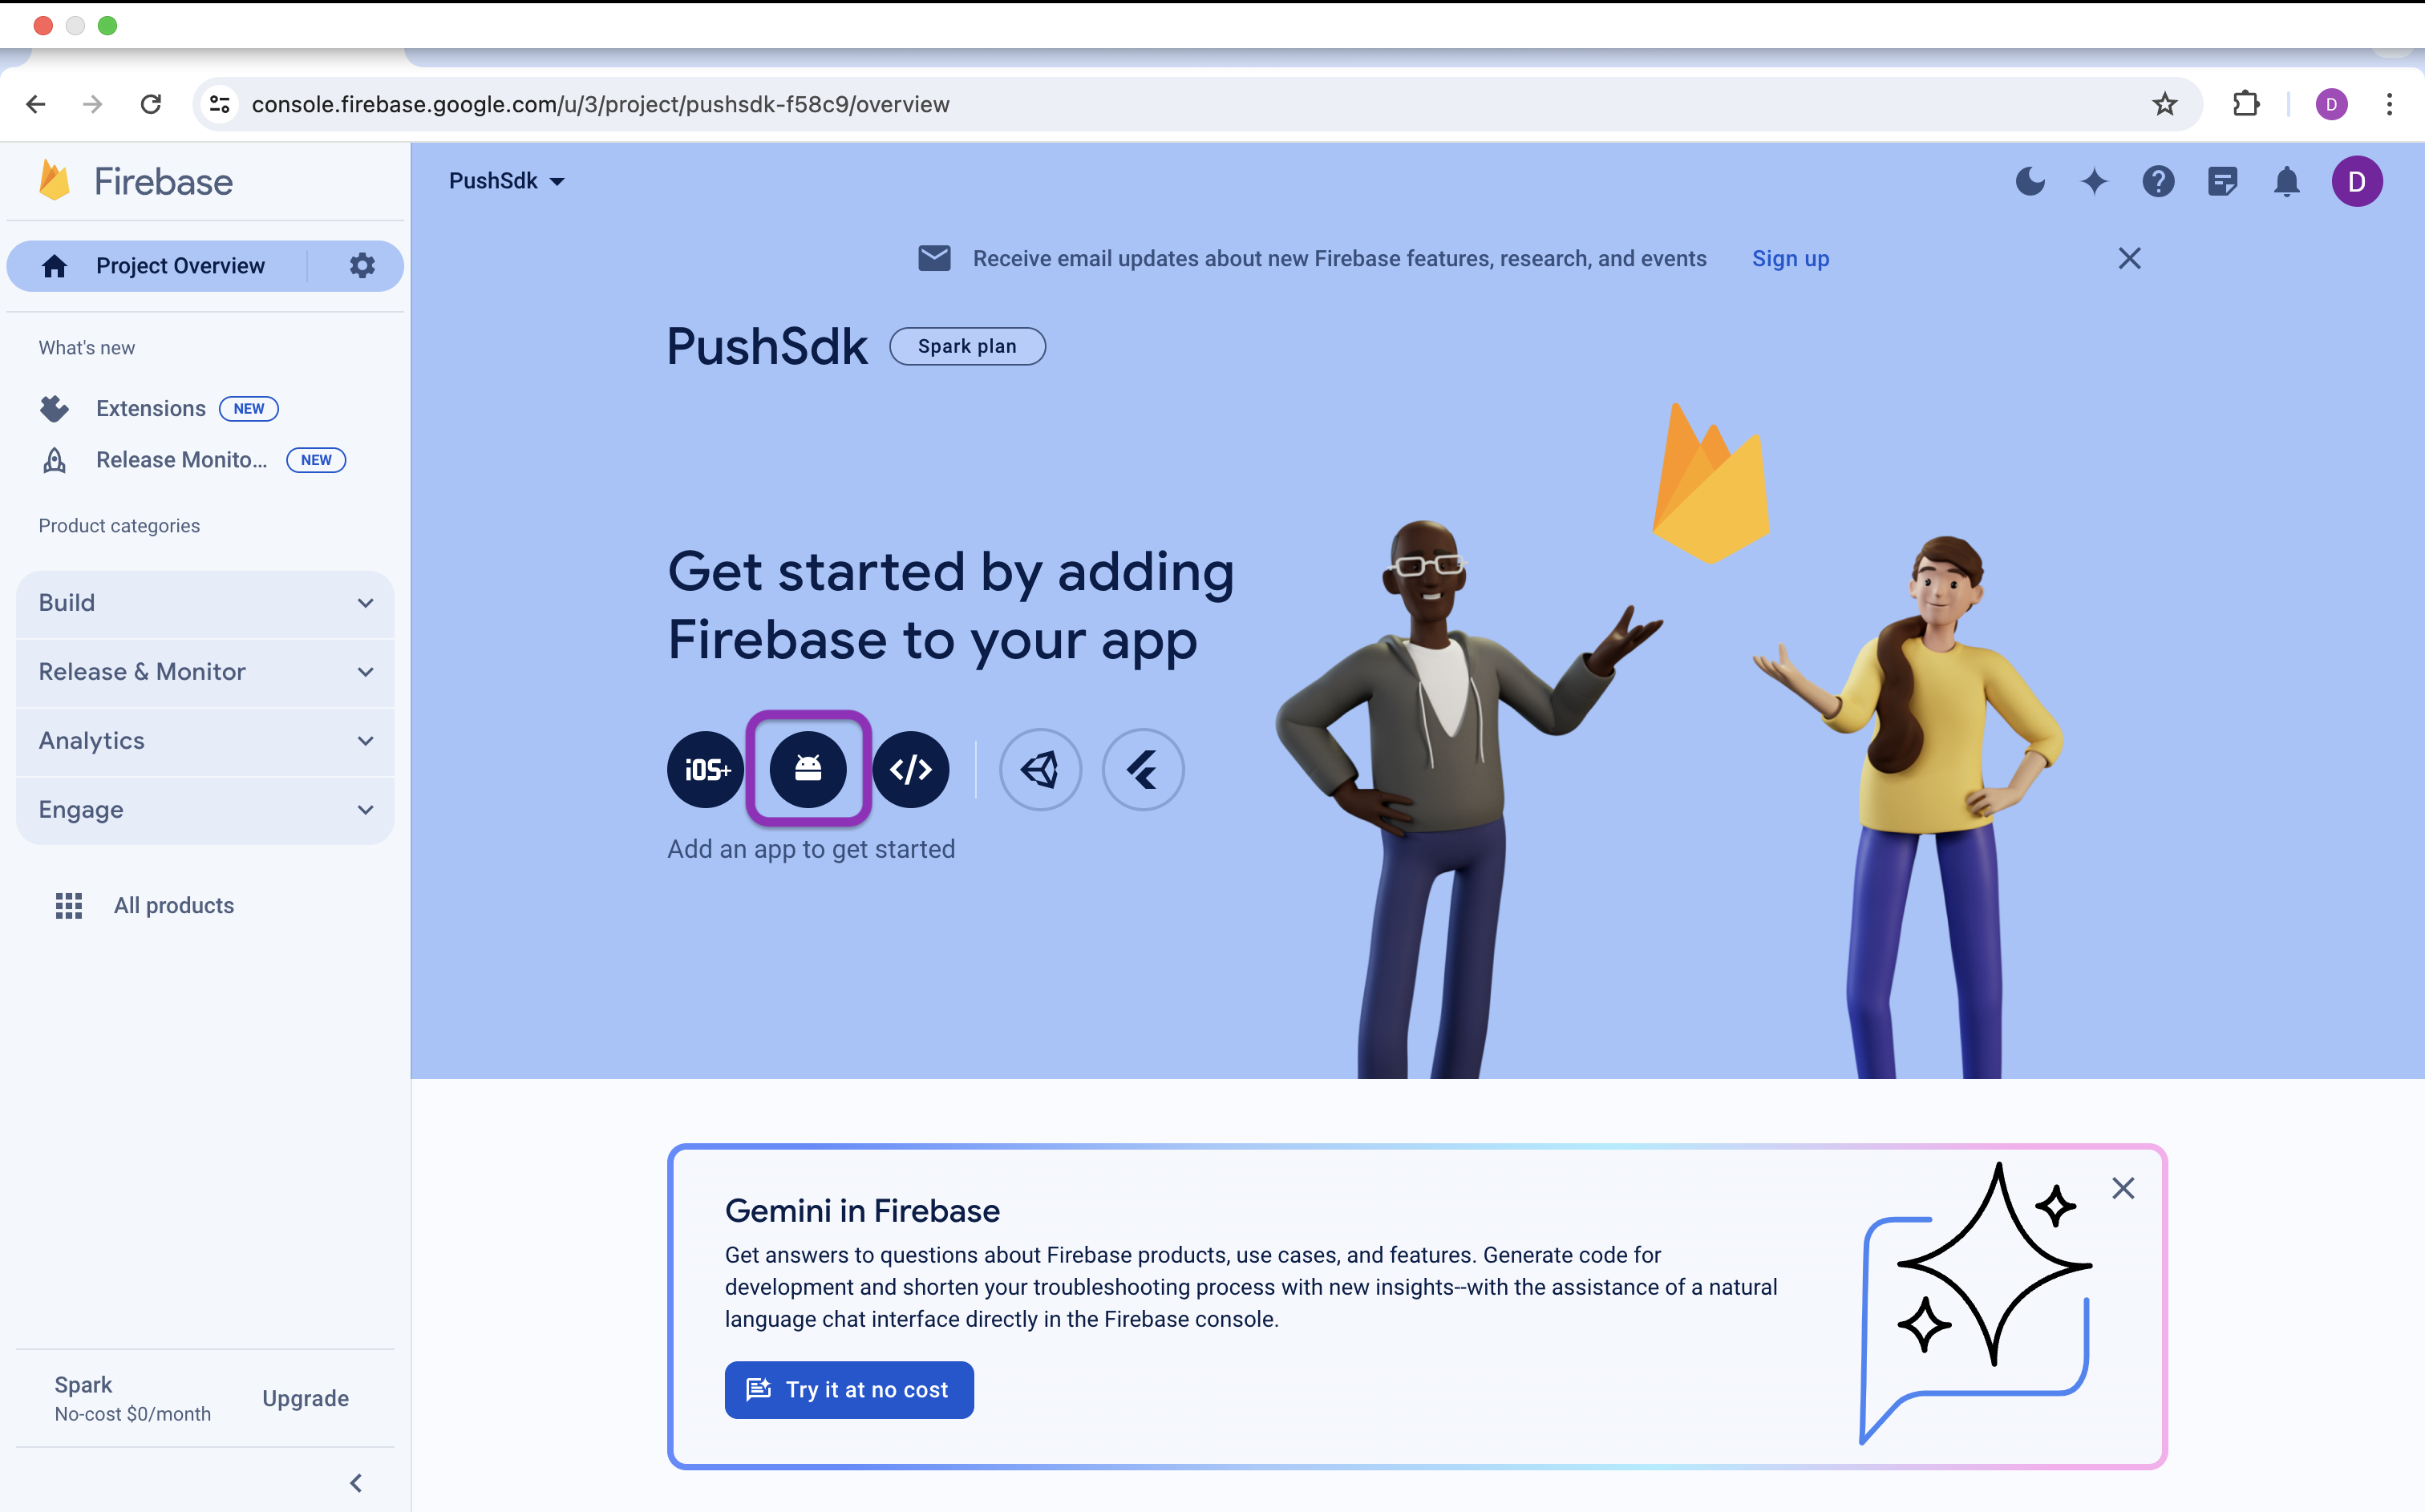
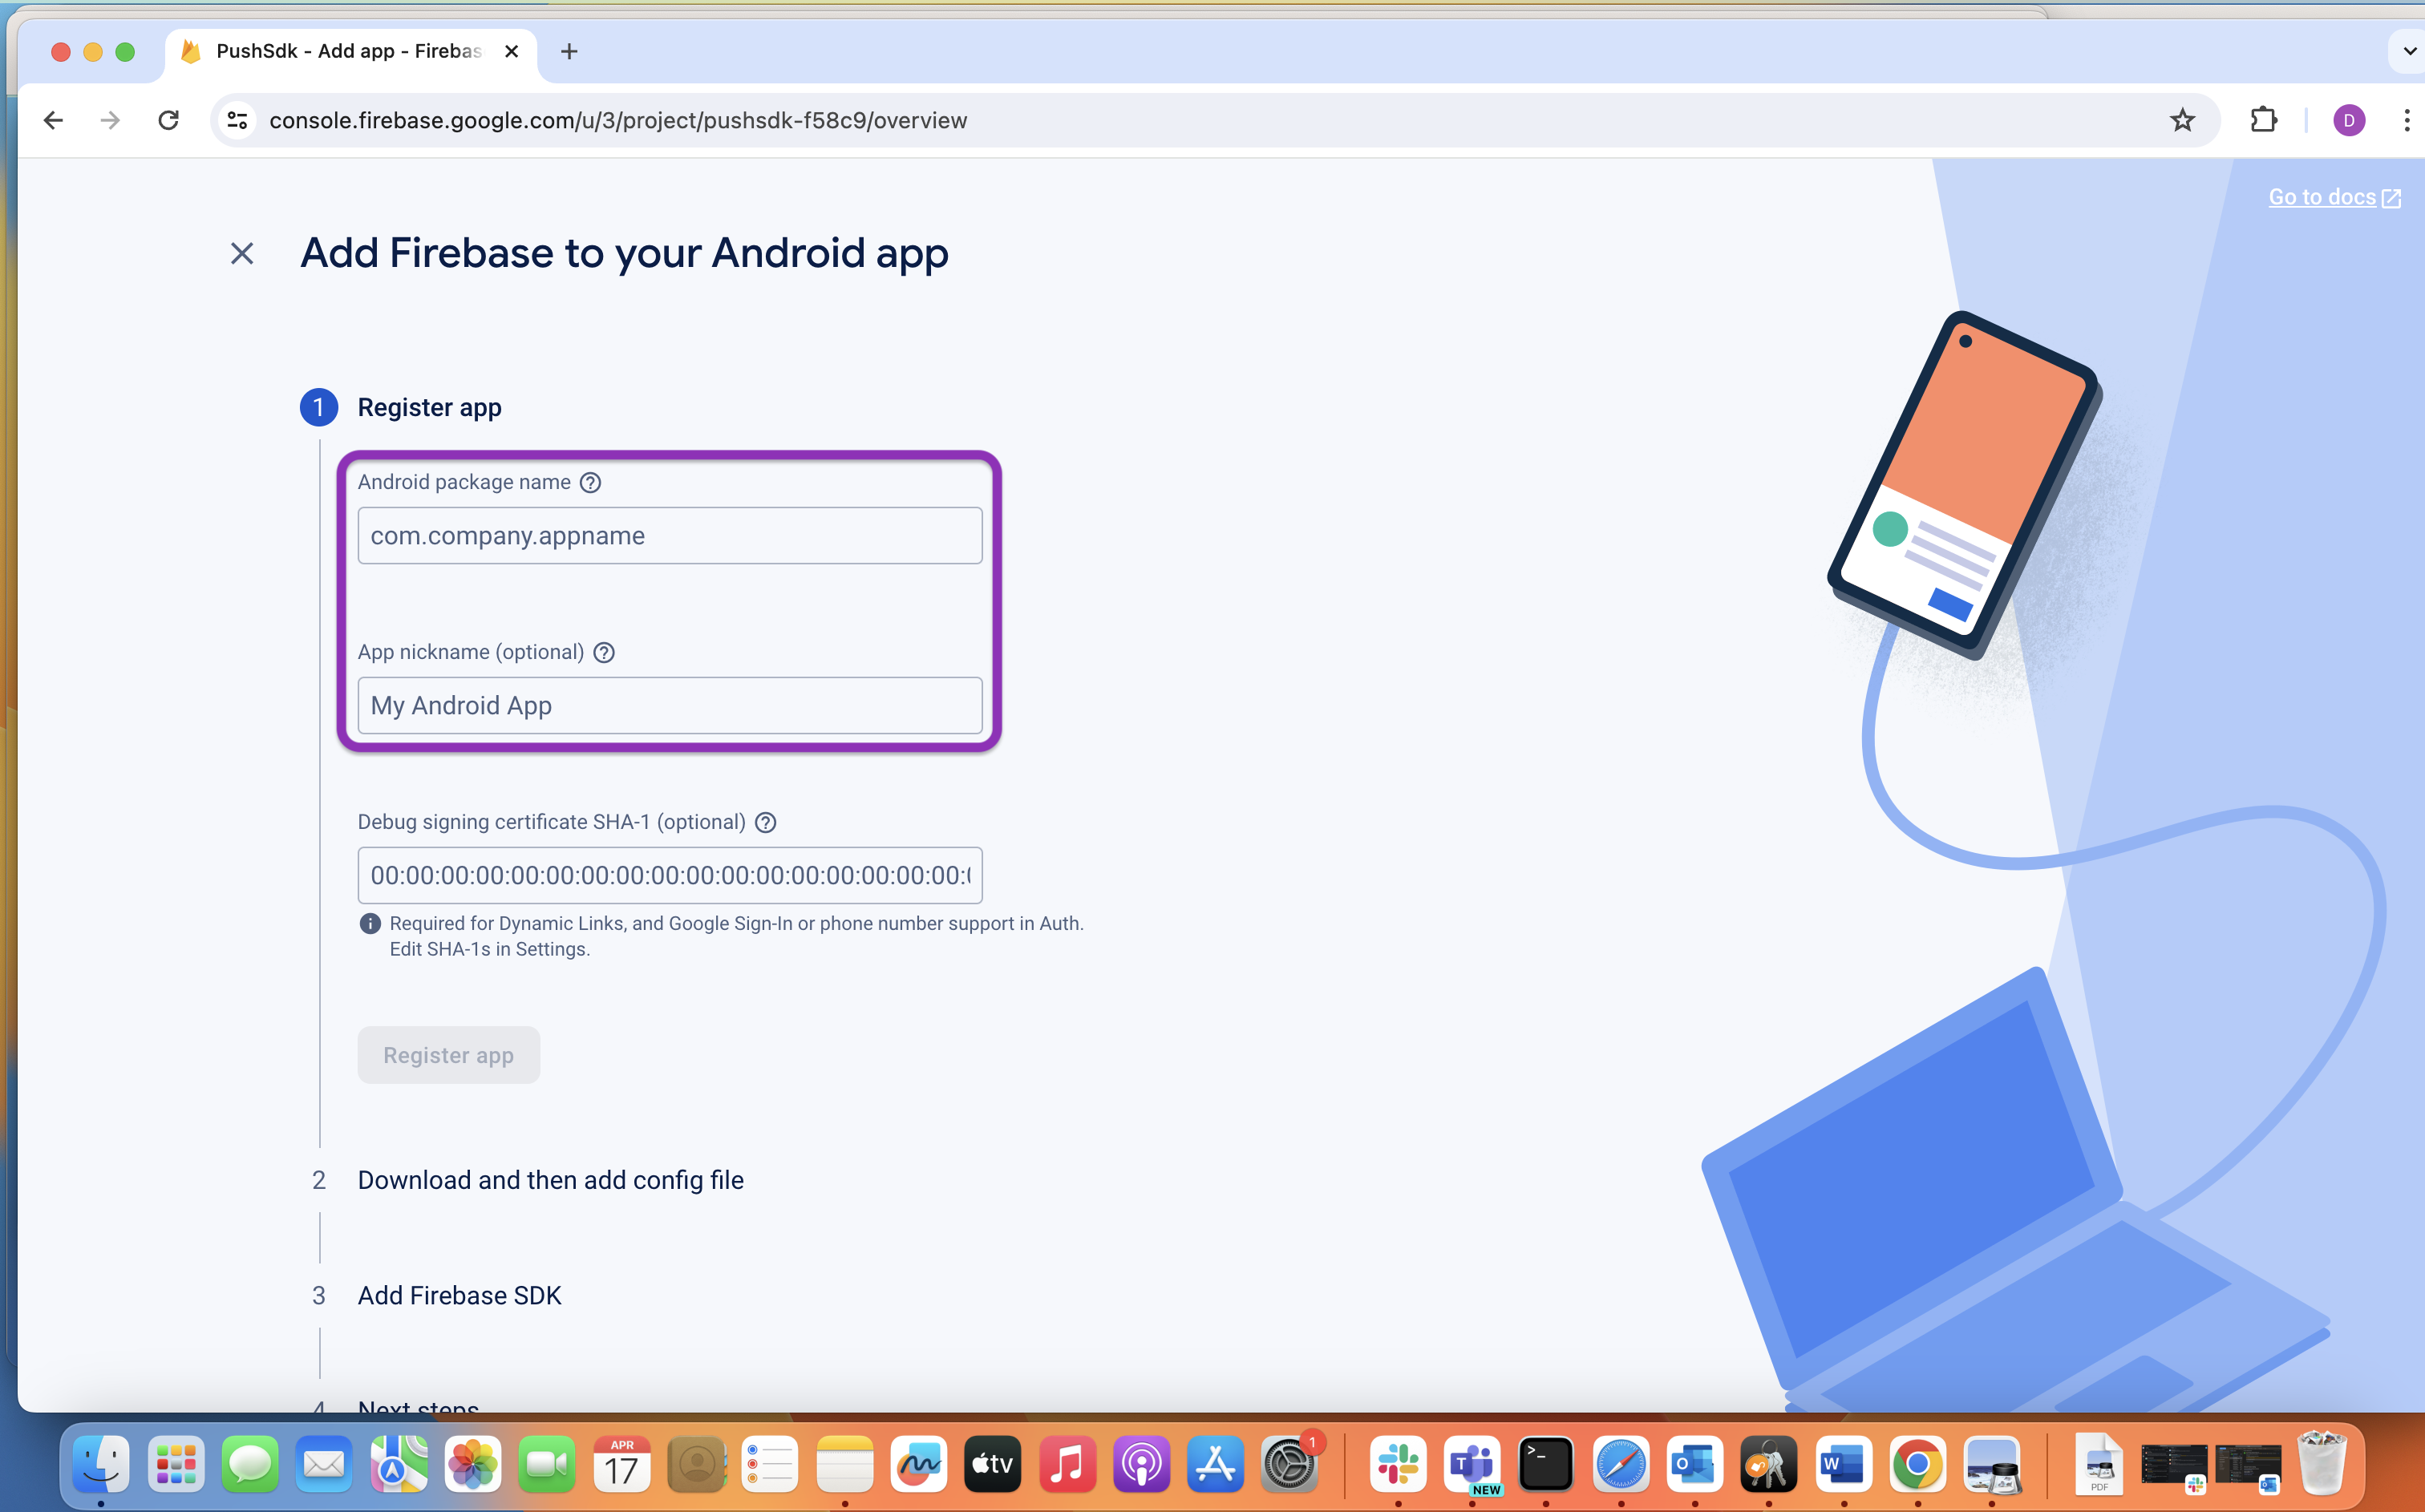
Add firebase to your project.
Click on the Android logo icon shown below ⬇️
Download google-services.json file
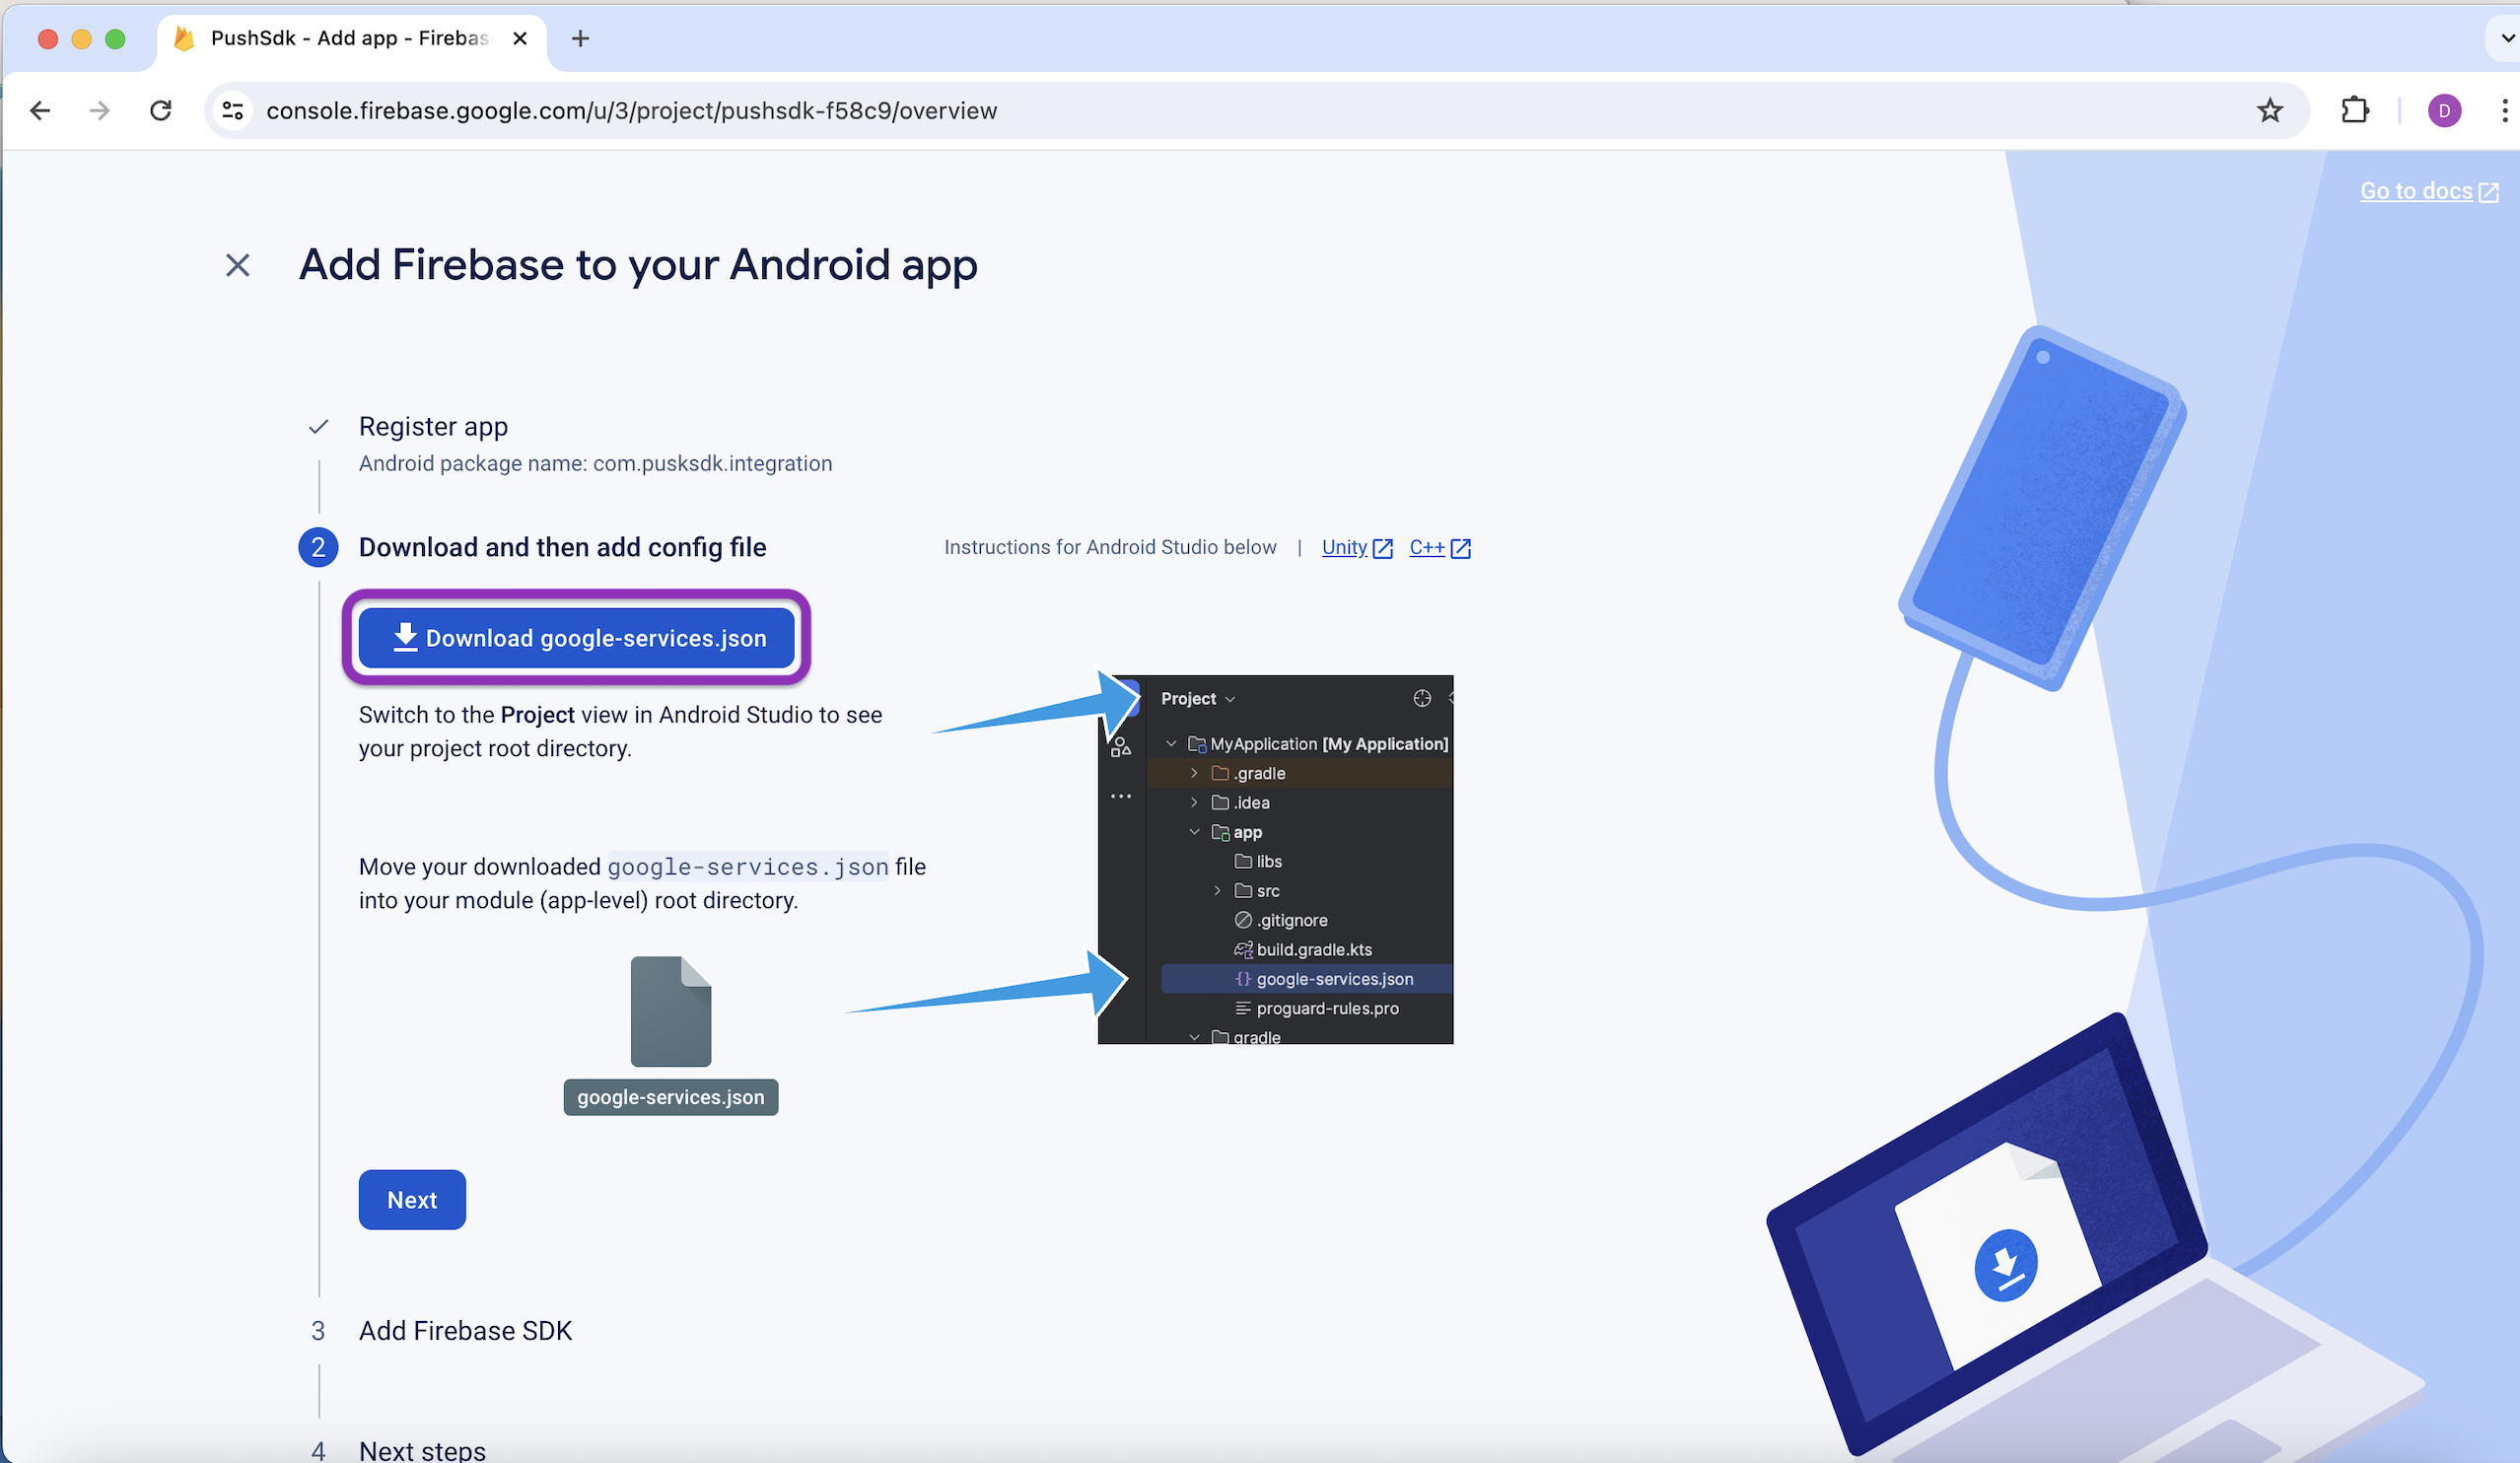
You'll need to include this file in your Android project folder. More info on this will be shown in Step 3.
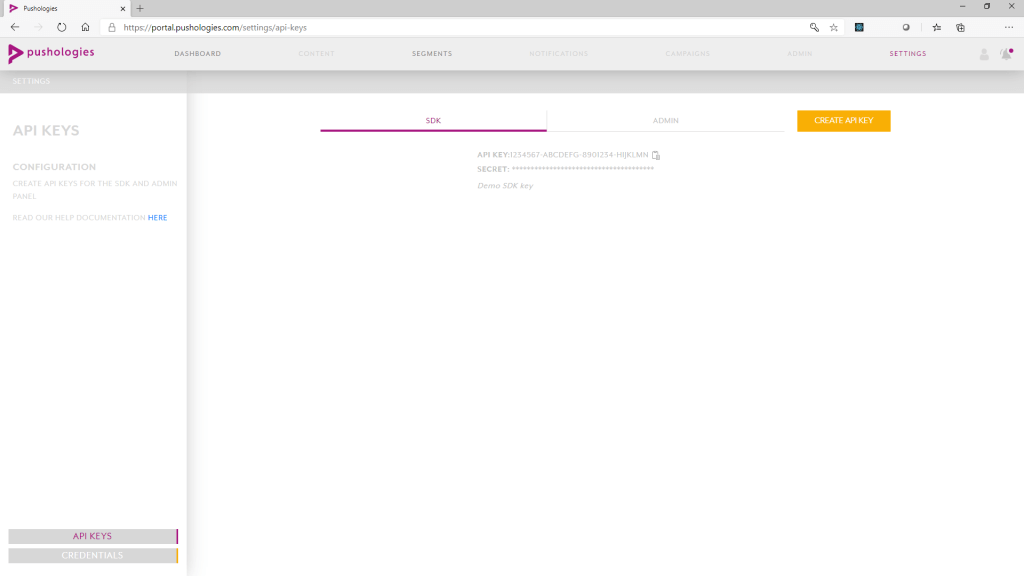
If not, click "Create API Key" and make sure "SDK" is selected from the dropdown. Add a description of you want (your app name works well here) and save the key somewhere safe - you'll need this to actually integrate our SDK into your app.
Keep me safe
- Firebase Admin Private Key / Firebase service token (json file)
- google-services.json