Step 3.1: Xcode Project Setup
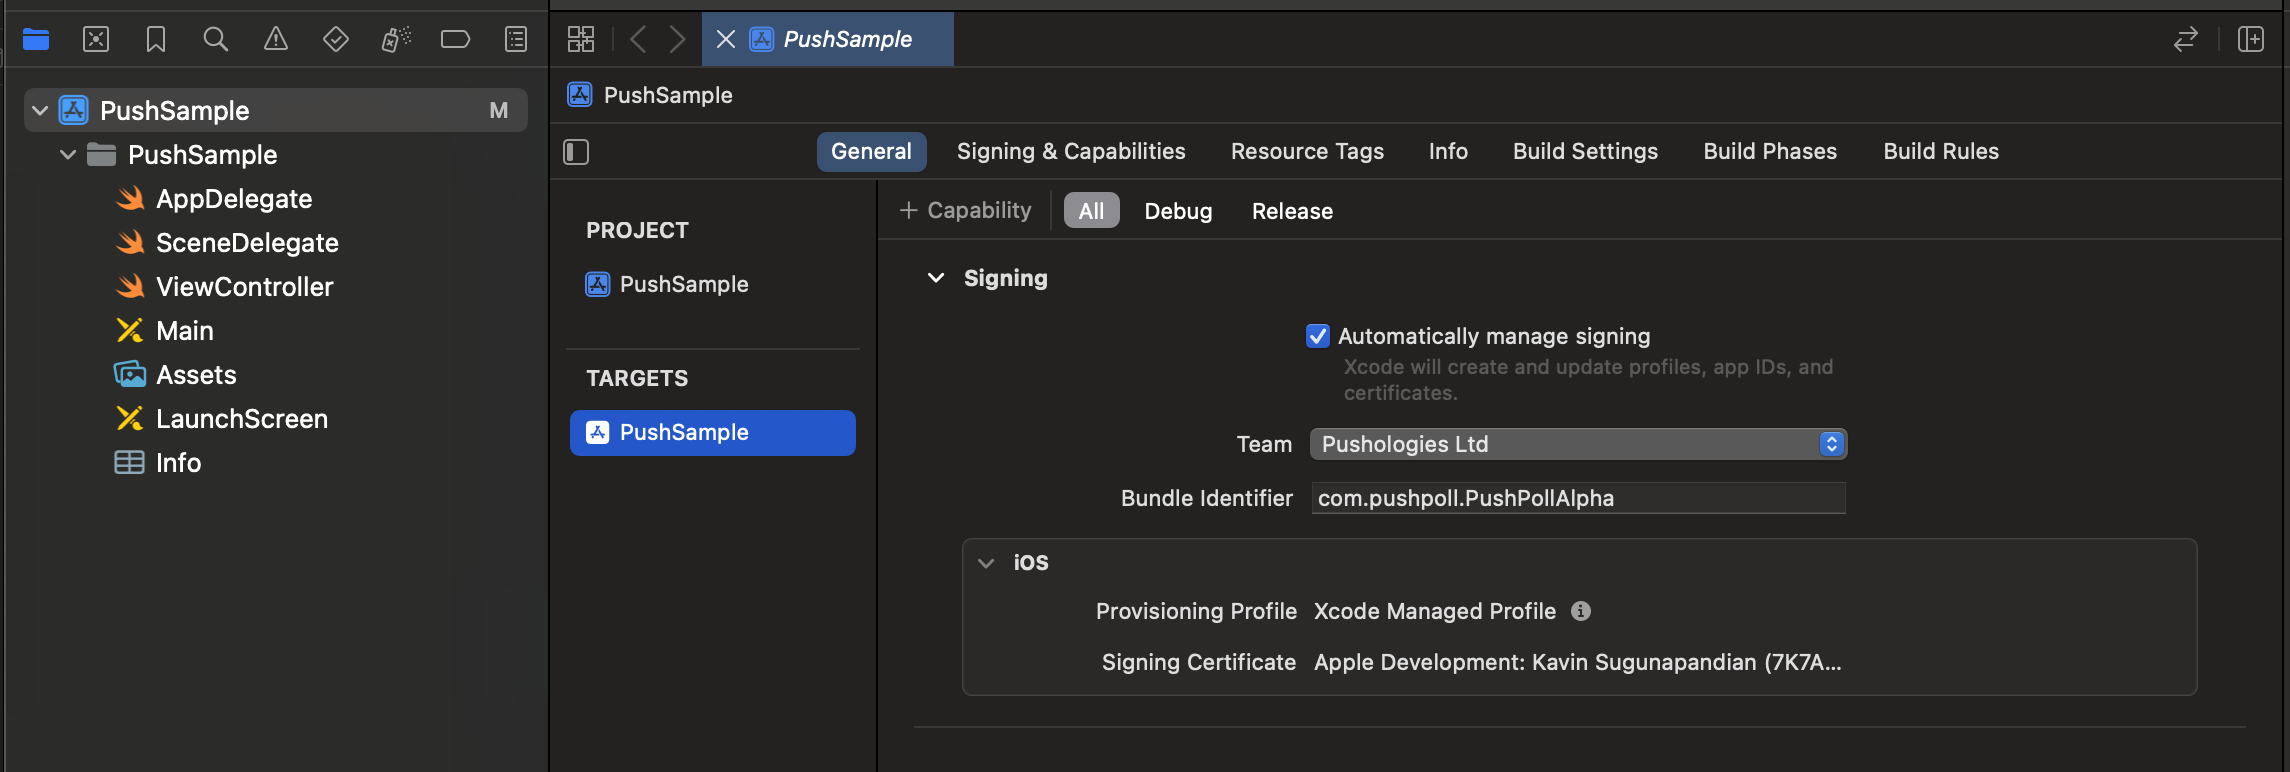
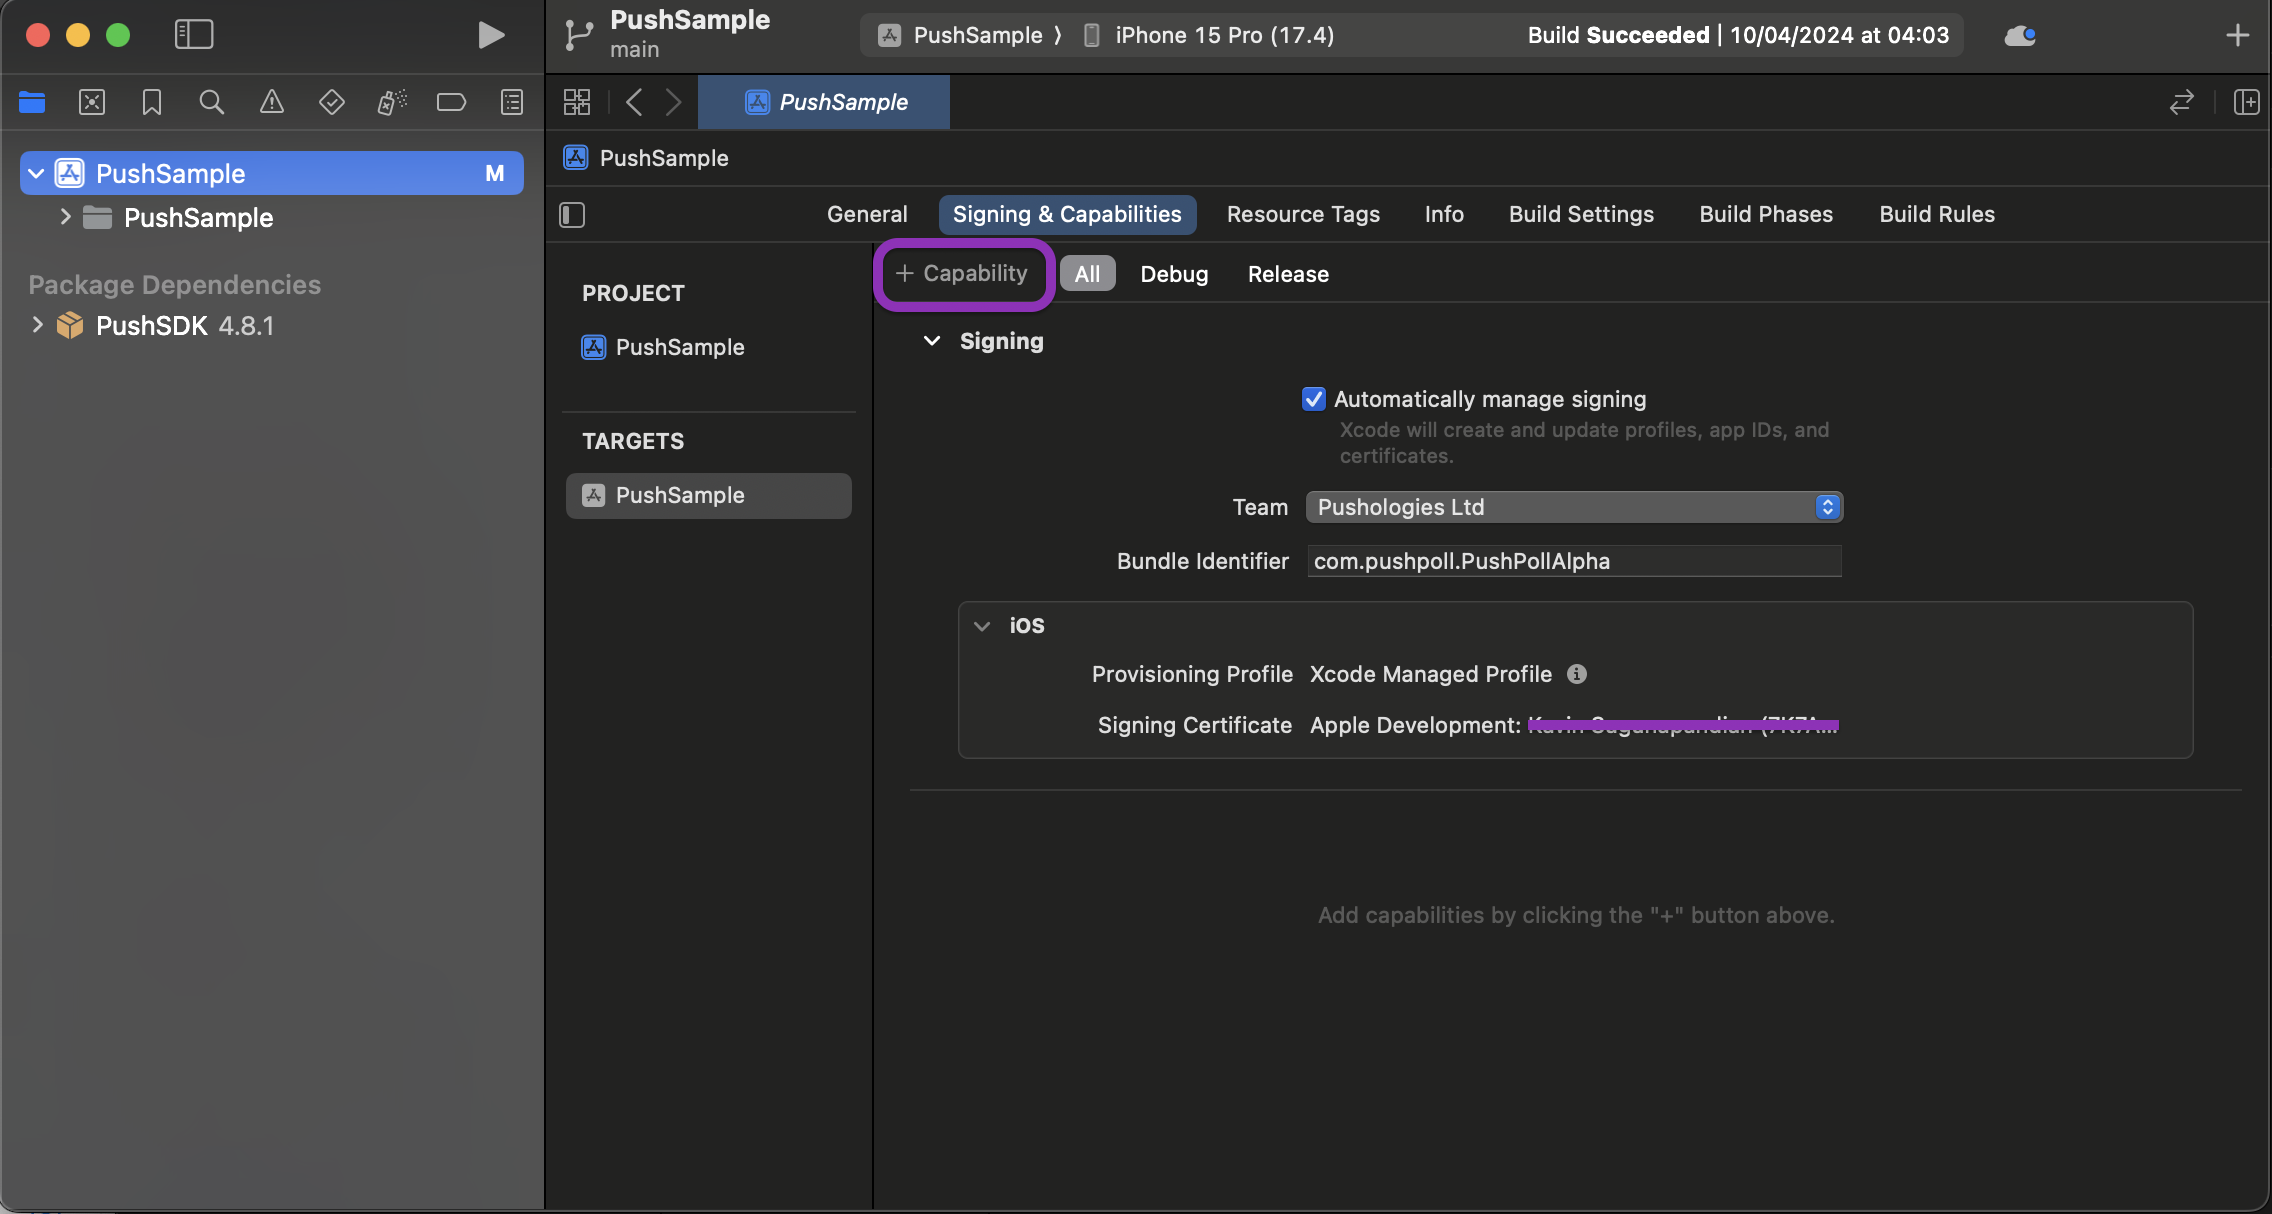
3.1 Xcode project setup
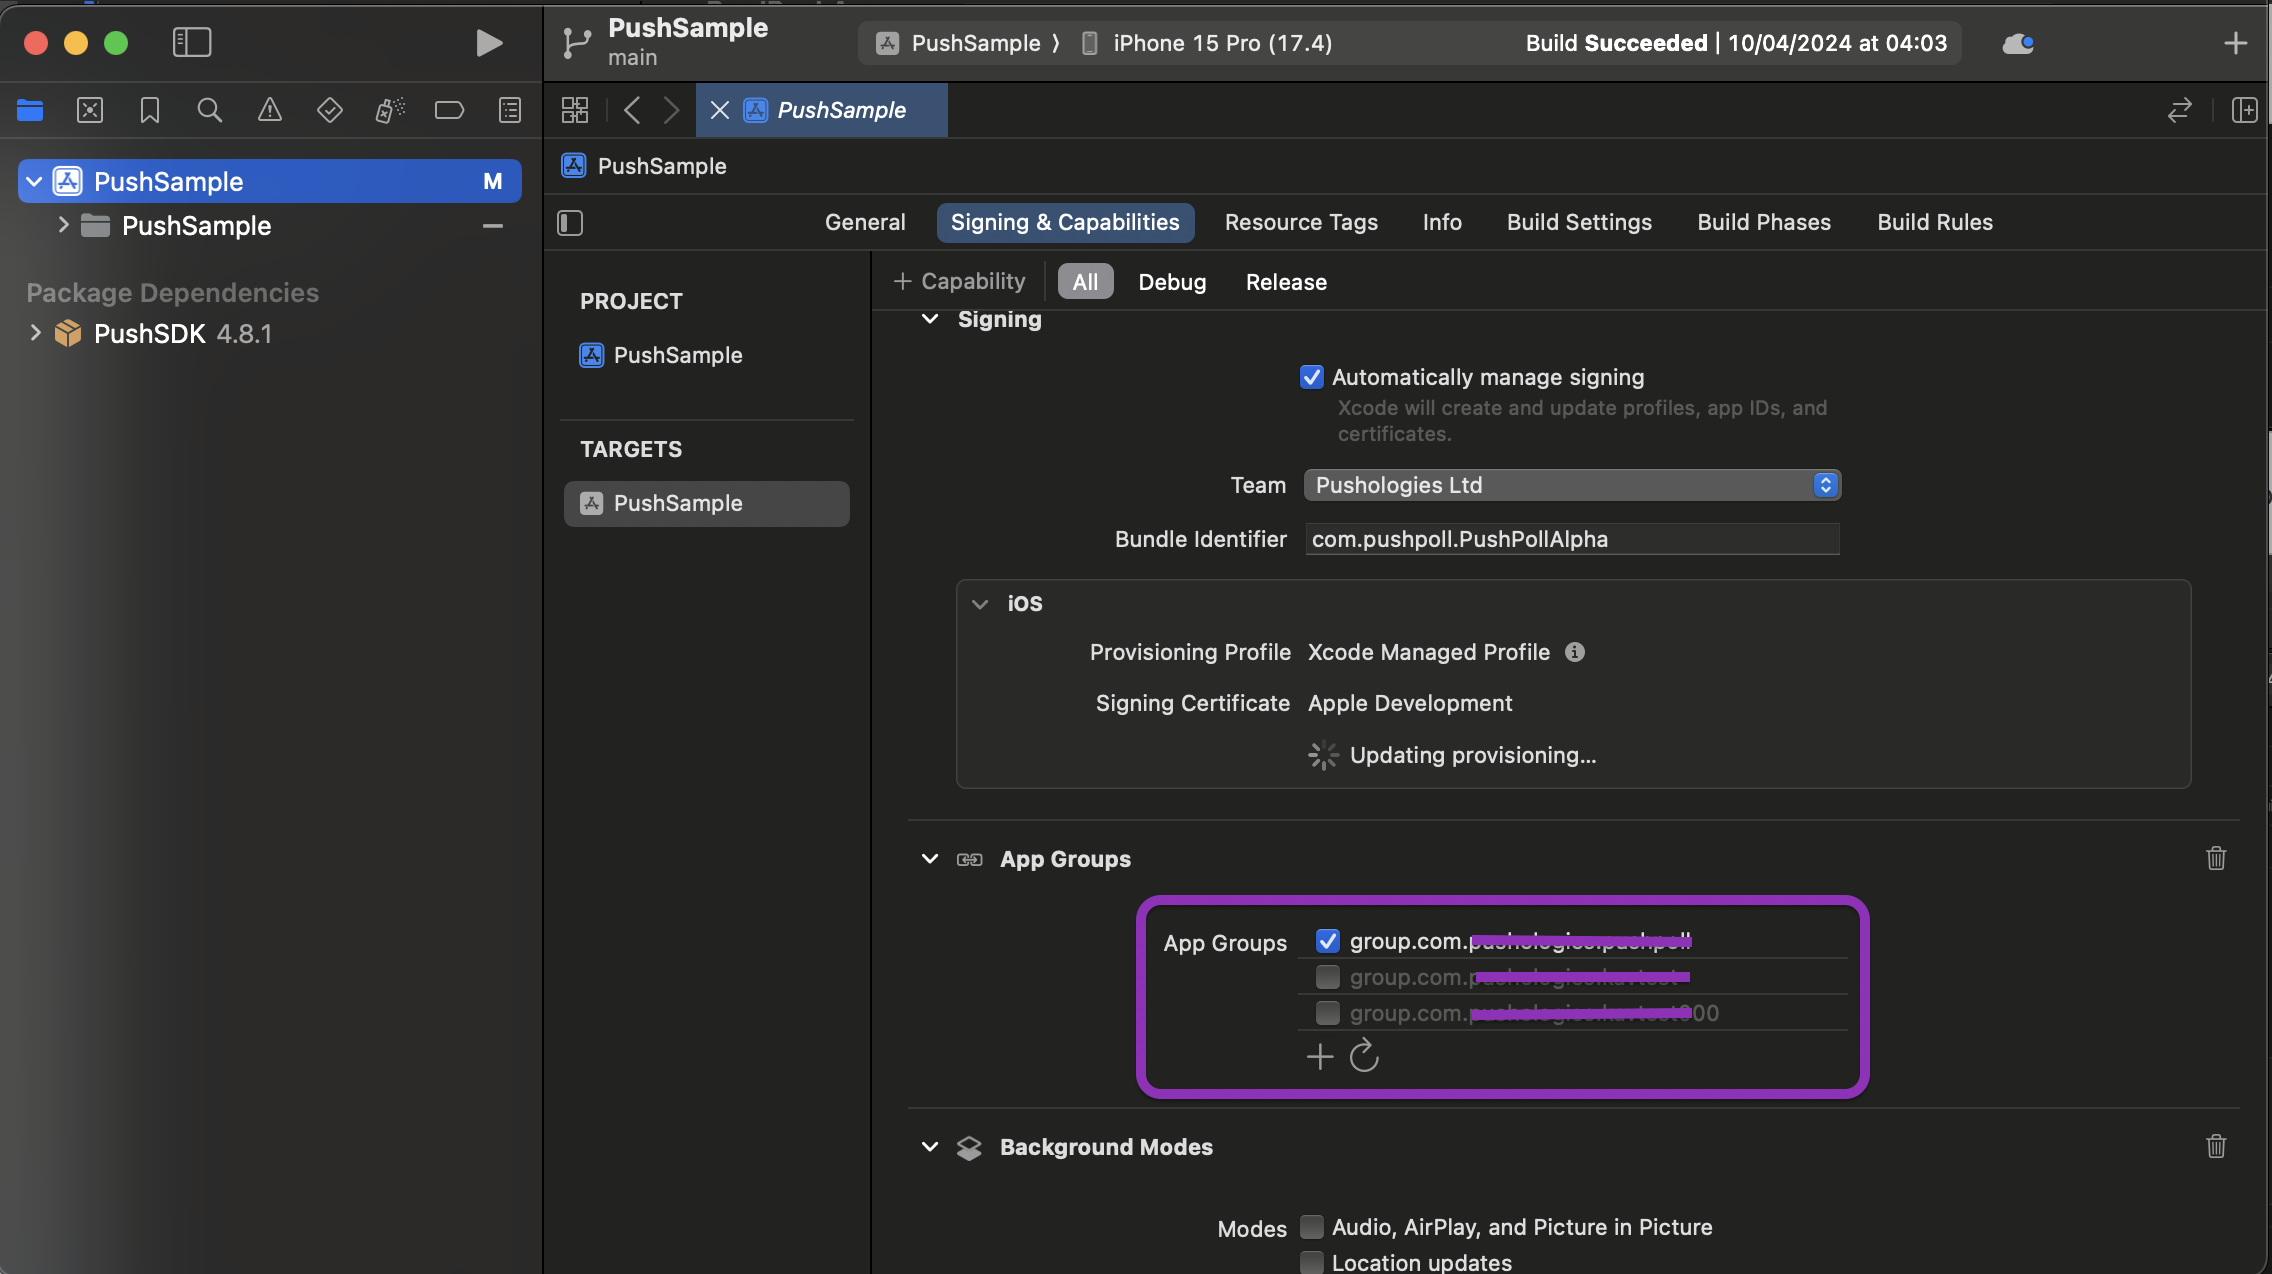
Please make sure the Provisioning profile, Team, Bundle Identifier and signing certificate are set correctly
3.2 Installing Push SDK
Swift Package Manager [SPM]
Source: https://bitbucket.org/pushologiesdev/pushologiessdk/src/master/
Go to File Menu -> Add Package Dependancies...
Search for pushologiessdk package using this link here https://bitbucket.org/pushologiesdev/pushologiessdk/src/master/
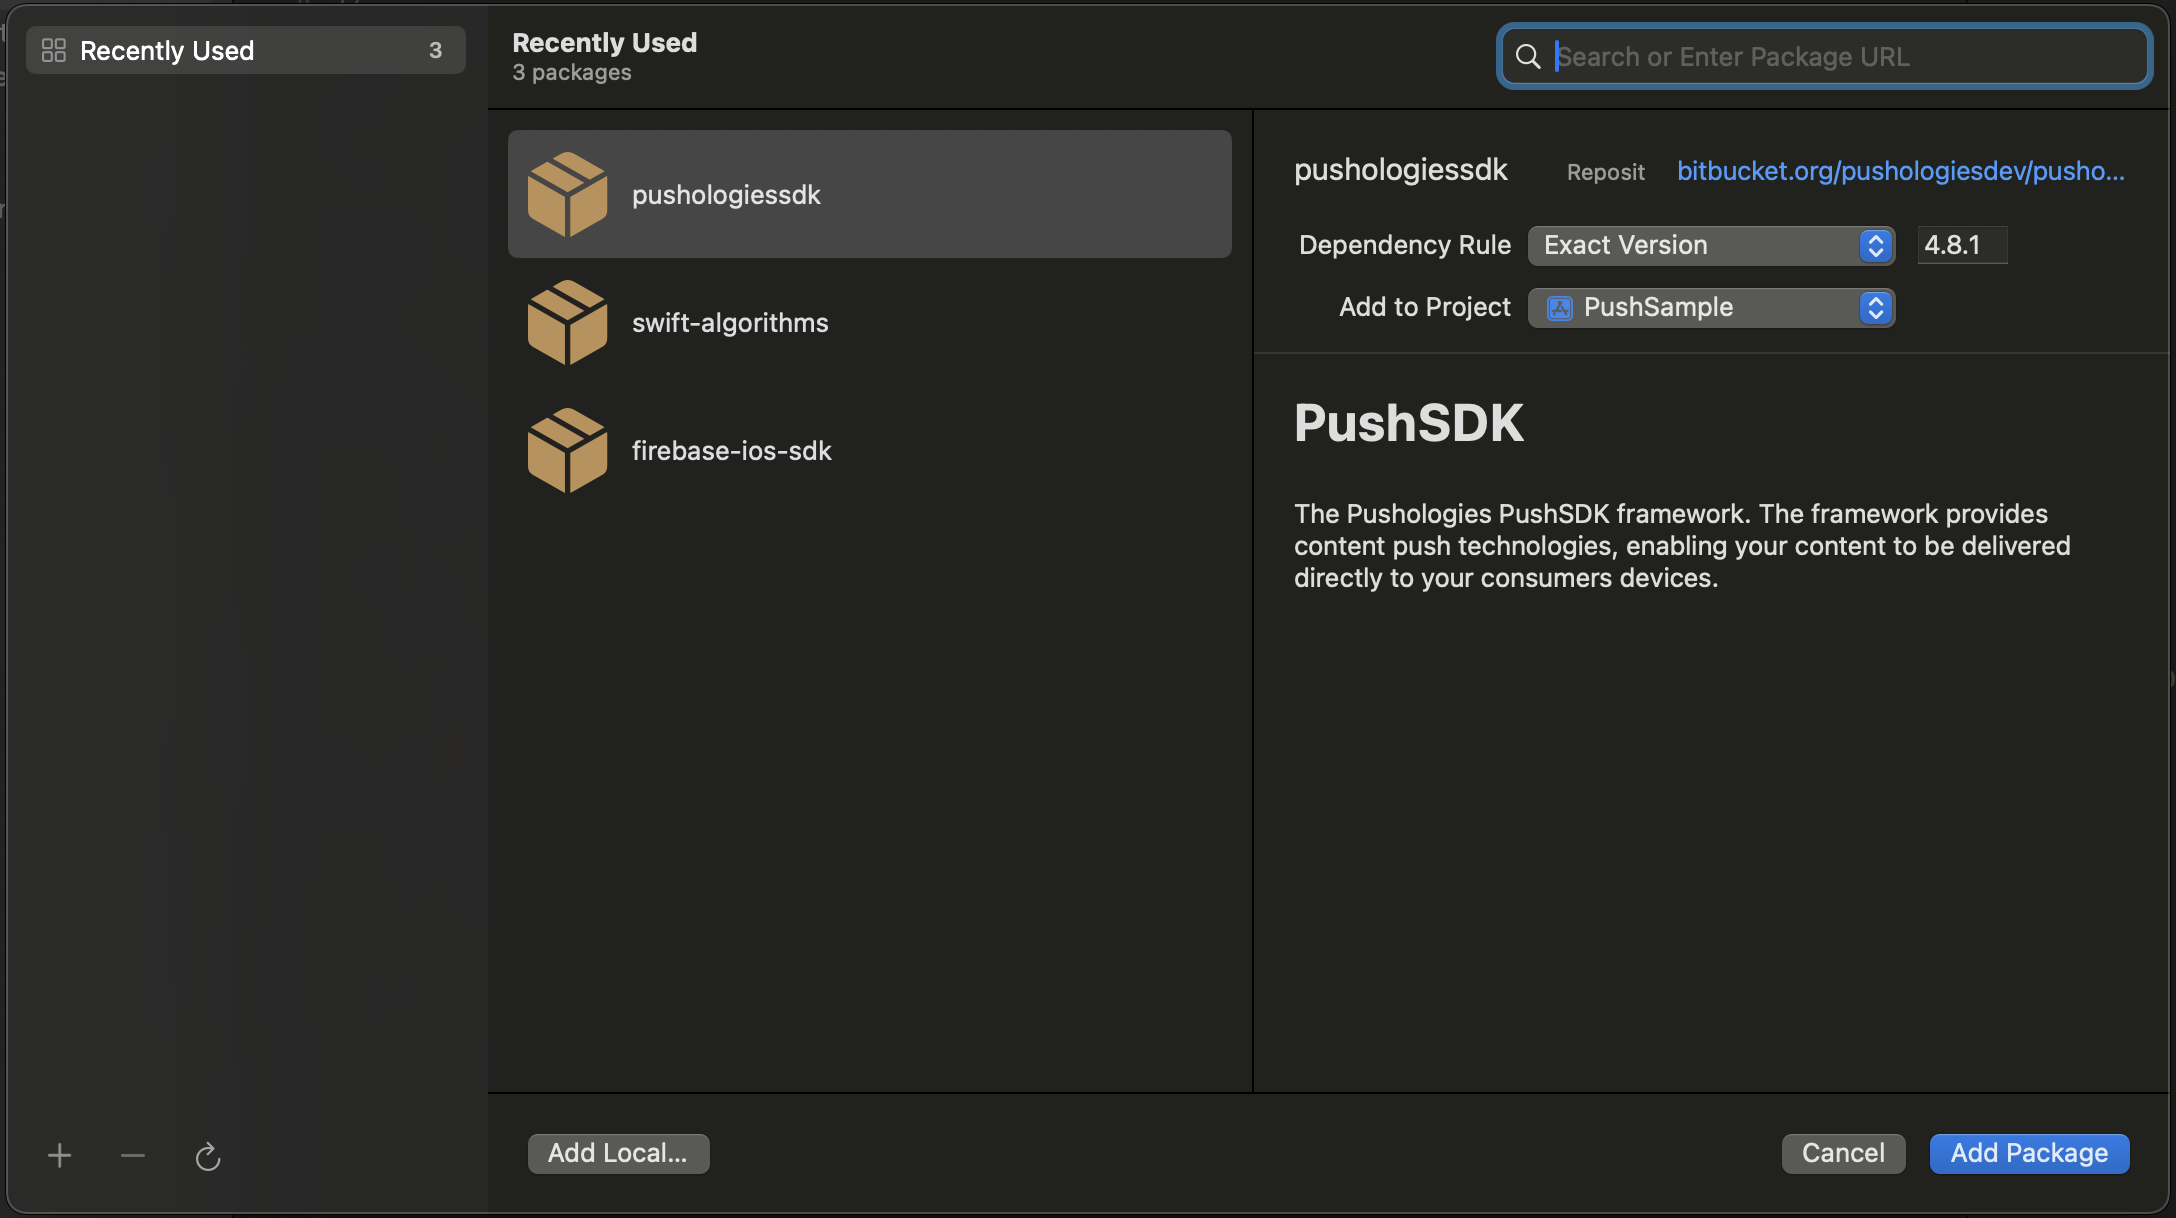
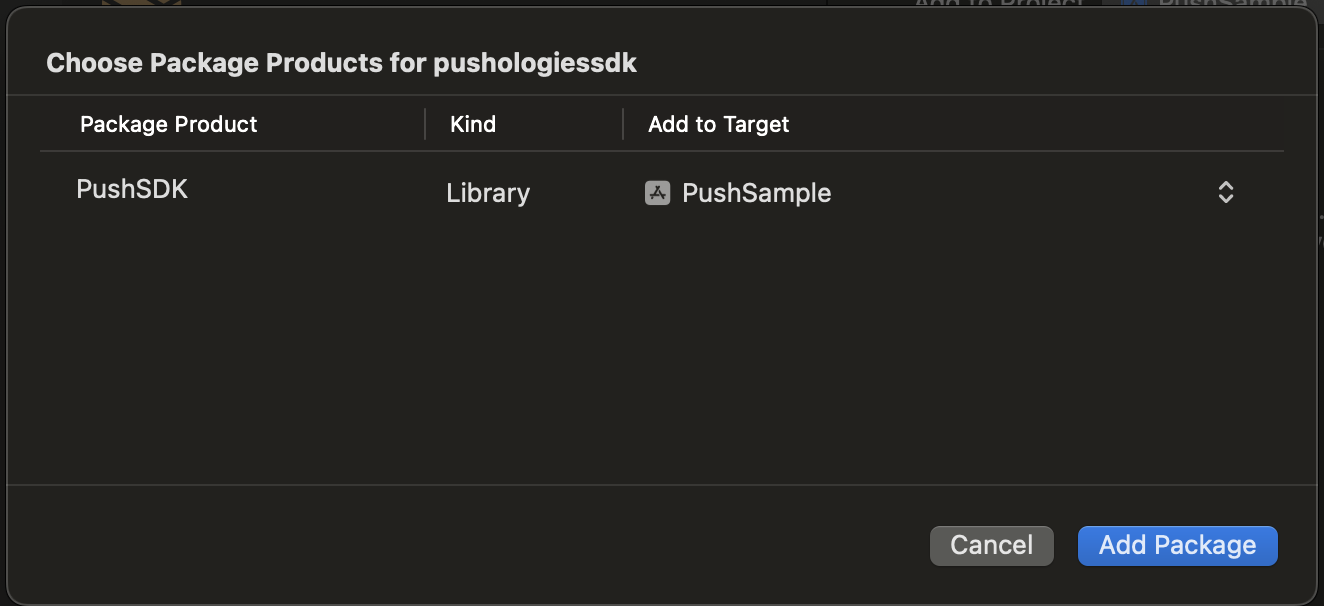
Click on Add Package
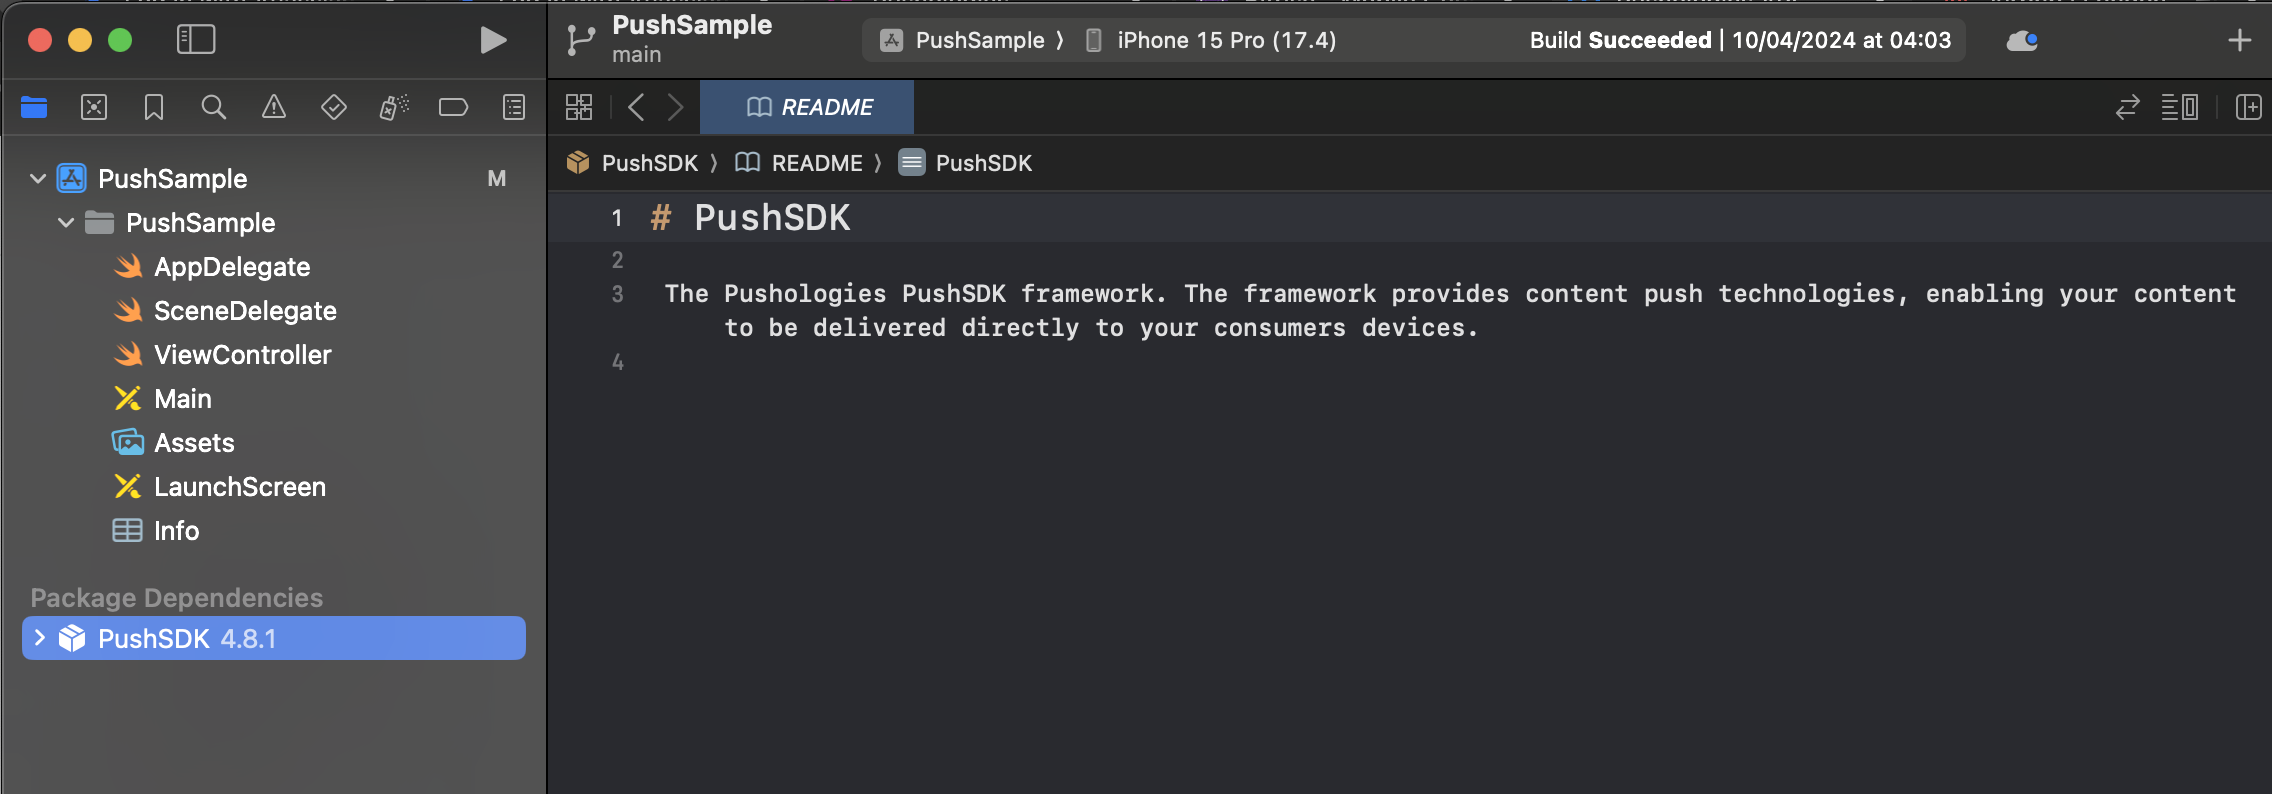
After successfully adding the package it will show up in the project navigator tab with the corresponding version number
Cocoapods
Source: https://github.com/CocoaPods/Specs/tree/master/Specs/8/0/d/Pushologies
This can be skipped if you are using SPM
Open terminal and navigate to your project folder. Run pod init command which will create the pod file in your project. Now add 'Pushologies' pod into your pod file and run pod install
target 'PushSample' do
  pod 'Pushologies', '~> 4.8.2'
end
3.3 Adding Capabilities
Please select your main app target and click on the Signing and Capabilities tab.
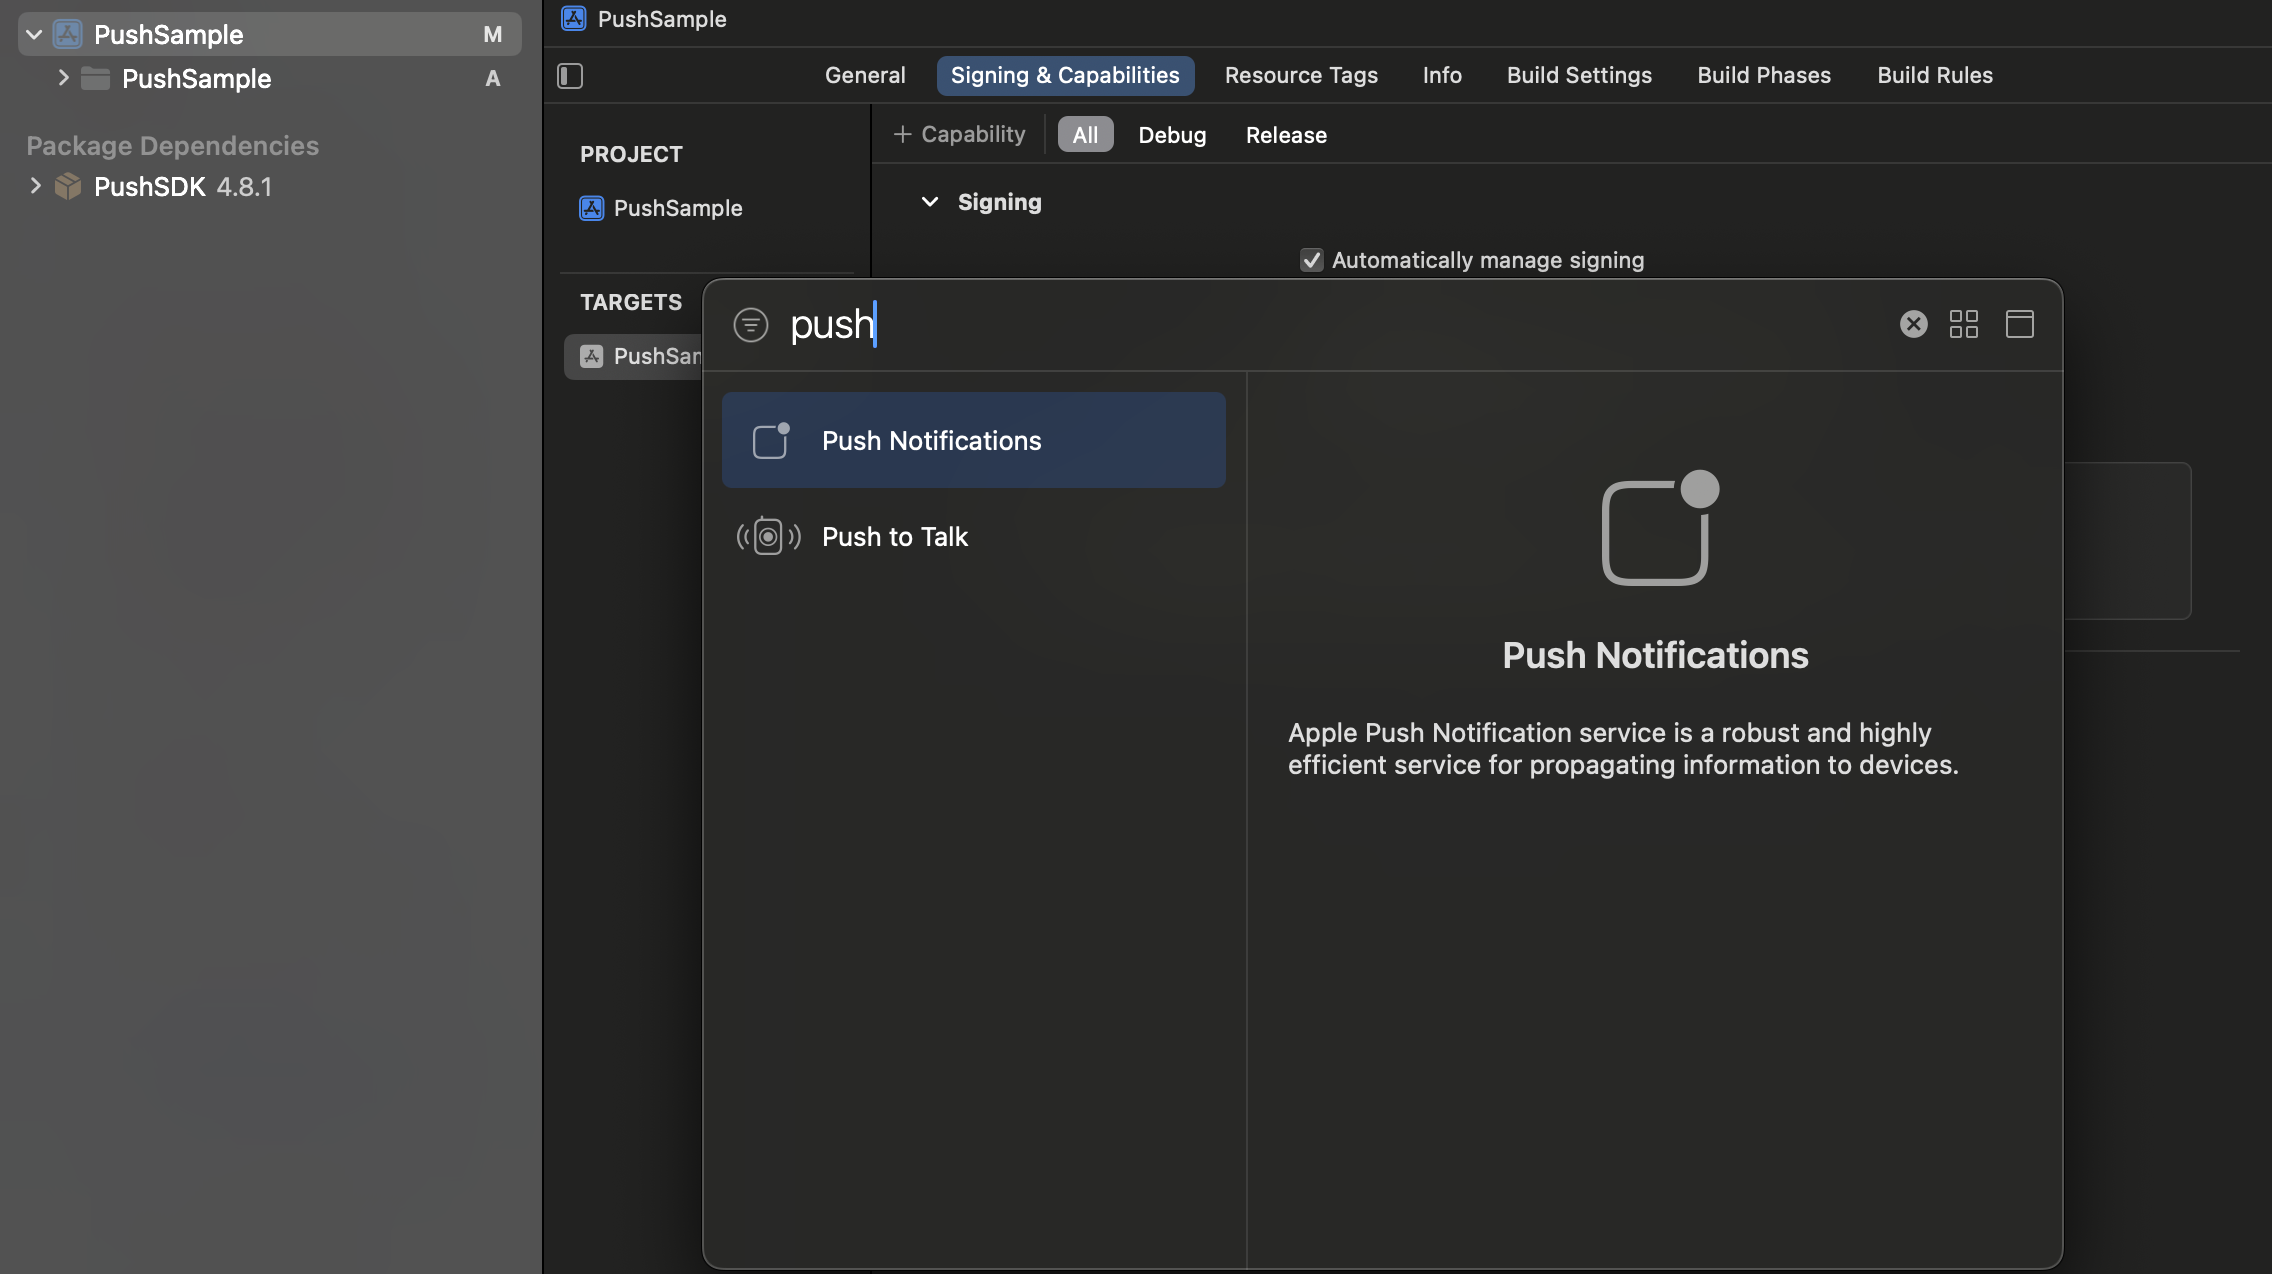
Add Push notification
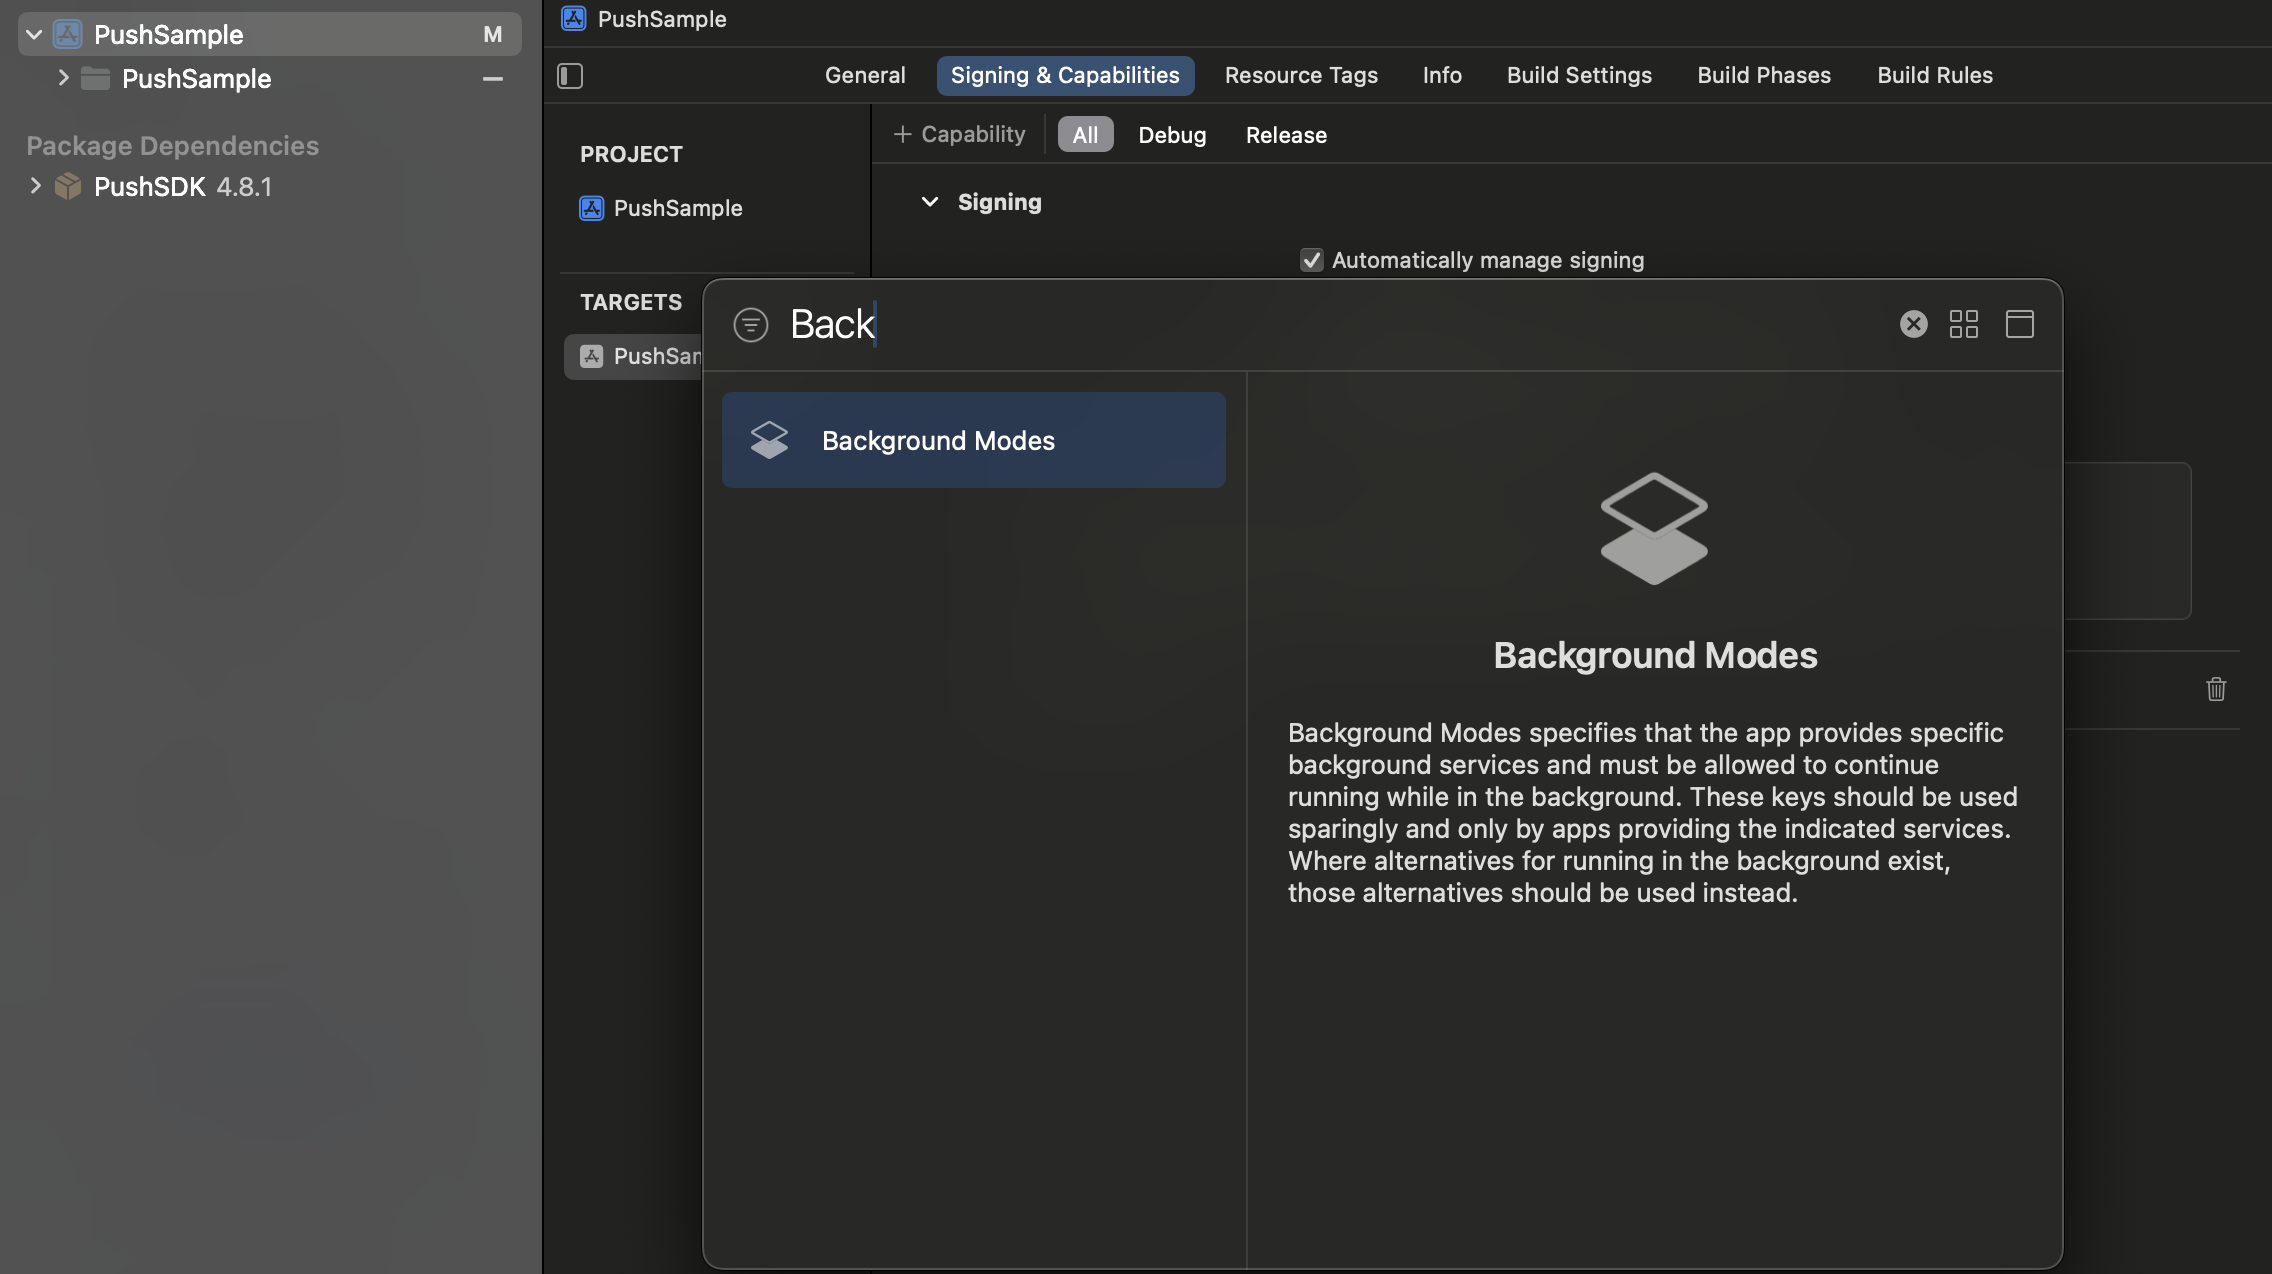
Add Background mode and enable Background fetch, Remote notifications and App Groups
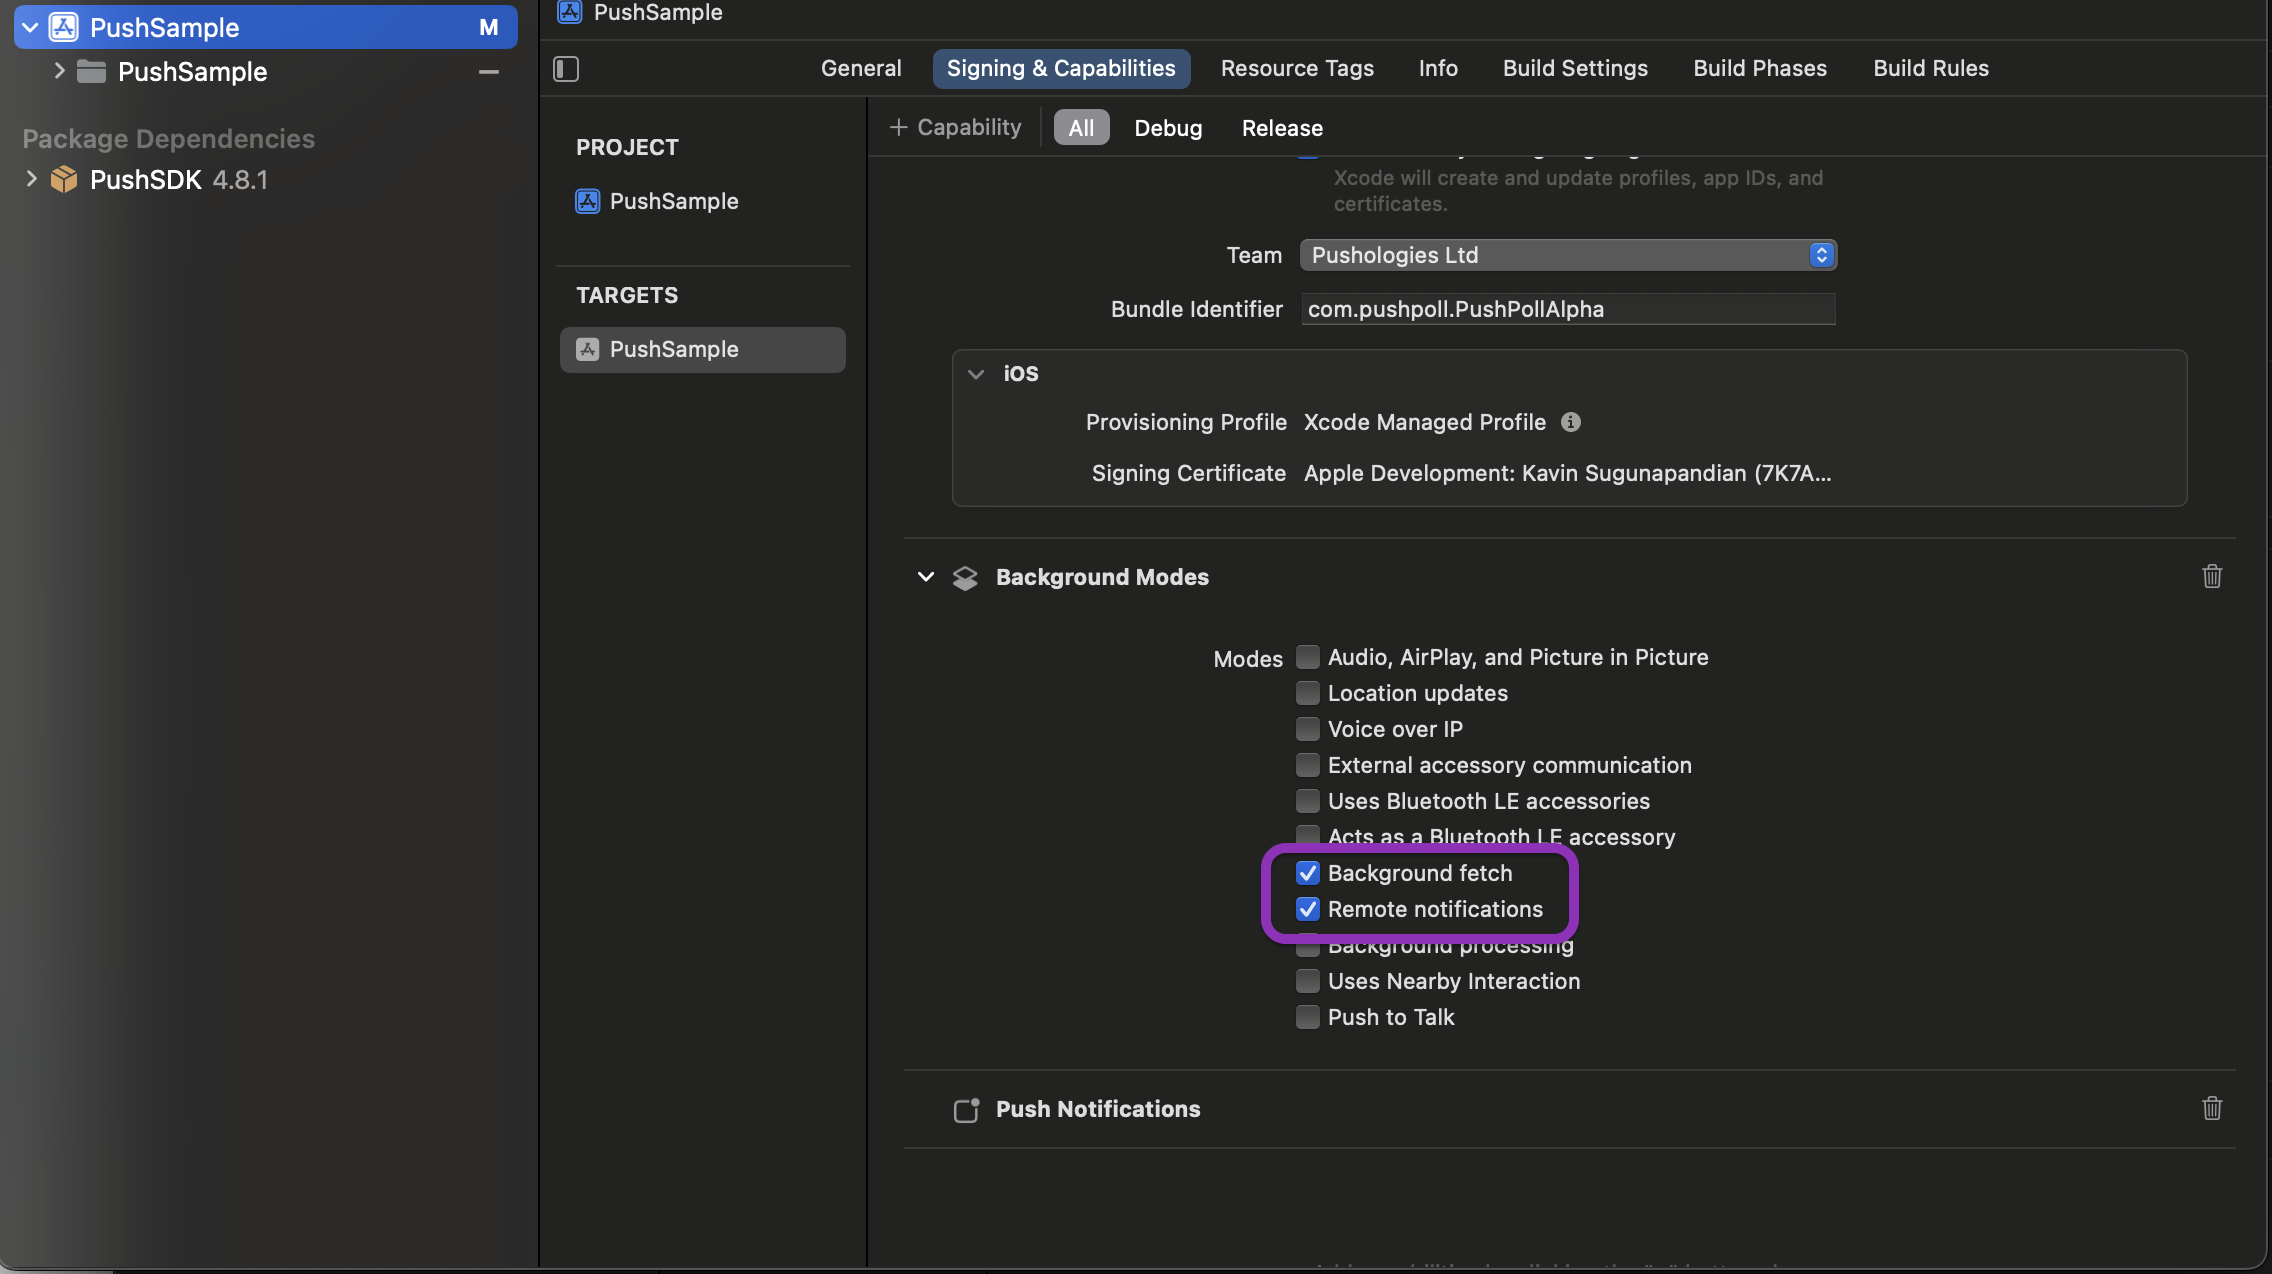
Choose the right app group for your app (This was created during the Apple dev portal setup)
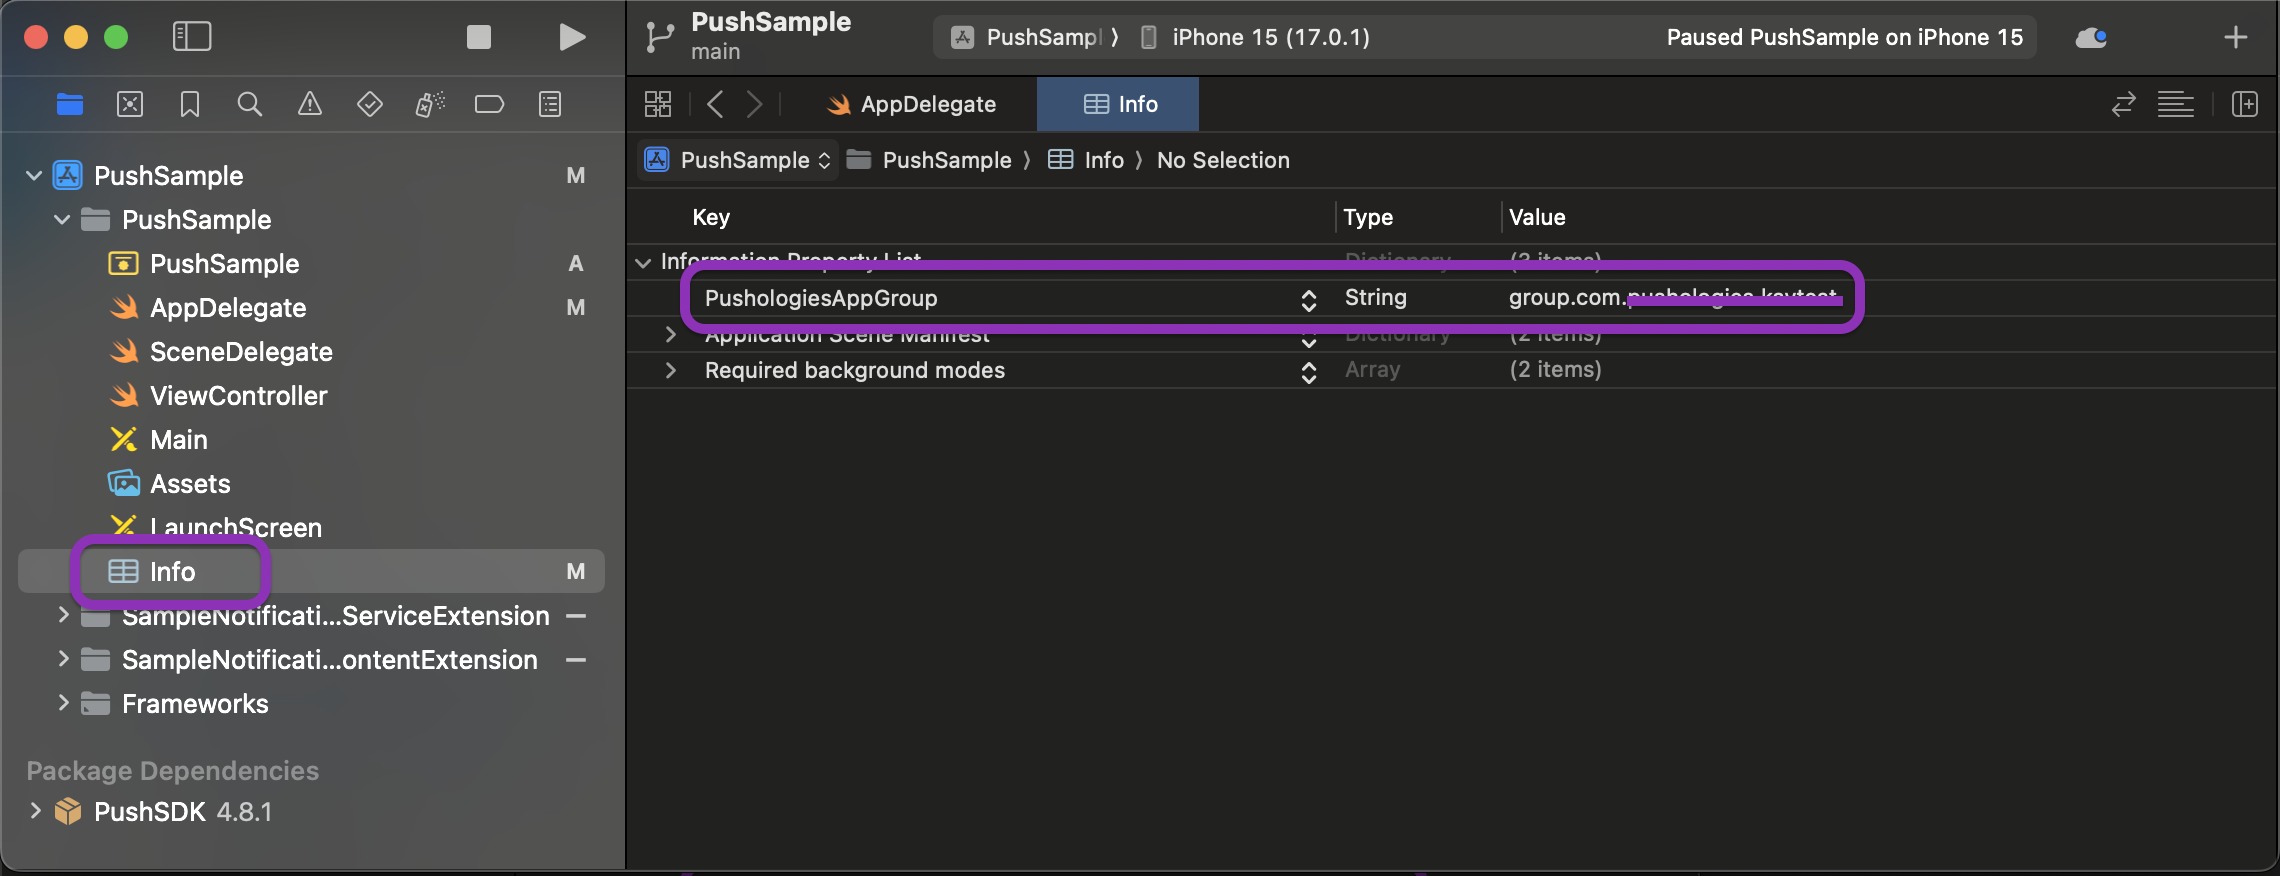
Adding app group to Info.plist
Add PushologiesAppGroup to the info.plist file of the app target.
Checklist
- Project Setup
- Push SDK Installation
- Enabling Capabilities
- Updating Plist files
Updated about 2 years ago